Dial fitting is a crucial skill every Seiko modder will need to master. Whether you’re planning a dial mod, a movement swap, or an upgrade, understanding this process is key to creating the perfect custom timepiece. Seiko’s innovative dial design simplifies this task, offering a pressure-based attachment system that doesn’t involve tiny screws. The hands still need to be removed so you will need to master that also, find out more about that here.
Why You Might Need to Remove the Dial
Several mods may require you to remove the dial of your SKX or 5KX watch. The two most common reasons are:
- Dial Mods: If you’re changing your dial to personalize your watch, dial removal is a crucial step.
- Movement Swap or Upgrade: To enhance the watch’s inner workings, you will need to remove the dial to so that a new movement can be fitted.
- Modifying The Date Complication: Changing a day disk for a different language or colour will require the dial to be removed.
Seiko has designed one of the easiest dial connectors to work on among watch manufacturers. The dial is held in place under pressure, eliminating the need for fiddling with small screws. This innovative design makes exchanging your dial accessible for most modders.
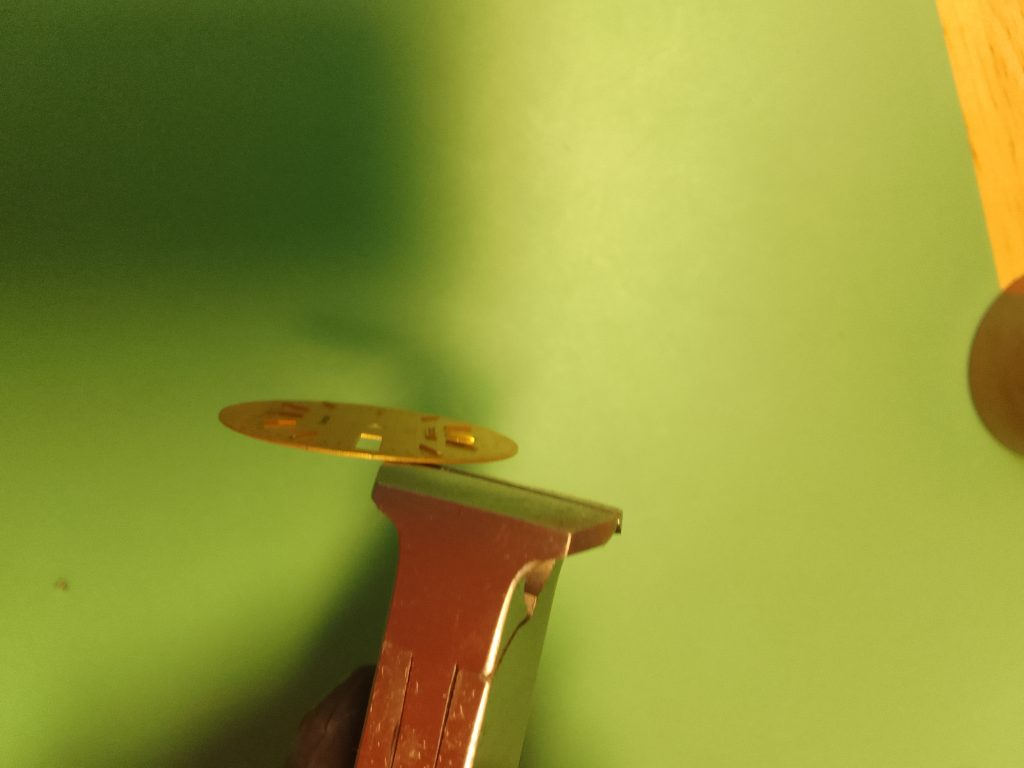
Understanding Dial Feet
Dial feet are the small pins on the rear of the dial that hold it in place on the movement holder. These dial feet can be fragile, so it’s essential to handle them with care when removing or fitting your dial.
Removing a Dial
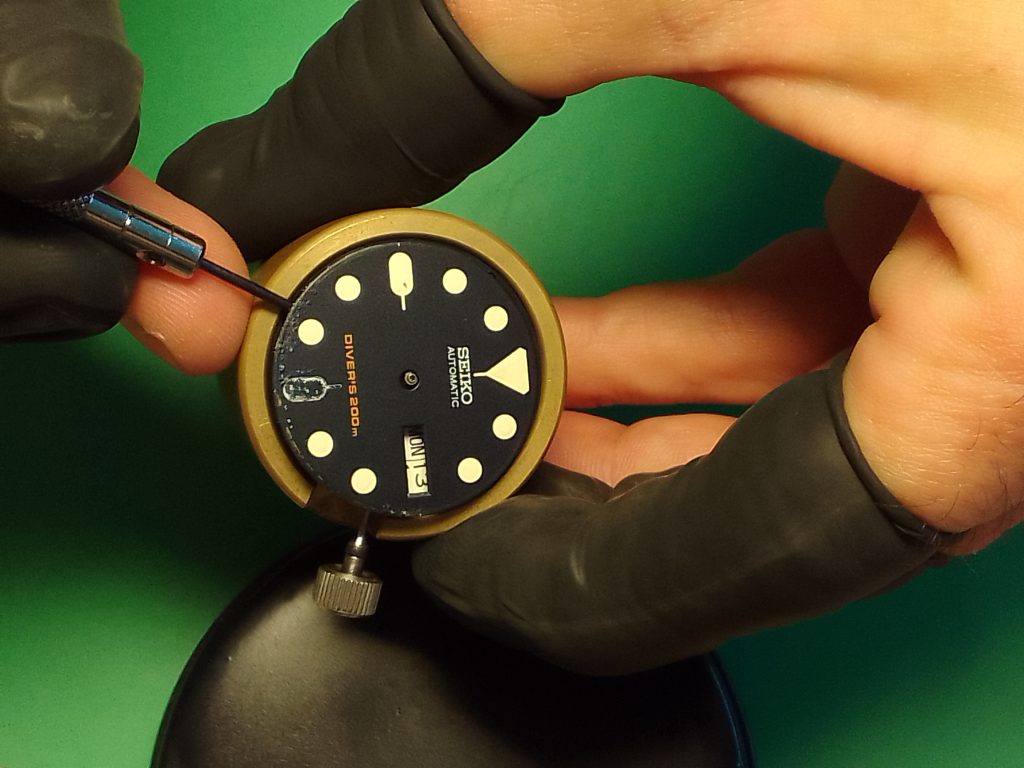
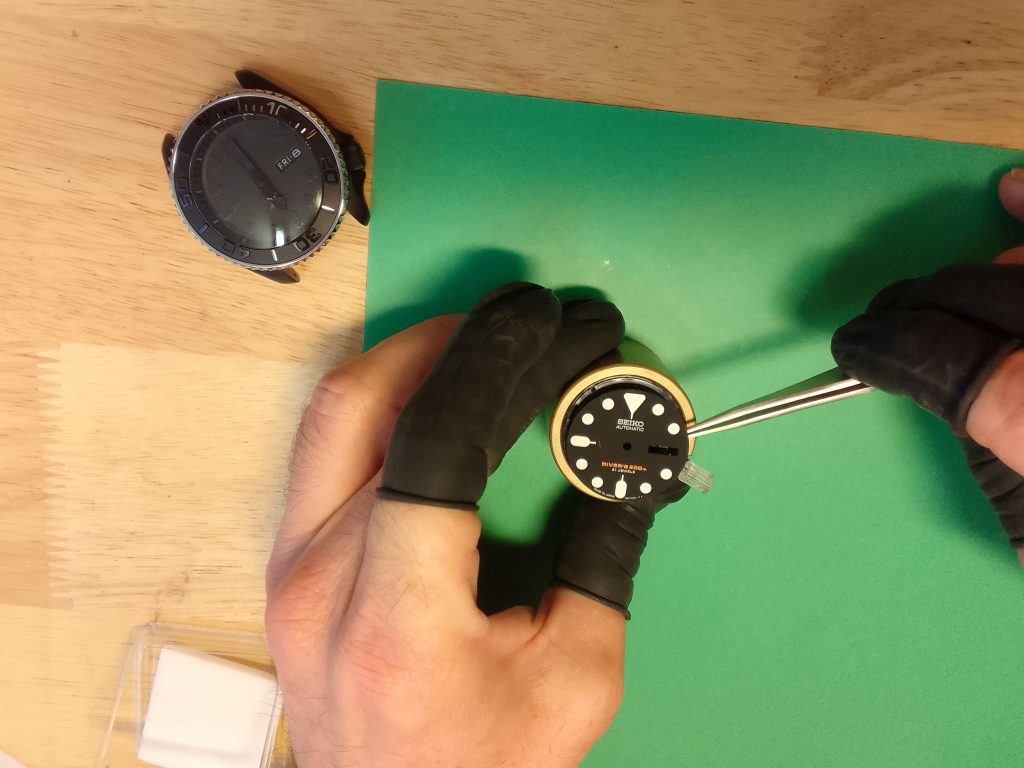
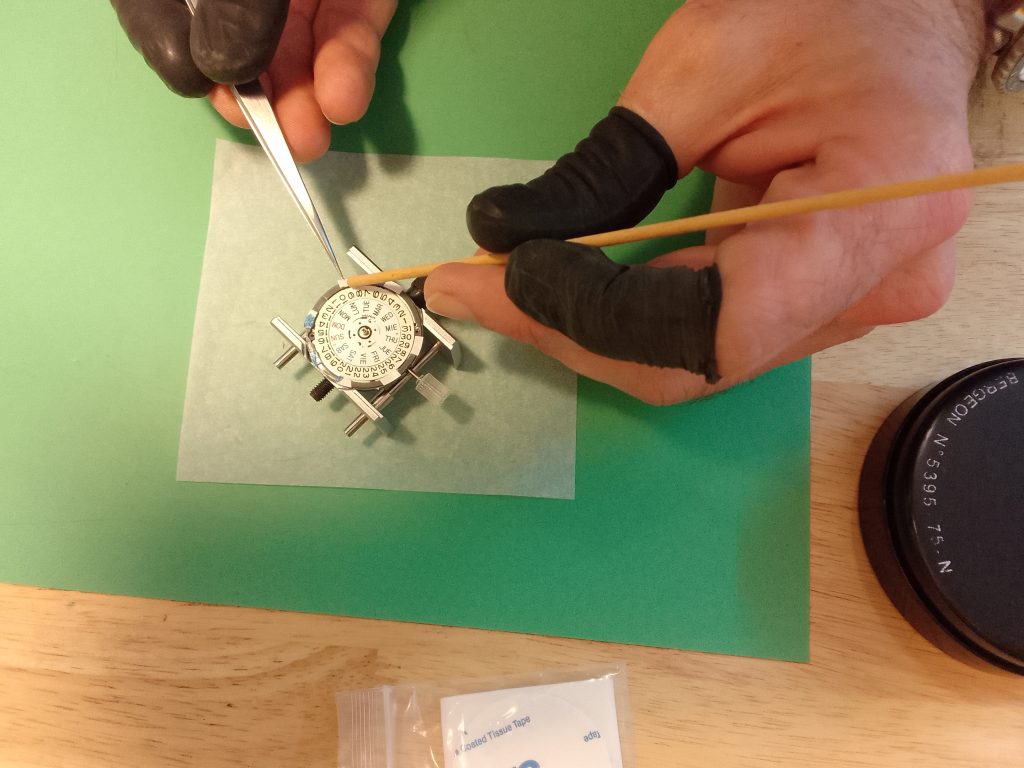
The removal of the dial is done with a screwdriver. If you look to the side of the dial and movement holder you will notice little slots located just below the crown and at around seven/eight o’clock position on your 7S26 or 4R36 including NH Series.
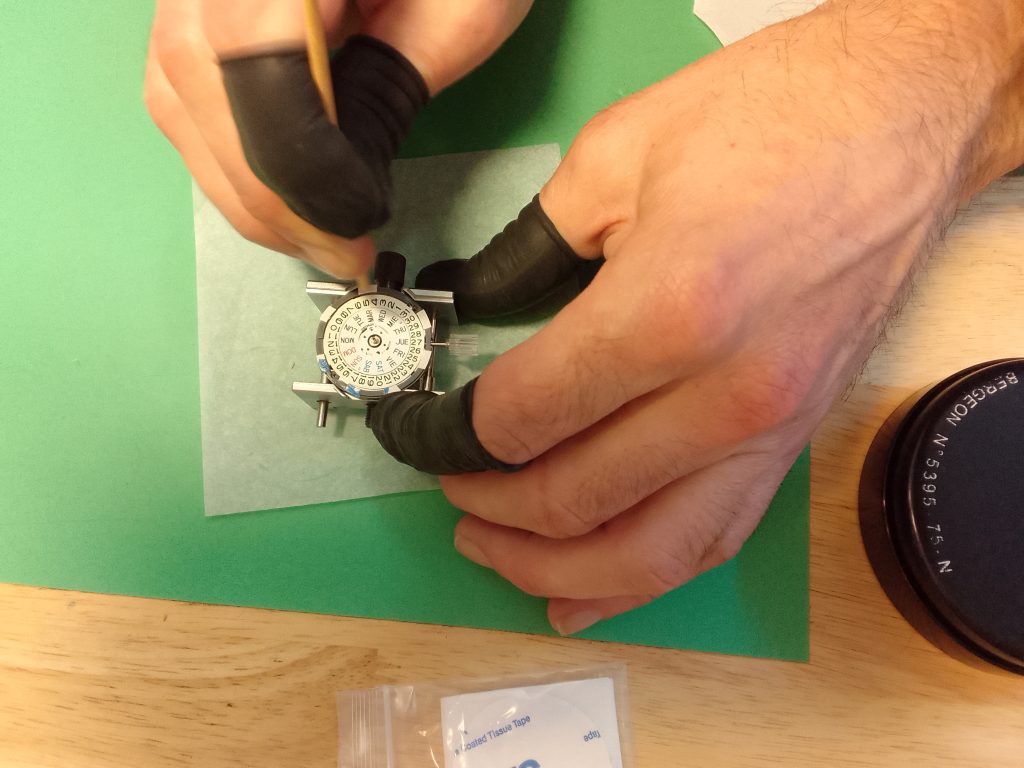
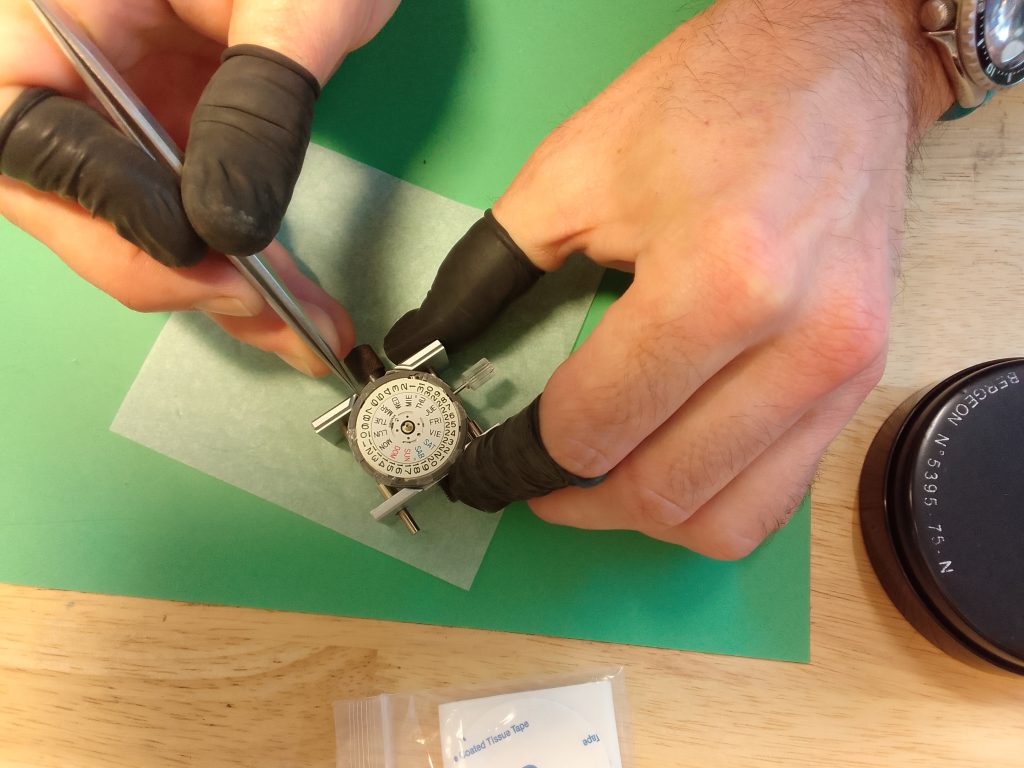
Locate both holes before you begin and choose where you would like to begin. Gently press the screwdriver (flat) in the chosen gap and it will raise the dial a little. Twisting the screw driver will release the dial some more. It is important not to be to hasty and pull the dial away after the release of one of the dial foot.
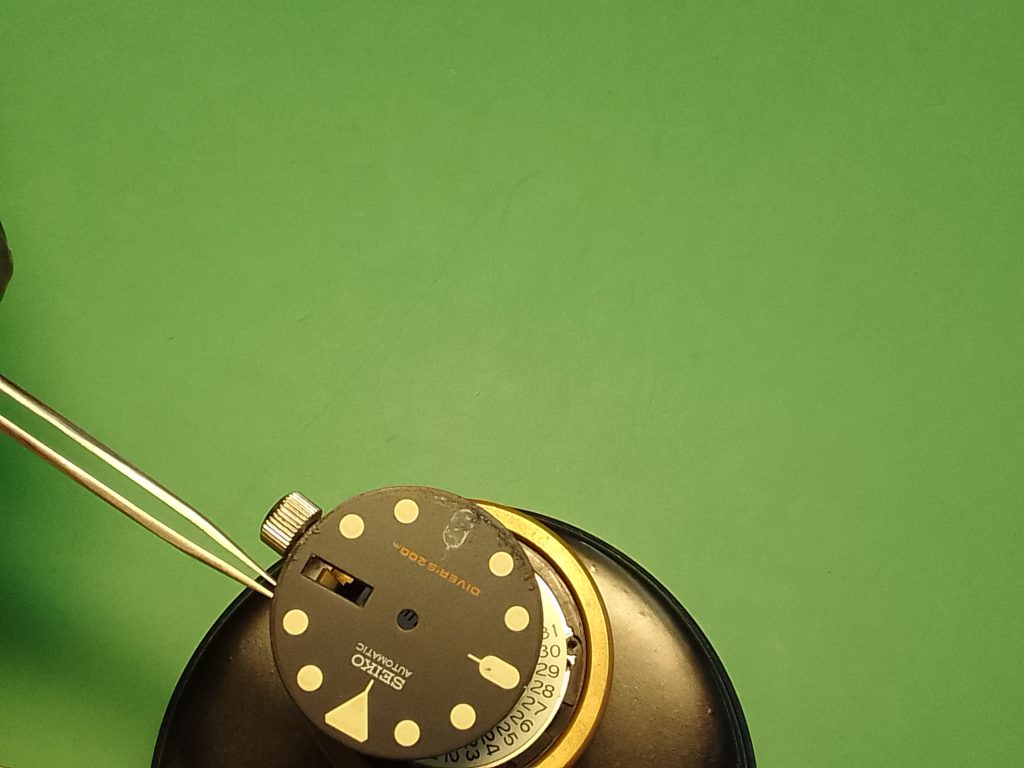
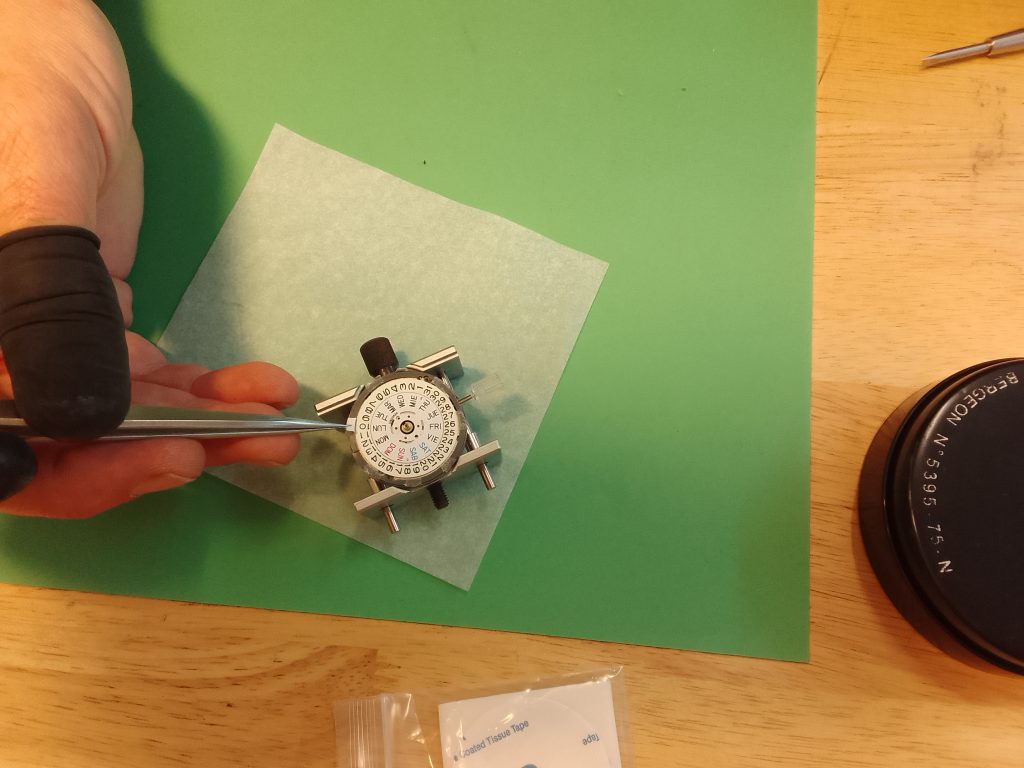
Go to the second slot and repeat the process, the dial will come away with ease. You can use foam tweezers or your fingers in cots to handle the dial.

You may want to use tweezers to pick the dial up from feet on the underside and place this in a storage container. You may also want to wrap it up in some watchmaker’s paper.
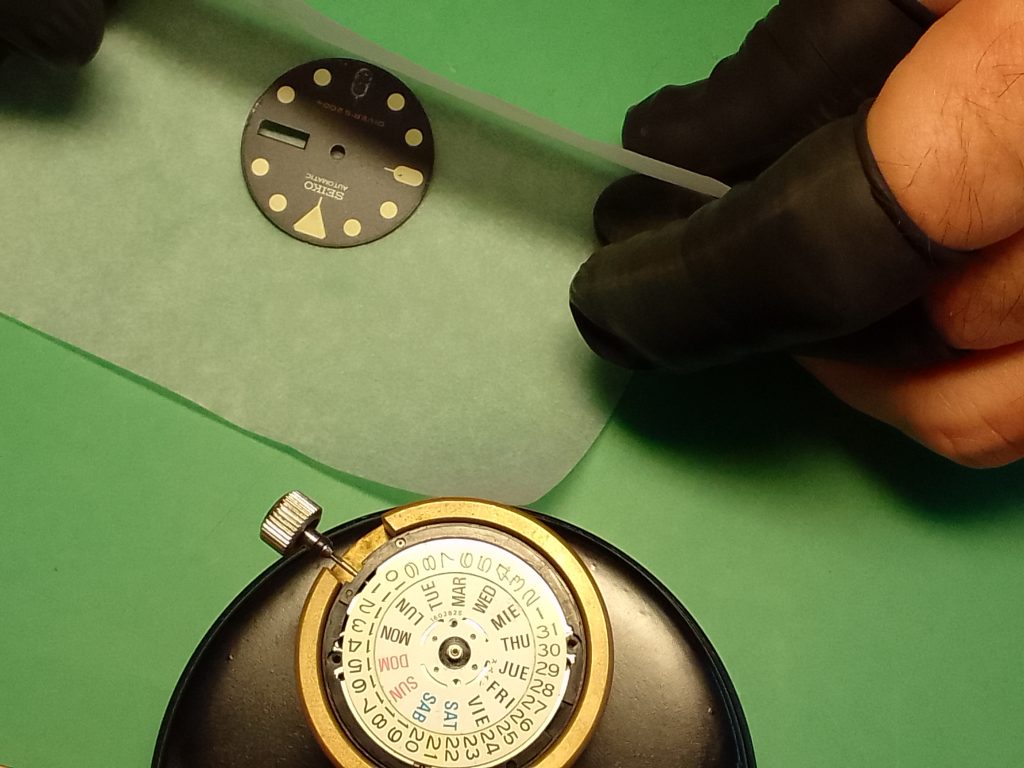
Fitting a New Dial
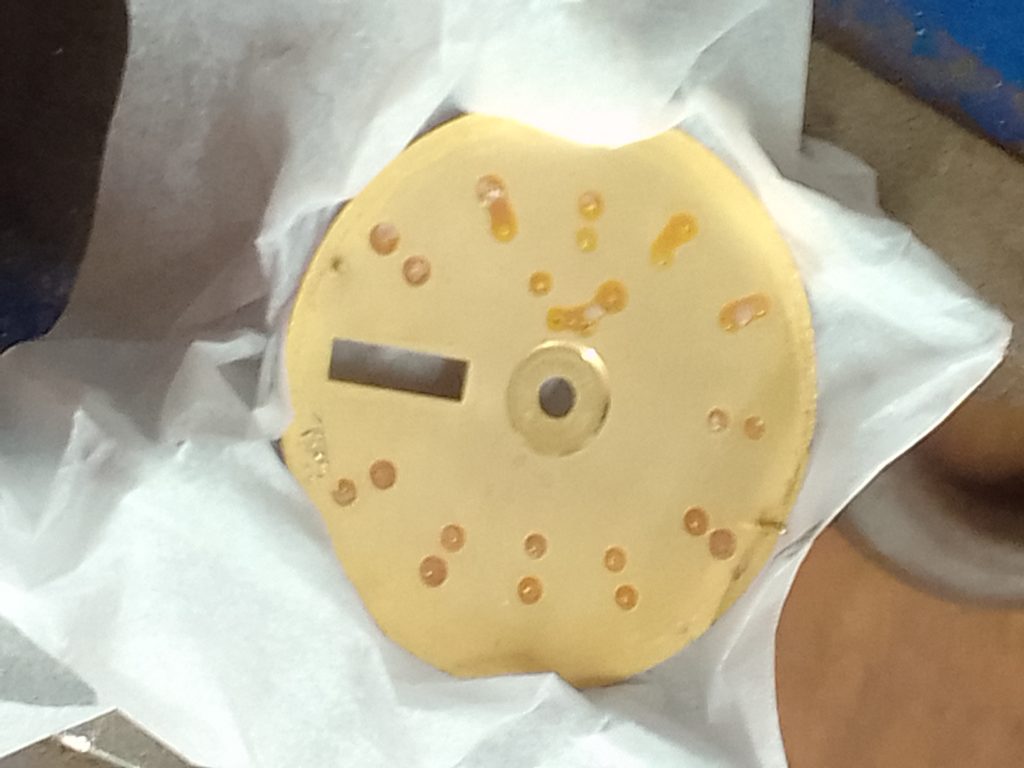
When you first receive a new dial, you may find that it has lots of feet. More than you need anyway, or it may only have one set that are not suitable for your chosen crown position. In these instances you will need to remove some, or all of the dial feet. In the case of a new dial you will need to ascertain which dial feet you will need to remove from your new dial. This will be decided by the crown position on the case you have selected for your mod.
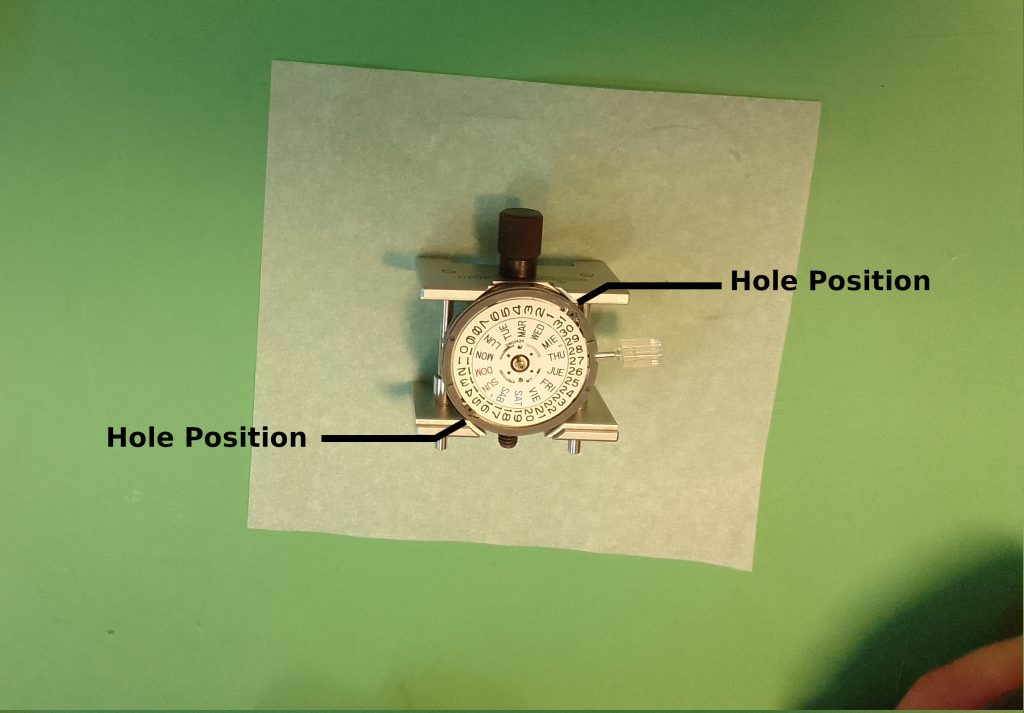
Dial Feet Position – 3 o’clock crown case
To apply your new dial to a three o’clock crown case
Retain the dial feet at 1:45 & 7:45 which is opposite.
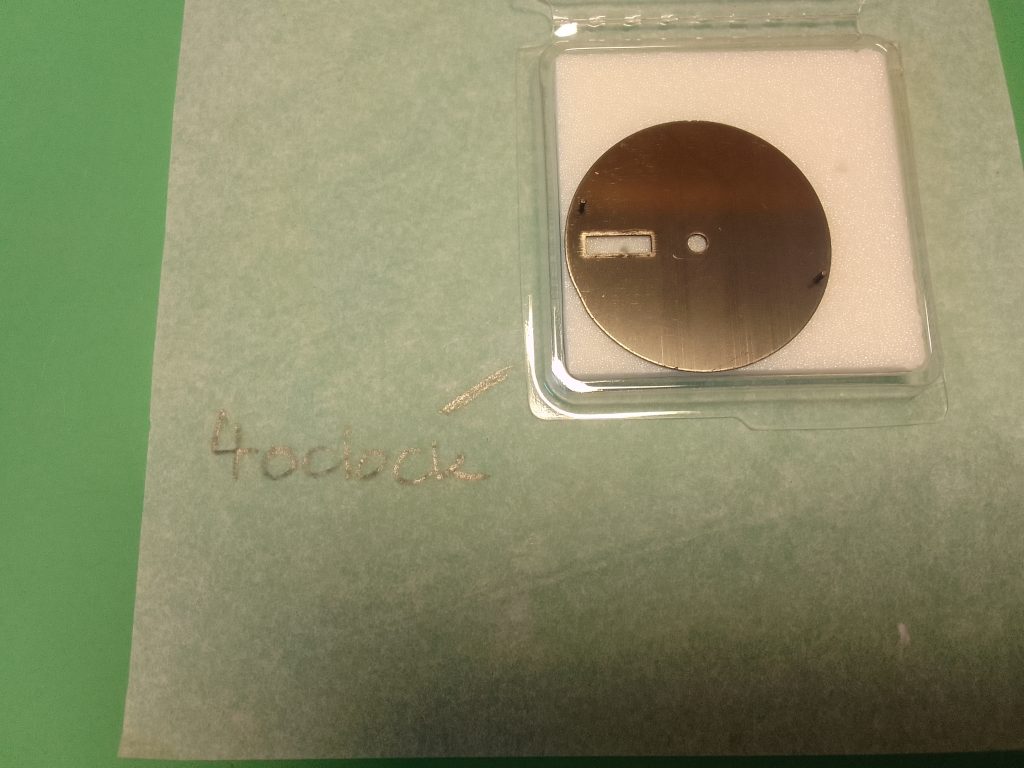
Dial Feet Position – 4 o’clock crown case
To apply your new dial to a four o’clock crown case
Retain the dial feet at 2:30 (closest to the date window) and 8:30 which is opposite .
Removing the Extra Dial Feet
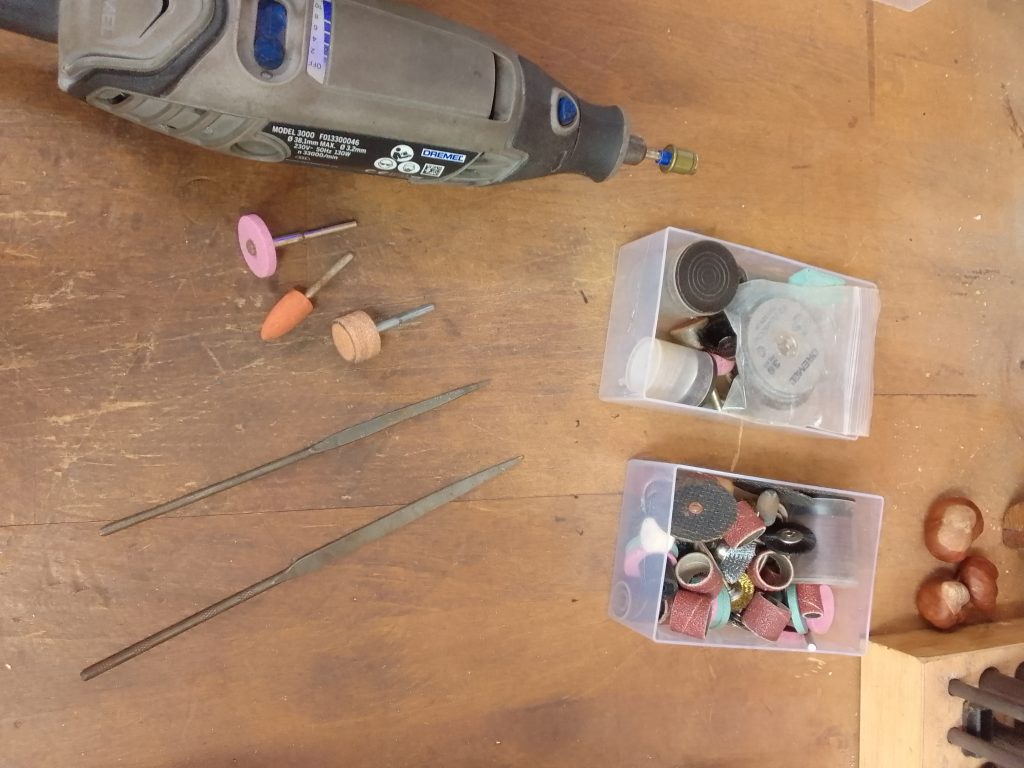
To remove the surplus dial feet, some pliers or cutters can be used. There are a number of options which will suit your available tools or technique. You may consider working in a different area for this as it can be a little dirty, leaving behind fine metal files which can scratch the case, or other components.
With your pliers, grip the dial foot you wish to remove, as close to the rear of the dial as possible. When you have a firm grip, rotate your pliers until the pin breaks free. Be patient as it will free itself. Rocking side to side can help but this can all misshape the dial if too much force is applied. If cutters are to hand, the dial feet can be sniped off as close to the back of the dial as possible
Cleaning up the Excess Dial Feet
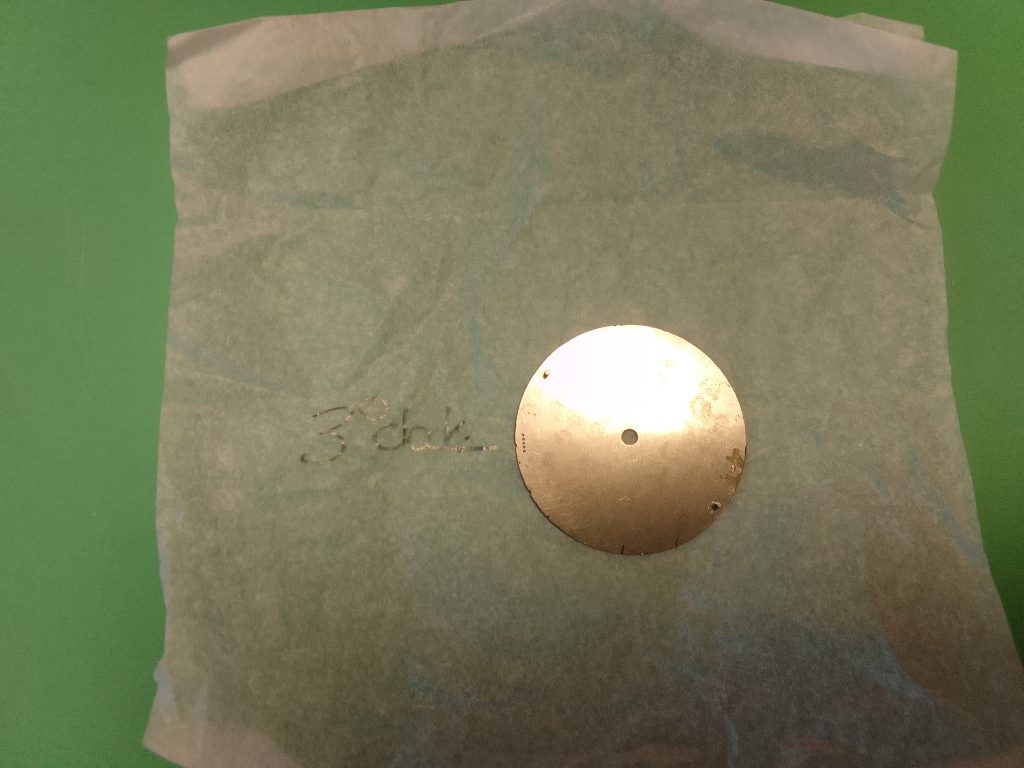
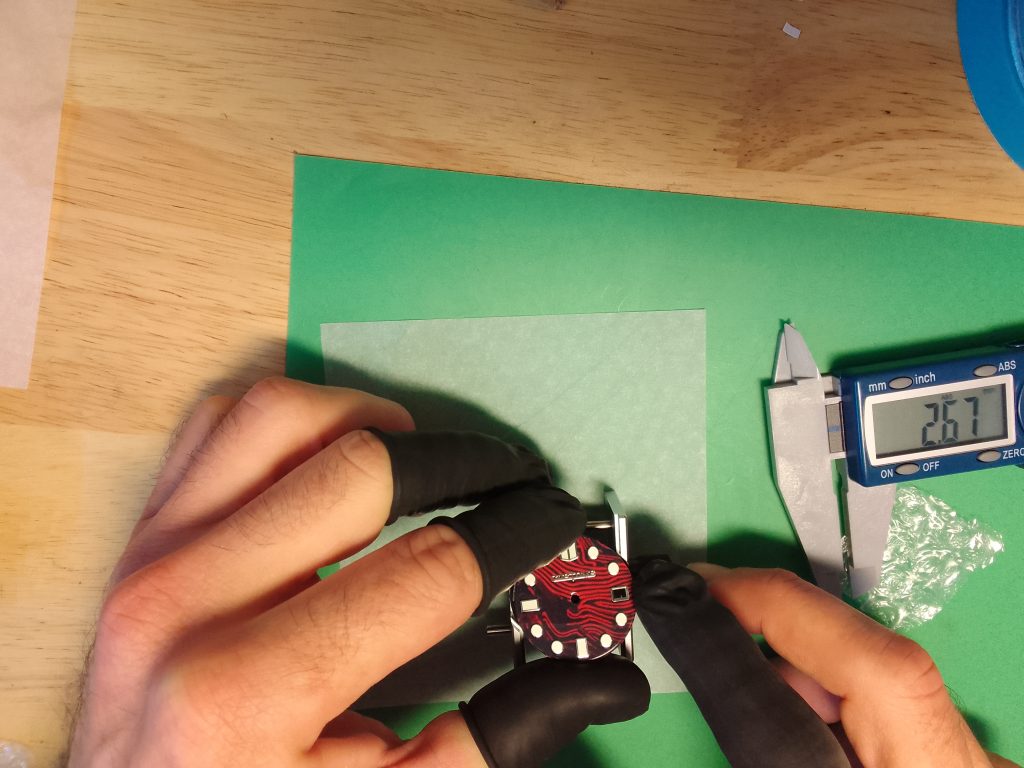
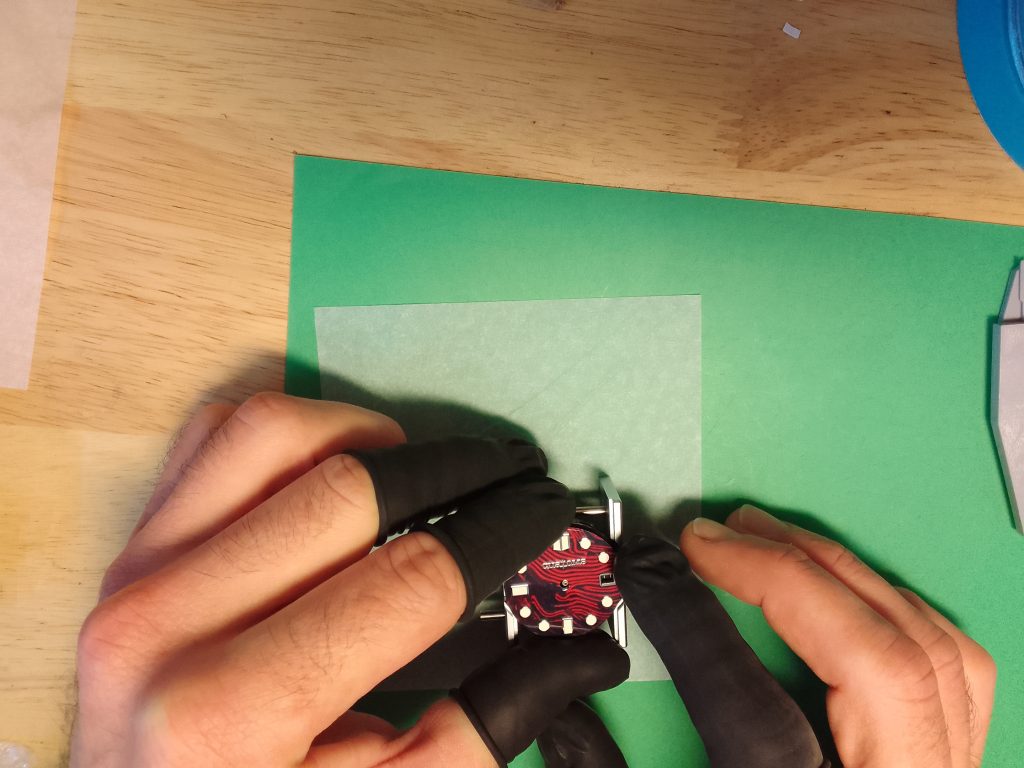
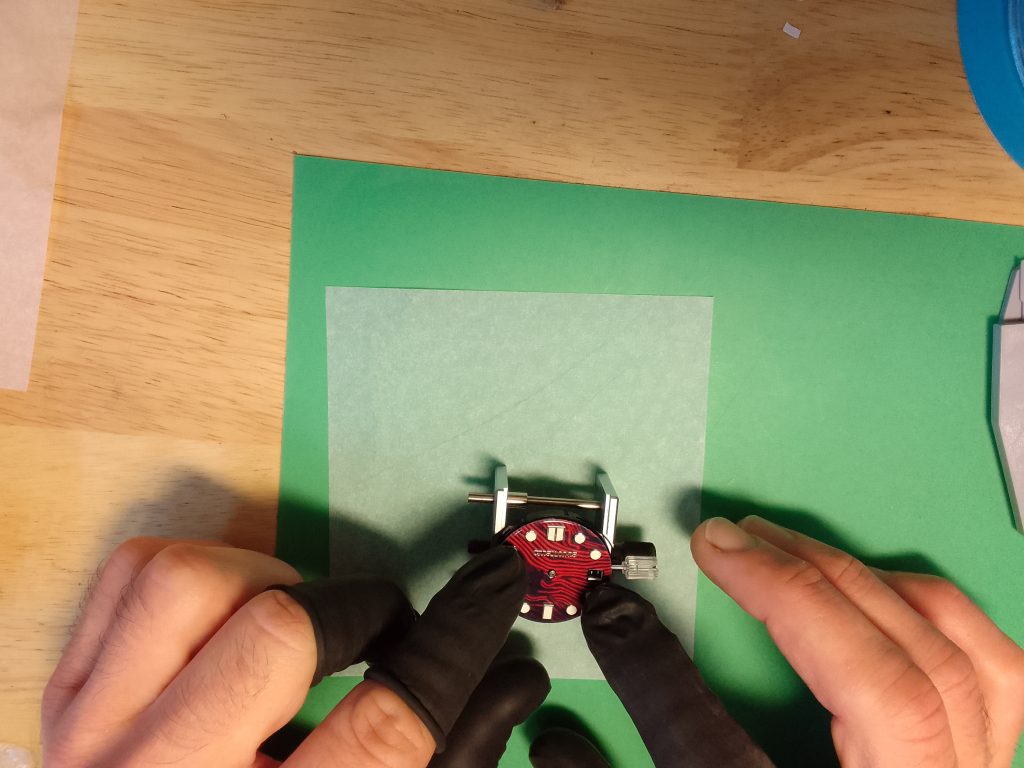
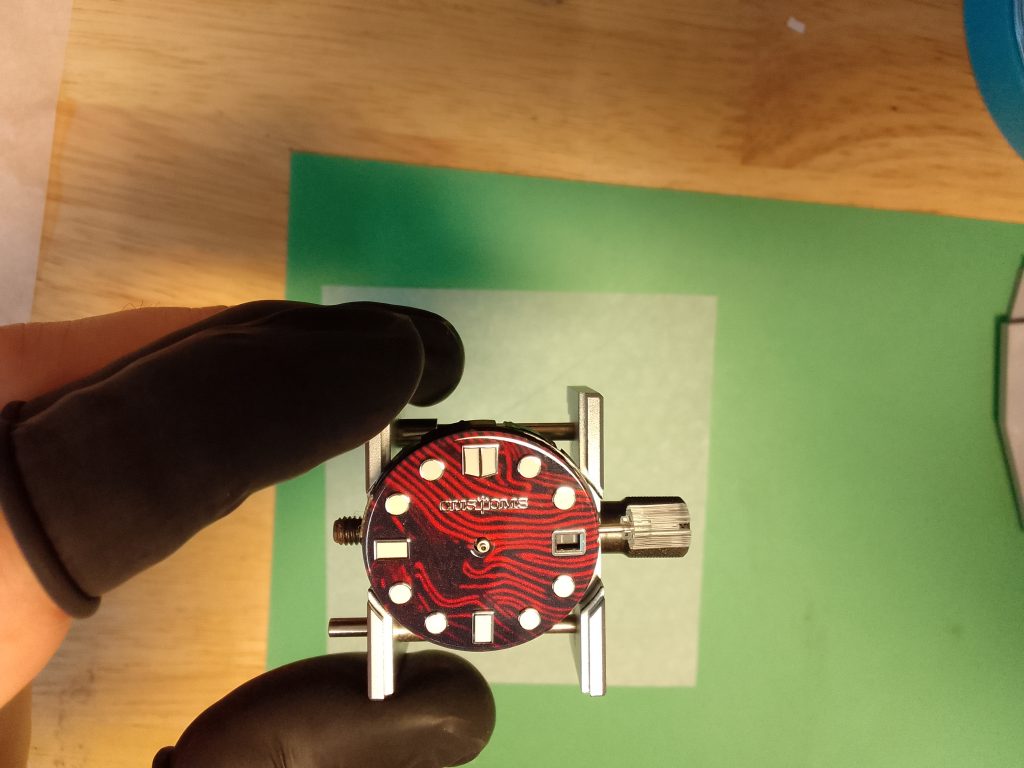
It’s likely the dial foot you have removed may have left a little stub. You will need to remove these with a rotary tool or file. The dial can be placed in the movement holder face down. You can use some plastic sheet to protect the front of the dial, or you can hold the dial with something like finger cots or gloves to stop the natural oils and other muck from your fingers transferring to the dial.
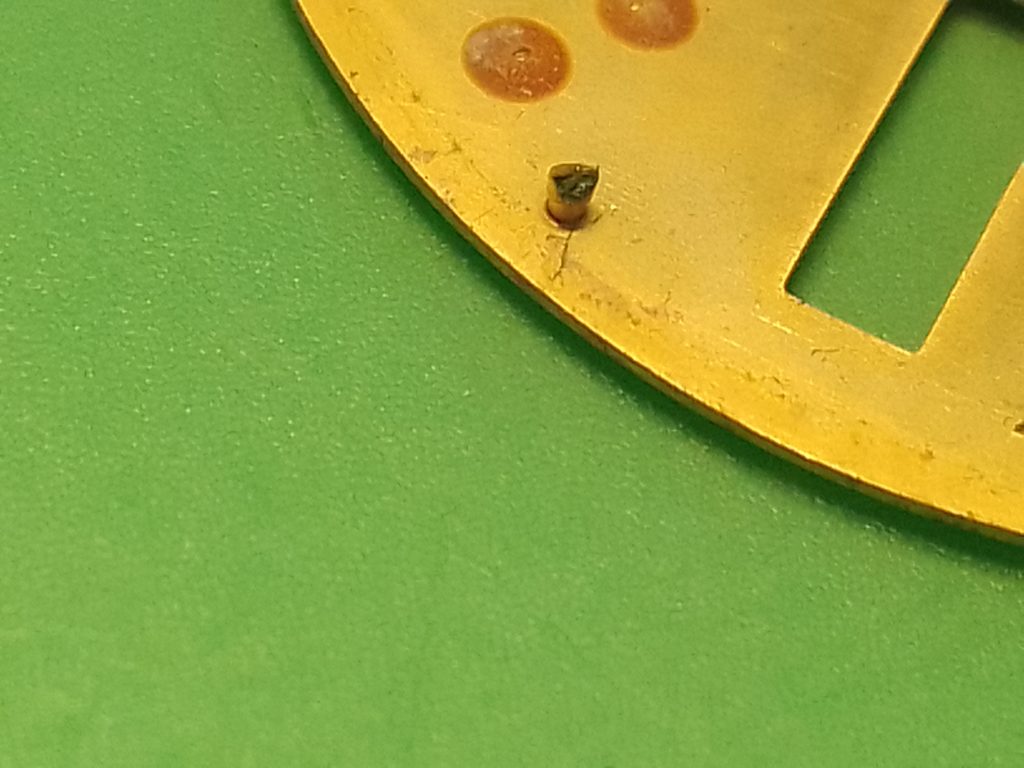
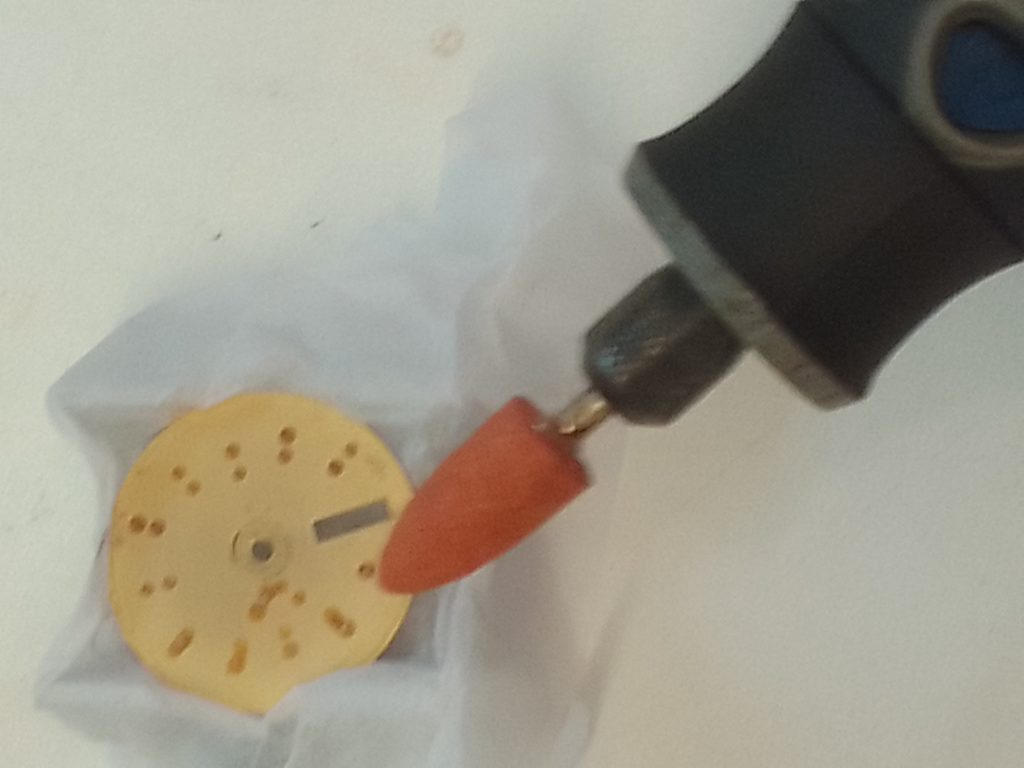
The rotary tool will need to be fitted with a grinding stone. The pink or orange are not too aggressive. It will vary, but using the rotary tool (dremel) on setting five or six makes light work of the the stump left by the dial feet. If you are using a file this can be done with relative ease as, typically, dial feet are brass.
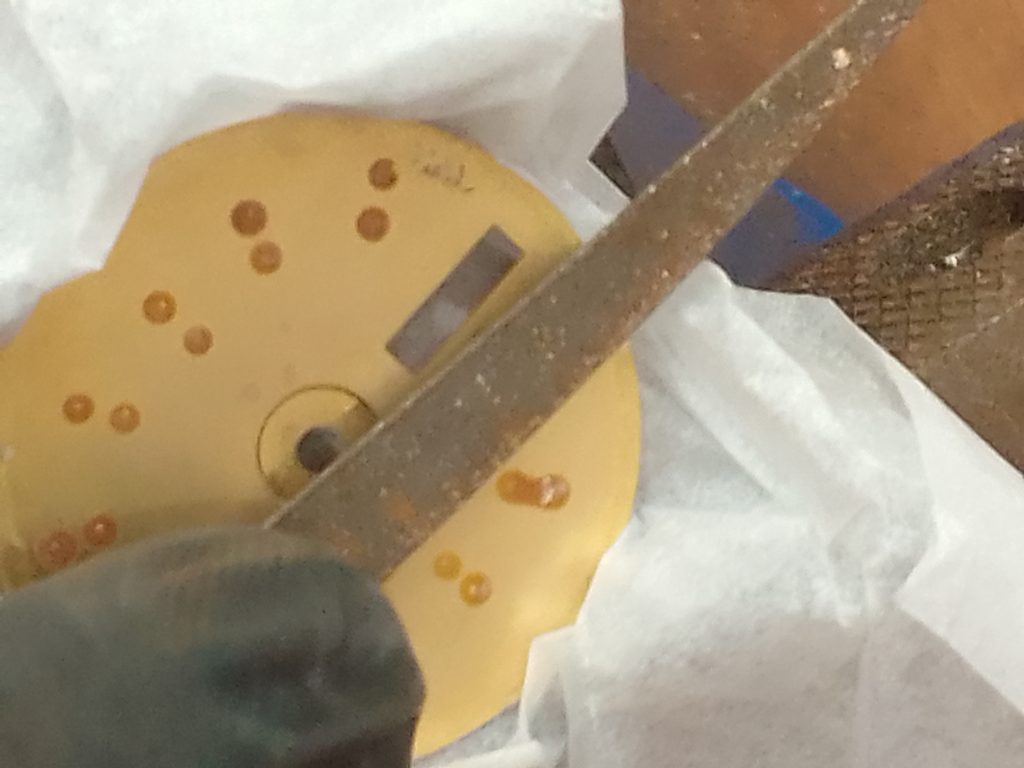
Can you get away with not doing this? Well not really! The stump left above the day/date window can be ignored. The removal of the foot on the rear of the left hand side of the dial will need to be cleaned up, or there is a risk of your dial sitting wonky and this will foul on the dial/movement spacer. This stump will press against the spacer and may cause some issues when casing the watch, not to mention the hands potentially touching as they rotate.
It is important that you clean the swarf, which is fine pieces of metal filings left over from the grinding or filing process. This can be done with an air duster, small brush or a cloth. If you use the anti-static cloth, assign this cloth for dirty work from now on, as it may have absorbed the small metal filings. You will want to inspect this with a loupe, or magnifying glass, before you take it back to your clean space.
Fitting a New Dial – Process
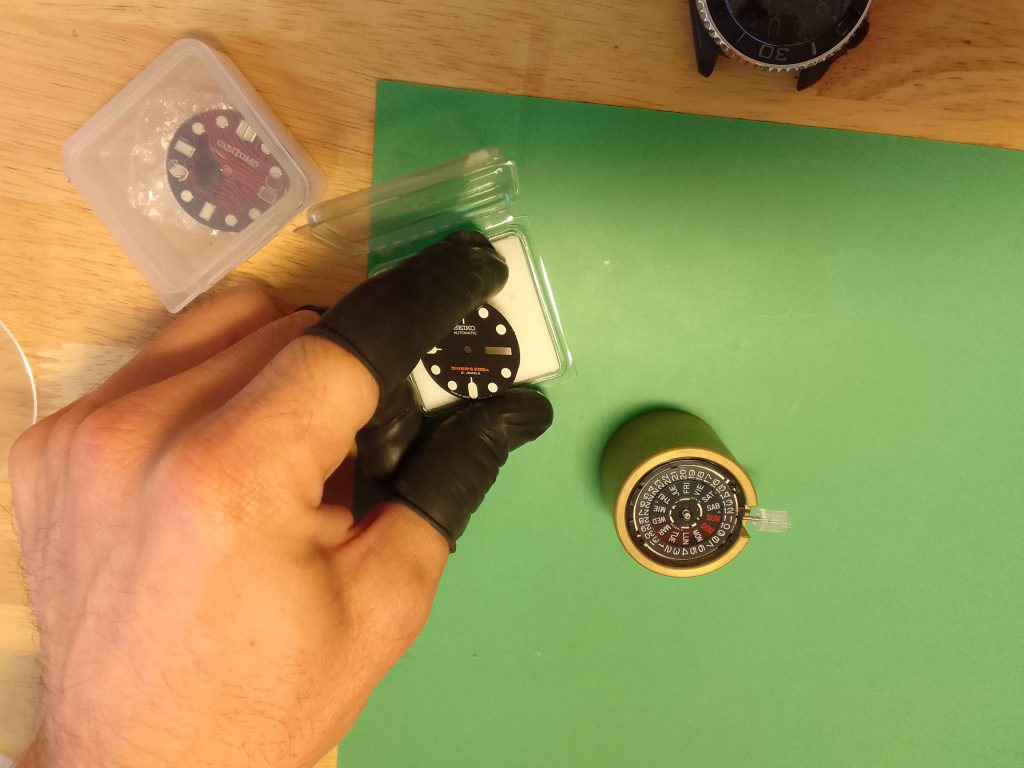
After you have successfully removed the excess dial feet from your new dial, you will need to locate the holes which receive the dial feet on the movement holder.
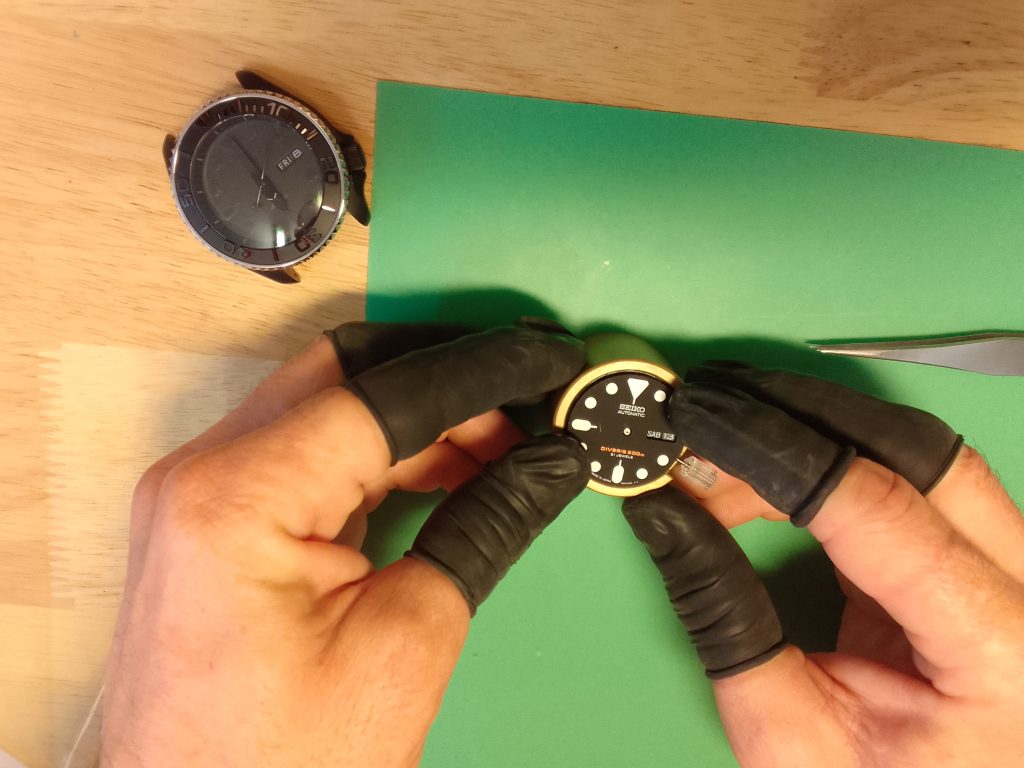
Place the dial by hand (with finger cots or rubber gloves), or use your tweezers on to the movement holder guiding the pins into the holes.
Once the dial feet are aligned with the holes, lightly press the edges of the dial where the dial feet are located with your fingers or thumbs. The dial feet will slip into the holes, and the dial will be firmly secure.
The dial is now firmly secure and you can begin to attach your hands.
Attaching Dials with Adhesive Feet (Dial Dots)
Broken dial feet can be a problem for a watch owner and modder alike. If you have found yourself with broken dial feet, you will require a soldiering iron, some solder and a copper rod. However, there is a far easier option using inexpensive sticky dial feet. This is covered below. This is a quick and easy fix for someone that is looking to mod their Seiko SKX or 5KX into a conversion case with a three o’clock crown. It will also be useful for modders with broken dial feet, or if you accidentally cut the wrong ones from the your new dial.
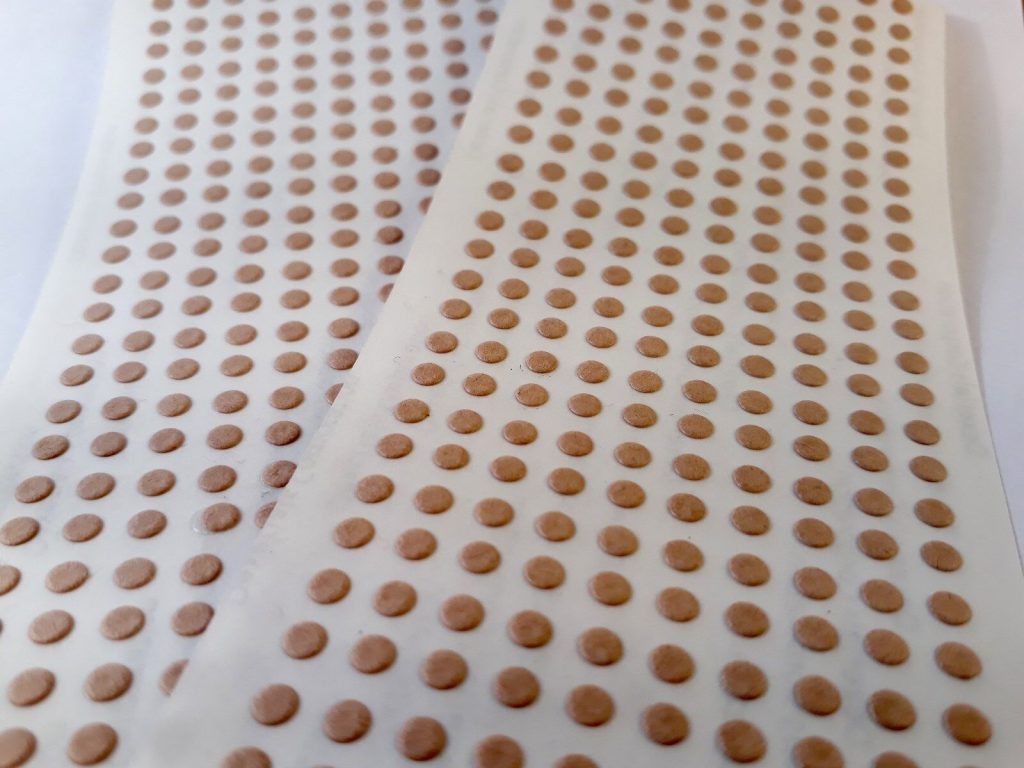
These adhesive spots can be sourced from your favourite mods supplier, Ebay, or watch parts distributors in your country. These are circular, often called dial dots among modders. They measure 3mm, and are a little big for what you require, but they are more than sufficient in terms of strength of adhesive. These are essentially tiny pieces of double sided tape. If you don’t have these to hand, you may be able to use some spare bezel tape. You can cut this up to suitable squares and this will suffice. Seikomodder.com has used bezel tape for this guide as it is likely a new modder will have this to hand.
Tools
- Dremel or File
- Tweezers
- Sticky Dial Feet
- Pegwood
Process
If you are converting your SRPD or SKX to a three o’clock crown case, the dial feet will need to be removed. If you are here because you have removed the wrong dial feet, you may also want to remove any stubs that have been left behind. For the purpose of this guide seikomodder.com have used a sliced up double sided bezel tape as this is what most first Seiko modders may have to hand.
Once you are satisfied that the small stubs left from the dial feet will not foul on the movement/dial, spacer/holder and it is clean, place this in a container so it is safely stored away. Now you will need the movement, locked into the movement holder with the day/date complication face up. Using your tweezers, remove one of sticky dial feet from the release backing paper, keeping the other side protection paper in position. Aim to pick the sticky dial foot up from the edge, so you have space to press it down with the pegwood, or other implement. Once you have successfully taken the adhesive foot in your tweezers, place the sticky dial foot on the movement dial spacer.
You can aim to have the excess of the sticky dial feet centered on the movement holder. This way the adhesive ‘shouldn’t’ foul the date wheel. You will need to either cut off, or tidy up the overhang later in the process. The other option is to leave the excess on the outer diameter, which you can trim with a razor blade or tidy up by pushing the excess into the little recess on the movement spacer with a suitable tool. Repeat the process so you are satisfied that you have a sufficient amount that are evenly spaced out on the dial/movement spacer. A minimum of four is suggested here.
Once you have positioned each of these, you will want to ensure that the adhesive is well stuck to the movement/dial spacer. You can do this with some pegwood by pressing down on each of the sticky dial feet. Be sure to rub the pegwood across the sticky feet to ensure a good adhesion.
Whichever position you have chosen for your sticky dial feet, you will want to remove each of the adhesive protection pads one at a time. Should these be well adhered to the dial/movement spacer, press down gently on the centre with the point of your tweezers and slide this to the outer edge of the dial spacer. The protective pad should fall away. If the protective pad does not fall away, take hold of of it with tweezers to remove it
If you need to trim or tidy up the excess sticky pad, this is best done after the protective pad is removed. Cutting the excess from one edge to the other will not work without practice, it may peel the adhesive pad away. Keep an eye out on our Quick Guides section for a new guide on this. For this guide we will tidy the excess into the little recess around the top of the movement spacer and tuck it down the side of the date wheel. Tidying the excess is a minimum, and is important as not doing so may foul the case when casing, or affect the datewheel. This may cause the dial to move out of alignment during installation. It can also stick to finger cots when positioning a dial and stick to the inside of the case, making casing and un-casing the movement, dial and hands more difficult.
If you have successfully attached sticky dial feet, and removed the protective pads, you can now begin to position your dial and stick this to the movement. This can be a little tedious as you could stick it in the wrong position. This may mean you need to replace some of the sticky dial feet. Remember, if you are converting your case from a four to three o’clock crown, you will need to change the day wheel before you attach the dial. Take note of the pinion as this can be slightly offset, you will need to ensure this is central to the hole in the dial. Using fingers in cots, you can position the dial a little easier than with tweezers.
This is really done by eye so hopefully you have your spectacles on! Move the dial over the movement and view this from above.
When you are happy, place the dial on the the movement spacer at a very slight angle, so you can make contact with the adhesive dial feet on one side of the movement holder. Feel free to use some pegwood, or your finger, to steady the dial against the dial holder as you make the adhesion.
When you are confident that the dial is in the correct position, you can press down above the areas where you applied the sticky dial feet to be sure the dial is well attached. Now the hands can be fitted, follow the seikomodder.com guide to fitting hands to your Seiko Mod here.
If you’ve found this guide helpful, be sure to comment below and explore our collection of other informative guides at seikomodder.com. We offer a wealth of resources to assist you in your modding journey. Follow us on source to stay up to date. We’re here to support your passion for watch modification.
Useful Information
Dial Size
- 28.5mm is optimum.
- 28mm is suitable.
- 29.5mm is too big for the SKX.
Date Window Size & Position
- From edge of dial: 2.5mm.
- Day Date Window Size: 7mm (length), 2mm (height).
- Date Window Size: 3mm (length), 2mm (height).
OEM Dial Product Numbers:
- Black: 7S26002RXB19
- Blue: 7S26002RXL19
- Black JDM: 7S26002LXB19
- Blue JDM: 7S26002LXL19
- Orange JDM: 7S26002LXY19
- Black: 7S261127XB19 (Case: 7S26-0028)
Procuring a Seiko 5KX
Seiko have lots of options in the 5KX range a link to the collection can be found here.
0 Comments