Building the Custom Santos Homage? Let seikomodder.com assist you with step-by-step instructions for assembling your own unique wristwatch using pre-configured cases. This is particularly beneficial for newcomers, as it necessitates only a limited selection of tools, and these case sets are fairly reasonably priced. If you’d like to learn more about the steps in this quick guide, follow the links for further details. A review of the products used in this guide follows step by step instructions.
If you are used to modifying Seiko watches there will be a few differences to note with the production of this custom watch.
- Dial: The dial for this case is square.
- Additional movement holder/spacer: Secures the movement into the large case.
- Case back is sealed with screws.
How to Guide – The Custom Santos Homage
Tools and Consumables
- Springbar Tool
- Pin Pushers
- Hand Press
- Pliers
- Tweezers
- Screwdrivers
- Case Cushion
- Movement Holder
- Air Duster
Optional Tools and Consumables
- Bracelet Vice
- Hammer
- Rodico
- Watchmaker’s Paper
- Storage Containers
- Loctite
- Calipers/Verniers/Ruler
- Rotary Tool or File
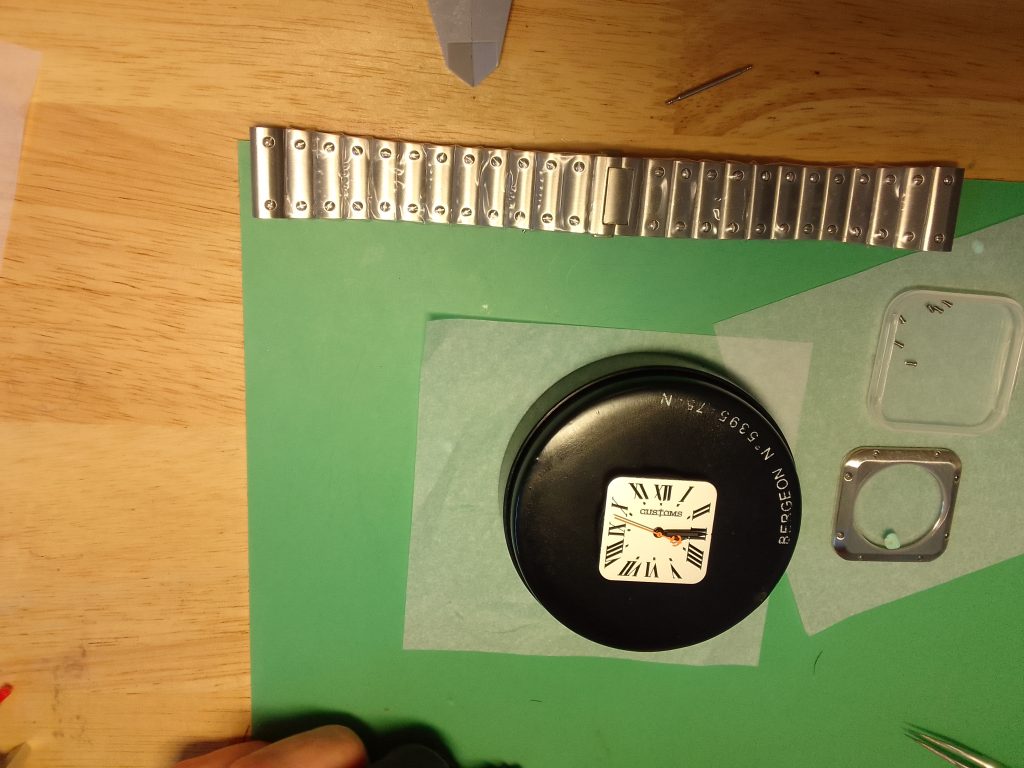
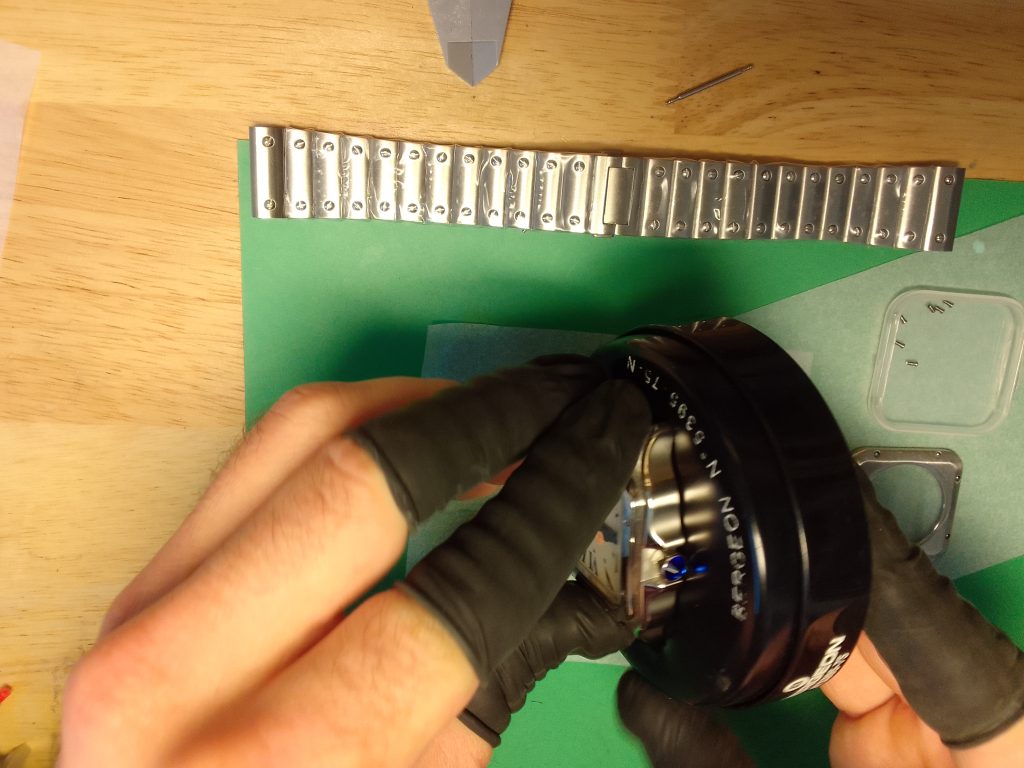
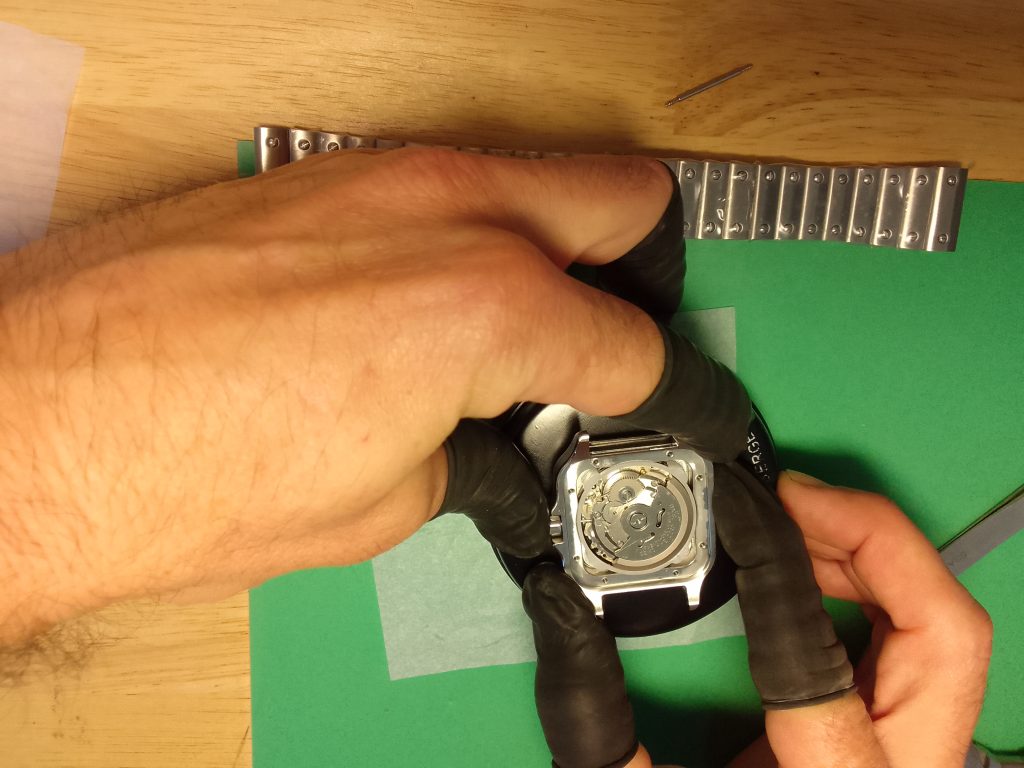
Preparation is key, so getting all the components laid out on the bench or workspace ready is a good idea. These cases come ready assembled with the bracelet fitted, therefore, the first thing to do is remove the bracelet.
Remove the Bracelet – The Custom Santos Homage
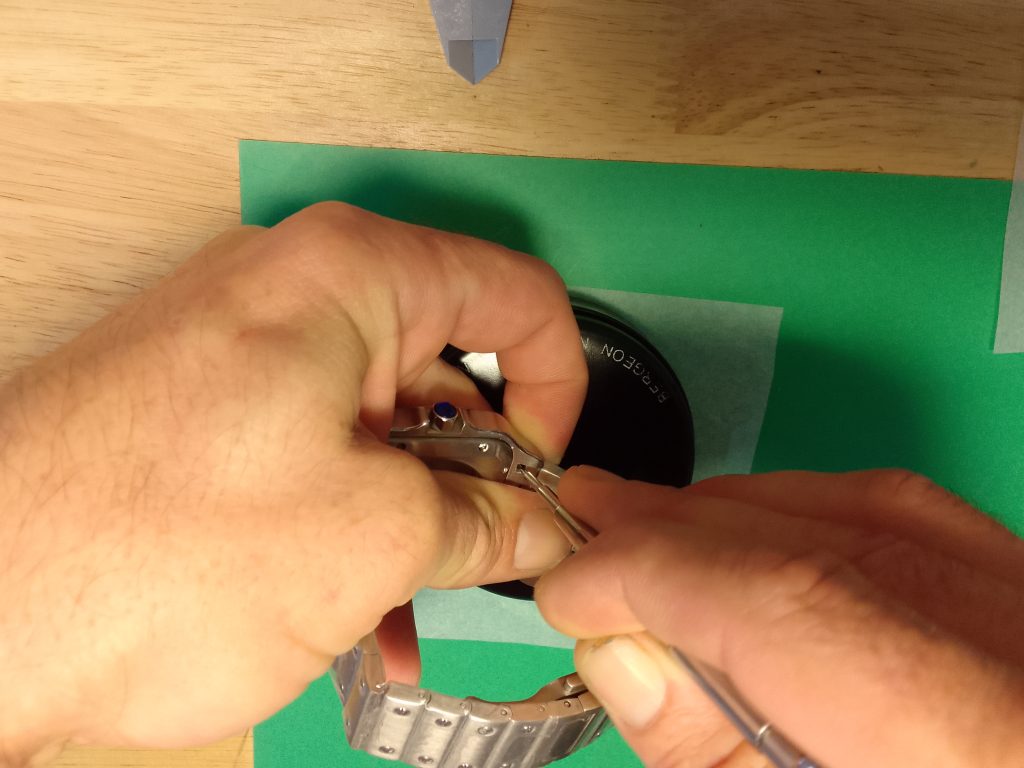
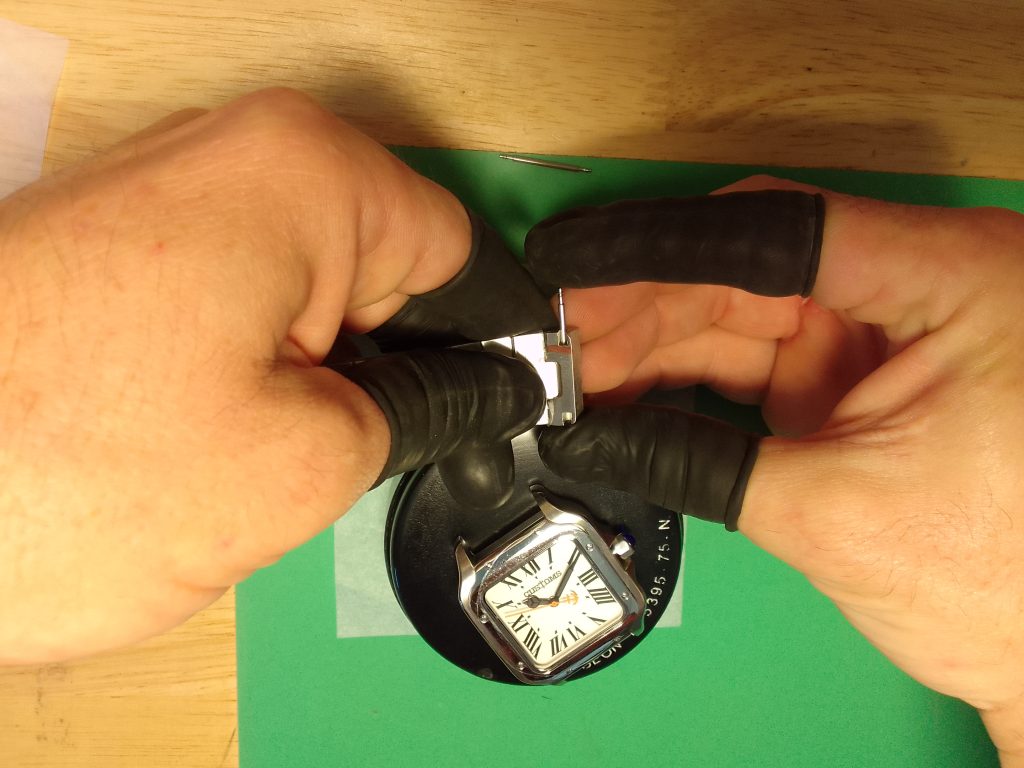
If you look at the rear of the case, between the lugs, where the bracelet connects with the Custom Santos Homage case, the bracelet end links have a space cut out to access the springbars. To remove the pin, place the pin pusher on the springbar close to the case and pull the springbar away from the case. You may need to pull or push the end link gently to keep the spring bar from re-engaging with the hole in the case while you remove the springbar from the other side of the end link. Once the pin has moved you can remove this if it doesn’t fall out when you move the watch.
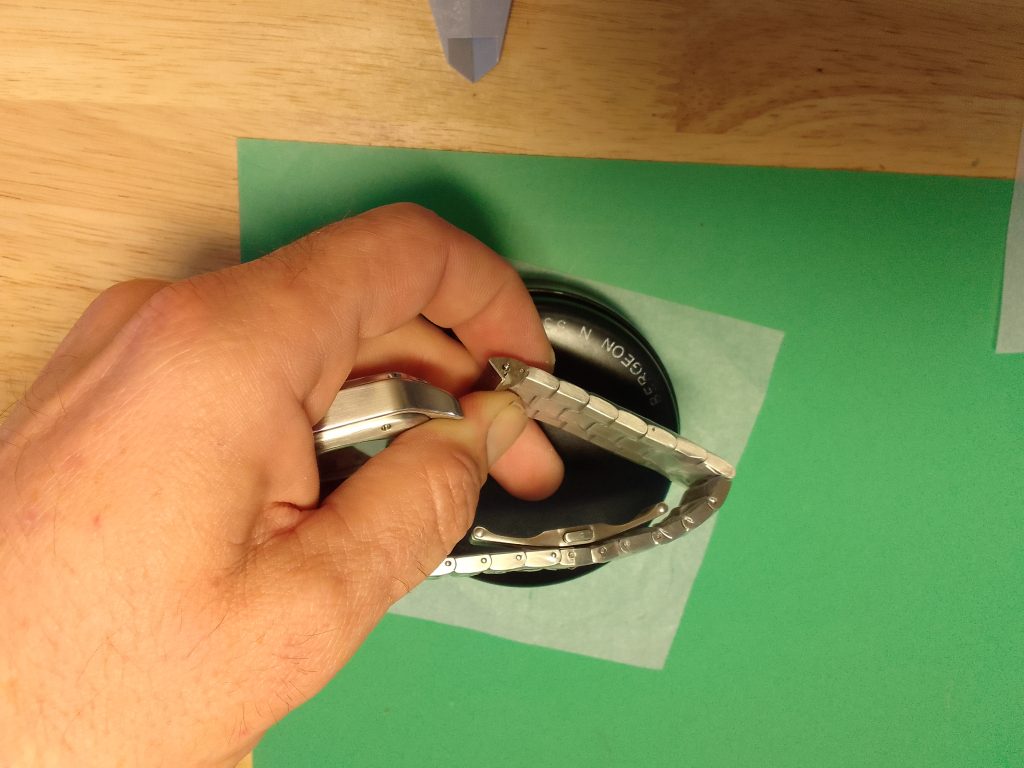

This can be repeated again to remove the remaining side of the bracelet. Check again which side the pin comes out from, although it should be the opposite side to the first pin that was removed. Once complete, store the pins somewhere safe and set the case and bracelet aside.
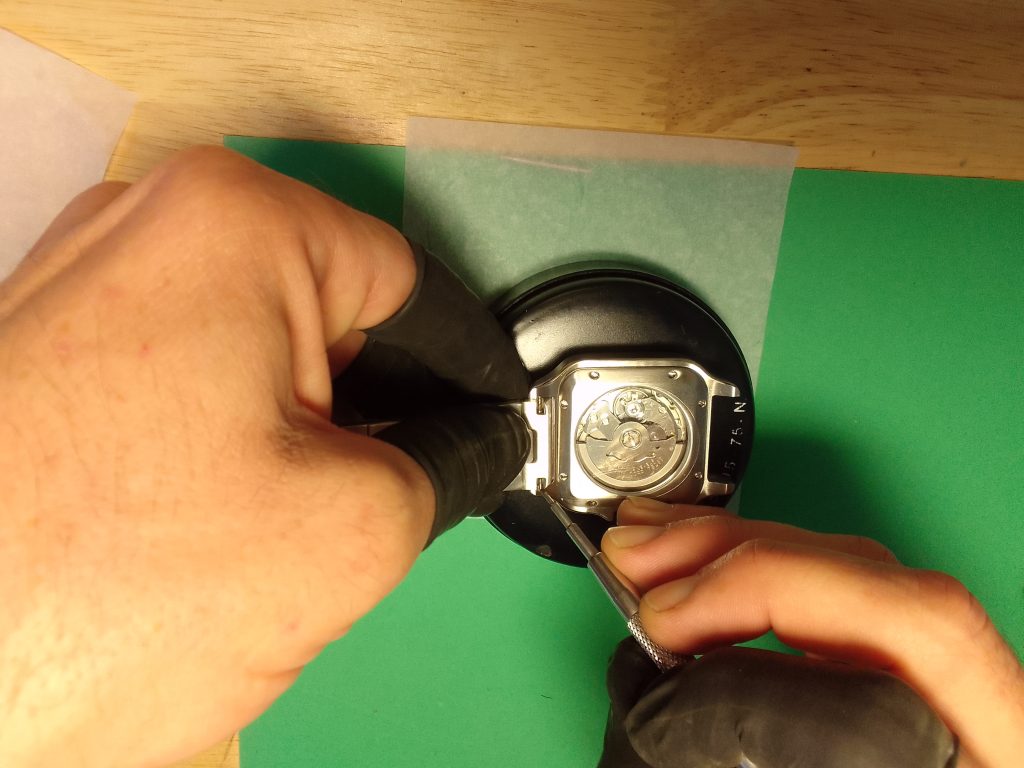
Removing the Case Back Screws
The case back on the Custom Santos Homage is secured differently to the majority of the Seiko mods you may have encountered. The case back is square, and secured by sixteen screws. These can be removed one at a time. Starting at one corner, then crossing the case to the other will release the case back evenly. Seikomodder.com recommends marking the case back at the top so, when reinstalling, it goes back in the same way it came out.


Attaching the Dial – Custom Santos Homage
The dial for this custom watch comes with only two dial feet, suitable for a three o’clock crown. It may be necessary to remove excess dial feet if there are more than required. More information on this can be found in the guide here. This dial is intended to be utilised with this case so the size is perfect.
The movement will need to be in a movement holder. The dial can then be aligned with the crown at the three o’clock position and the centre hole of the dial with the pinion of the movement. With a little wiggle the dial should find the holes in the black or grey movement holder. Once you are confident that the pins are in position, you can apply some pressure down.


Fitting the Hands – Custom Santos Homage
Preparation for fitting the hands can make the job a little easier. Laying out the tools you require will help as you progress to becoming a proficient Seiko modder. This is one of the hardest parts of assembling your custom watch. Seikomodder.com recommends that you practice on an old watch or have a spare set of hands, or two, as you may scratch or bend the hands.
Hour Hand
Placing than hands is done with tweezers. The hour hand first. The direction of the hand should be pointing to twelve o’clock. Once the hand is located on the pinion in the centre of the dial, the tweezers can be removed. Micro adjustments can be made by gently ‘nudging’ the hand with a hand press to get the perfect alignment.
Once this is attached you will need to press the hand into position with the hand press. Before you do, you may want to clean your hand press in some Rodico. Finally, when the hand is pressed into position, assess the side profile, ensuring that the hand is seated parallel to the dial. This will limit the hands fouling after installation.


Minute Hand
The same process is repeated for the minute hand, although you will likely need a different press or dye in your hand press. Remember seikomodder.com recommends to clean the end of your hand press in some Rodico before the hand is pressed into position.


Second Hand
The second hand is the possibly the hardest hand to fit. You may want a use the community tip found on this page. The process is the same, take the hand in the tweezers and position this over the centre pinion. You may wish to lift the hand with Rodico before it is taken in hand with the tweezers.
Once the second hand is resting on the pinion this can be pressed into position. Once this is successfully attached you can check the alignment for the final time.


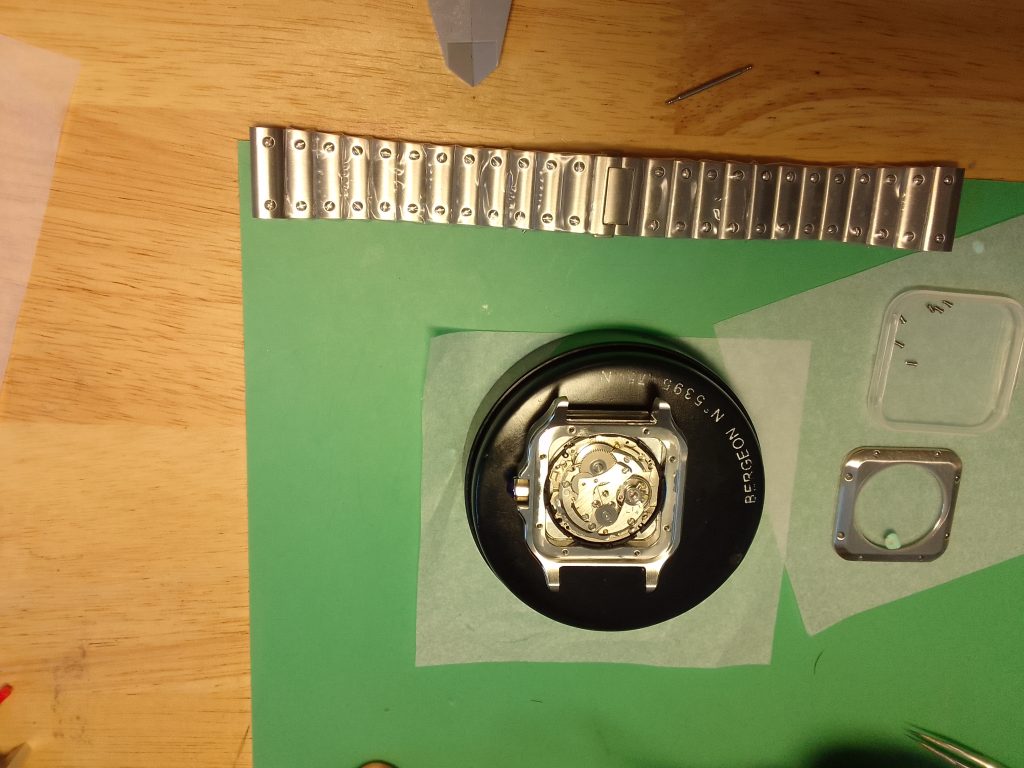
Casing the Movement, Dial and Hands
The temporary crown and stem will need to be removed from the movement so the watch can be cased. Setting the movement in a vice/holder will free both hands for this task. Once removal of the crown is complete the movement, dial and hands can be set on a case cushion and given a dust off, removing any stubborn particles with Rodico.
The Custom Santos Homage case can then be air dusted and inspected for any particles. Once satisfied the case and dial are dust free the case can be laid over the dial, movement and hands. This case’s internal dimensions are bigger than the dial so it will simply lay over the top. There is an extra spacer to hold everything in place when the case is sealed.
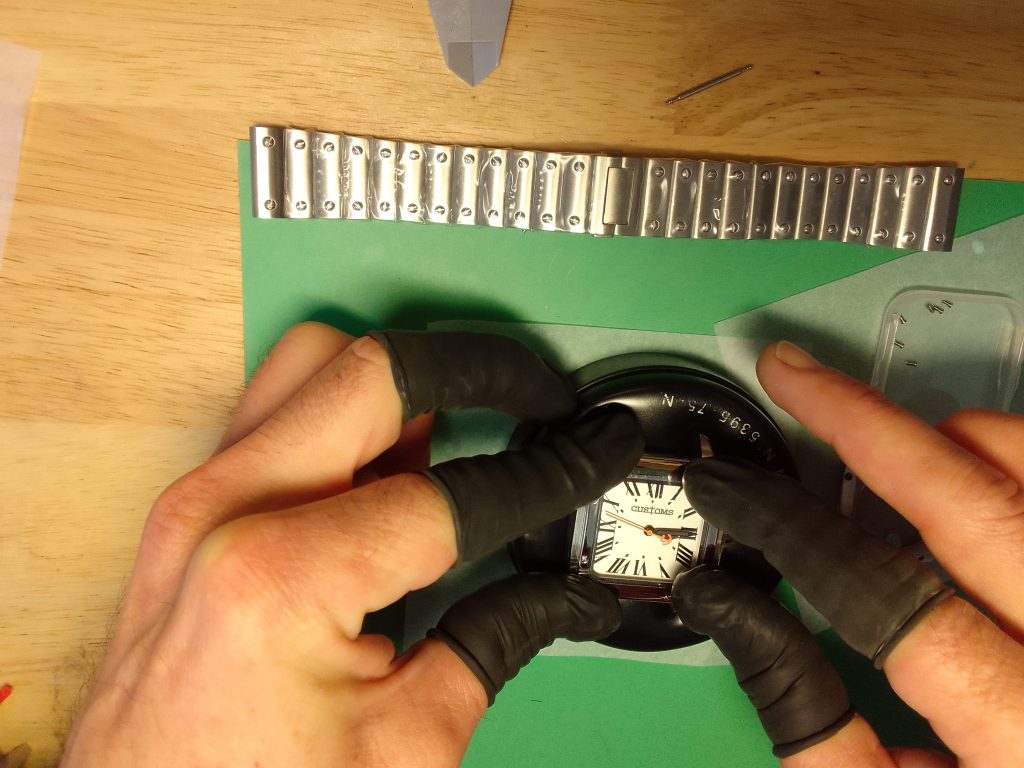
Inspect the Custom Santos Homage for dust one final time before flipping the watch over on the case cushion.
Fitting the Crown and Stem
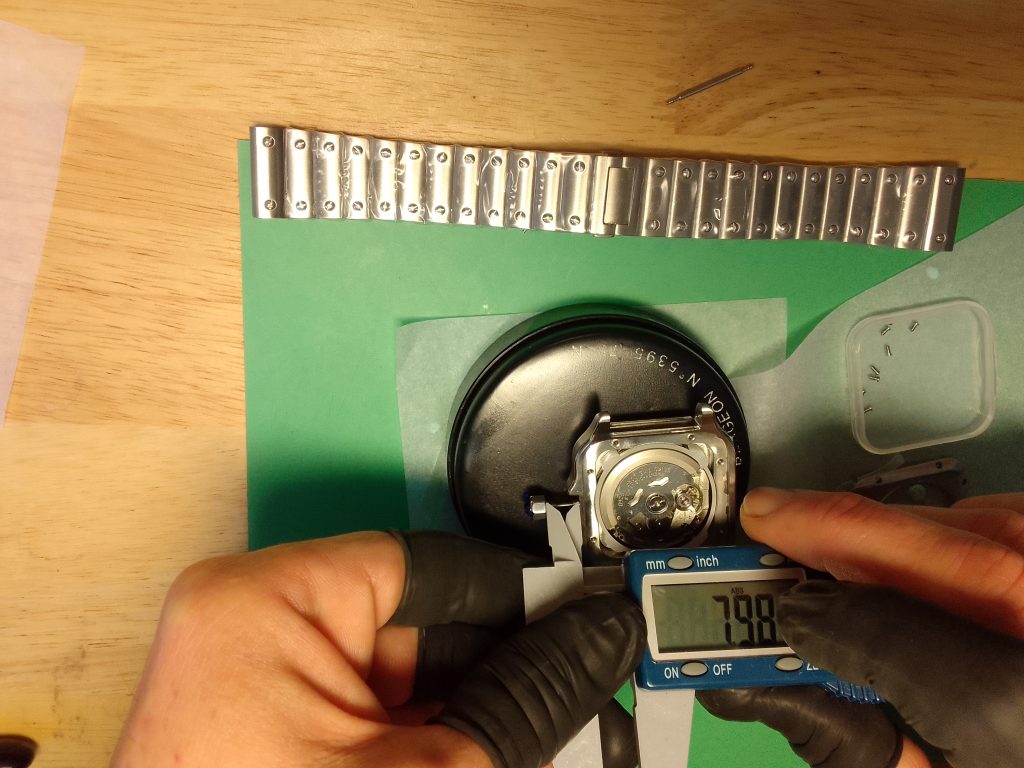
Attach the crown to a long stem to measure the amount of excess to be removed. Use pliers to create a firm bond after you have secured this ‘finger tight’.


The stem can be inserted into the movement, this may require a twist to find its way home. The excess can be measured, followed by removing the crown and stem.


The stem can be separated from the crown and marked with the length to be removed. This can be done by eye if you wish. The stem can then be cut and reattached to the stem with loctite, although further testing may be required to achieve the perfect length stem before the loctite is applied.


Once the stem is the optimum length the final fitting can be made and the crown pushed into the water tight position. Don’t force it, the crown may require a little twist to fully engage with the keyless works of the movement.

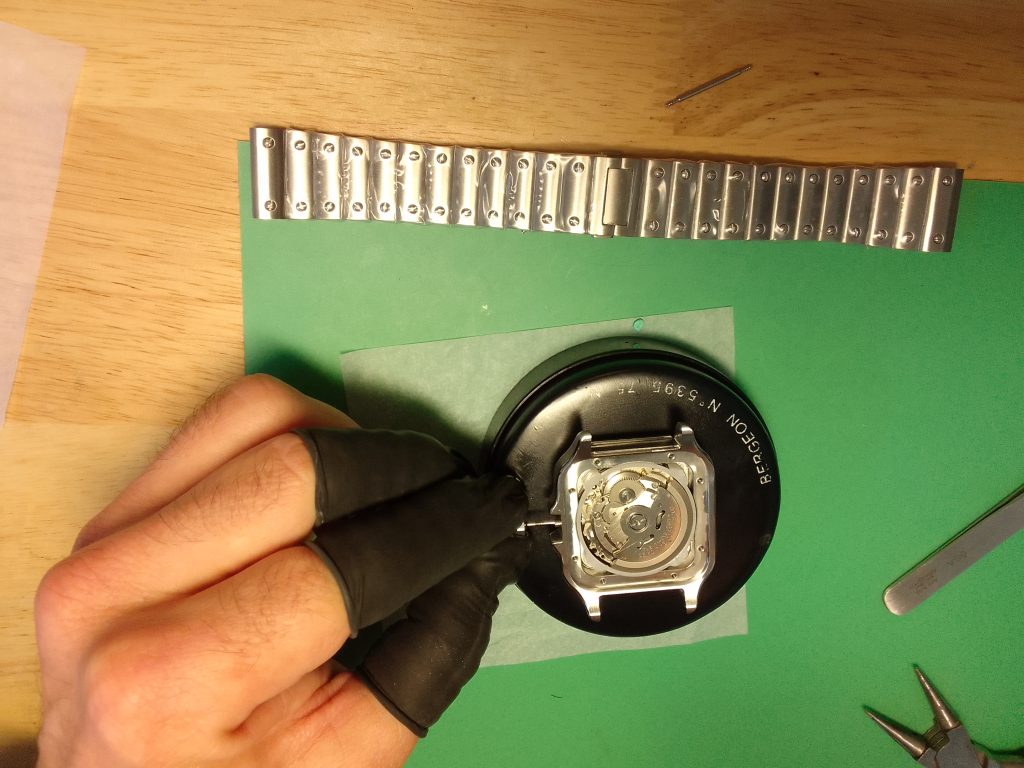
Fitting the Rotor
If you removed the rotor, you may wish to replace this now. It is the done in reverse of the removal. Checking the rotation to ensure the rotor is not fouling the pawl lever. You may feel a click as the rotor aligns with the pawl lever.


Sealing the Case
There should be a gasket supplied with the case. This is a flat gasket with holes cut from it where the screws are located. You may wish to grease the gasket before installation. Lay this into position on the case with tweezers. Check that none of the holes are covered by the gasket. This case back will need to be positioned correctly. The case back is square so may require some 90 degree rotations to find the best position for it. If you have followed the guide you may have marked a directional position on the case.


Once the case back is in position, the screws can be dropped into the holes and fixed by moving corner to corner across the watch to ensure a firm and flat seal against the gasket.


Attaching the Bracelet
The bracelet can be re-attached with the two springbars that were removed. Inserting the springbars in the bracelet is done by hand. The springbar tool will be required to pull the pins back so the bracelet end link can lock into position between the lugs. The first side will be the easiest, the second will require you to hold the weight of the bracelet while the final resting position is achieved.

You can inspect both sides of the bracelet by giving a light tug to confirm the bracelet is locked into position. If the bracelet needs adjusting this can be done using pin pushers.


Case Specifications
- Case material : 316L Stainless steel
- Case back : 316L Stainless steel and sapphire (exhibition)
- Case size : 38mm (44mm with crown)
- Lug to lug : 44.8mm
- Height : 12.3mm
- Bezel : Stainless steel bezel
- Glass : Sapphire crystal
- Water resistance : 100m
- Bracelet: 316L Stainless steel – Butterfly clasp with overlocking
- Require Dial Size: 29.8mm
Review
- Overall Rating: 3/5
Review – Custom Santos Homage Square Dial
The Custom Santos Homage Square Dial presents a unique blend of features, showcasing both its strengths and limitations. Let’s dive into the details:
Pros:
- Square Dial Design: The square dial design of this homage watch provides a distinctive and stylish look that pays tribute to the iconic Santos timepiece. It’s an appealing choice for those who appreciate the fusion of classic and contemporary aesthetics.
- Case Back Securing: The case back of this watch is secured by a series of 16 screws. This setup allows for easy access with just a screwdriver, eliminating the need for specialized caseback tools. This user-friendly approach simplifies maintenance and adjustments.
- Bracelet Clasp: The bracelet features a butterfly clasp, which is well crafted and remains securely closed. This clasp design enhances both the aesthetics and convenience of wearing the watch.
Cons:
- Design Limitations: The design of this homage watch comes with certain limitations, particularly when it comes to customization. While the square dial design is distinctive, it may not accommodate a wide range of variations compared to more traditional round dials. This could limit your options for personalization.
- Build Quality Discrepancies: The build quality of the case exhibits a bit of a mixed bag. While the exterior boasts excellent finish, the parts that remain concealed lack the same level of fine finishing. This discrepancy may not be noticeable during regular use but could impact the overall perception of quality.
- End Link Finish: The end links, though providing a snug fit between the lugs, disappoint with their finish. The edges that rest against the case could have seen better finishing, which may detract from the watch’s overall premium feel.
- Replacement Gaskets: The crystal and caseback gasket maybe difficult to replace.
In summary, the Custom Santos Homage Square Dial offers a unique square dial design that appeals to those seeking a distinctive homage to the Santos legacy. The use of 16 screws for the case back is a user-friendly feature that simplifies maintenance. However, the watch has design limitations, and the build quality discrepancies, as well as the less-than-ideal finish on the end links, are areas where improvements could enhance the overall quality and appeal of the timepiece. The well-crafted butterfly clasp on the bracelet remains a notable positive aspect of this homage watch.
Cartier – Buy the same products
The products used in this guide can be found on the following links –
If you’ve found this guide helpful, be sure to explore our collection of other informative guides at seikomodder.com. We offer a wealth of resources to assist you in your modding journey. We’re here to support your passion for watch modification.
0 Comments