Casing SKX & 5KX – Thinking about customizing your case? This is one of the more straightforward modifications you can undertake. With a wide variety of cases available in the market, it’s crucial to ensure that the case is compatible with the 7S family movements (NH36 etc) – a case that fits one of them typically fits them all. Additionally, keep in mind the crown’s position when switching the case, as you might need to adjust the day wheel/disk on your movement. This is why, at seikomodder.com, we describe it as a modification that ‘can’ be relatively easy to tackle.
The movement, hands, and dial from your Seiko watch will seamlessly fit into a 3.85 o’clock case. While many references mention a four o’clock crown position, the standard terminology for the crown’s location on SKX and 5KX cases and cases that replicate their design is at four o’clock. In reality, it’s more accurately positioned at 3.85 (with 0.85 representing the percentage distance between the three and four o’clock positions on the watch). This provides a straightforward modification opportunity for those with a 5KX looking to switch to a 200m case with screw down crown or for SKX enthusiasts seeking a different case colour, such as black or gold.
Practically all suppliers of mod parts and custom watch parts list the movement that the case is suitable for. This gives piece of mind to newcomers to the hobby that the case will be suitable for the NHXX movements.
After discovering a compatible case, it’s probable that you’ll need to purchase a new stem separately, as the case might not come with one. Make sure to verify this and place an order if necessary. Waiting for parts when you’re eager to proceed with your modification can be quite frustrating. In addition cases can be purchased as modular systems such as the popular SKX conversion cases. You may need additional parts so be sure to read each listing before you make any purchases to ensure you stay within your budget.
If you are unsure if the case is suitable, below is some useful information to help modders who wish to go off piste.
- ID Diameter 28.80 (ideal)
- Suitable for movement height of 5.32 mm
- Total height of 7.56mm – (approx 7.8mm including hand height)
The Process
This casing and re-casing process is straight forward, and this guide offers a complete overview of the steps required to case or re-case your modified Seiko. The market offers a wide range of cases, from fully equipped to minimalist options. If you’ve opted for a conversion case, which is essentially a bare-bones case, you may need to ensure all the original case components or new modding parts, including the bezel, crystal, case back, spring, gaskets, and crown, are in place on your new case before you commence the re-casing procedure.
When you intend to rehouse your SKX or 5KX in a case with a three o’clock crown position, it’s crucial to take into account the dial feet. You have two choices here: one involves recalling some basic geometry principles and mastering soldering skills to affix new feet, while the alternative solution is elaborated upon in the dial section, specifically addressing the issue of broken dial feet. Additionally, remember that a three o’clock crown conversion case necessitates a change in the day wheel, which is thoroughly explained in the movement section of this guide.
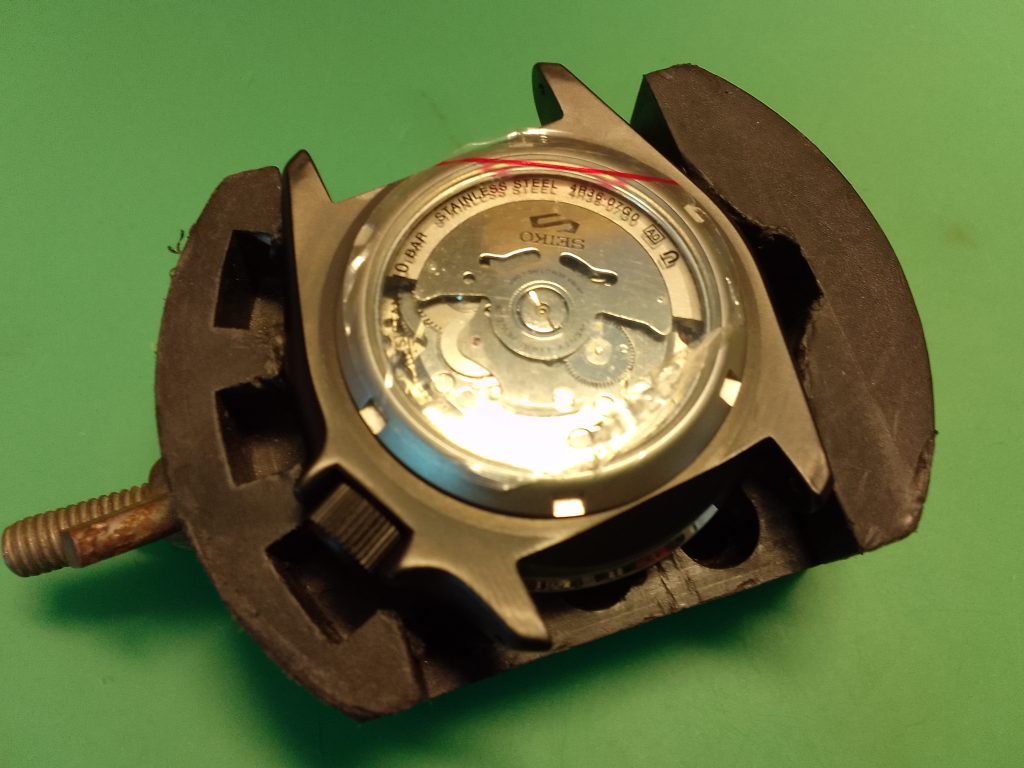
Un-Casing – Removing the Case Back
Un-casing is relatively simple. There are two, possibly three, things you will have to do before you can remove the movement.
Tools and Consumables:
- Suitable Case Back Opener
- 3.00mm Brown Screwdriver
- 1.20mm Red Screwdriver
- Tweezers
- Cushion
- Selection of Containers
- Case Vice
- Air Puffer
- Rodico
- Finger Cots
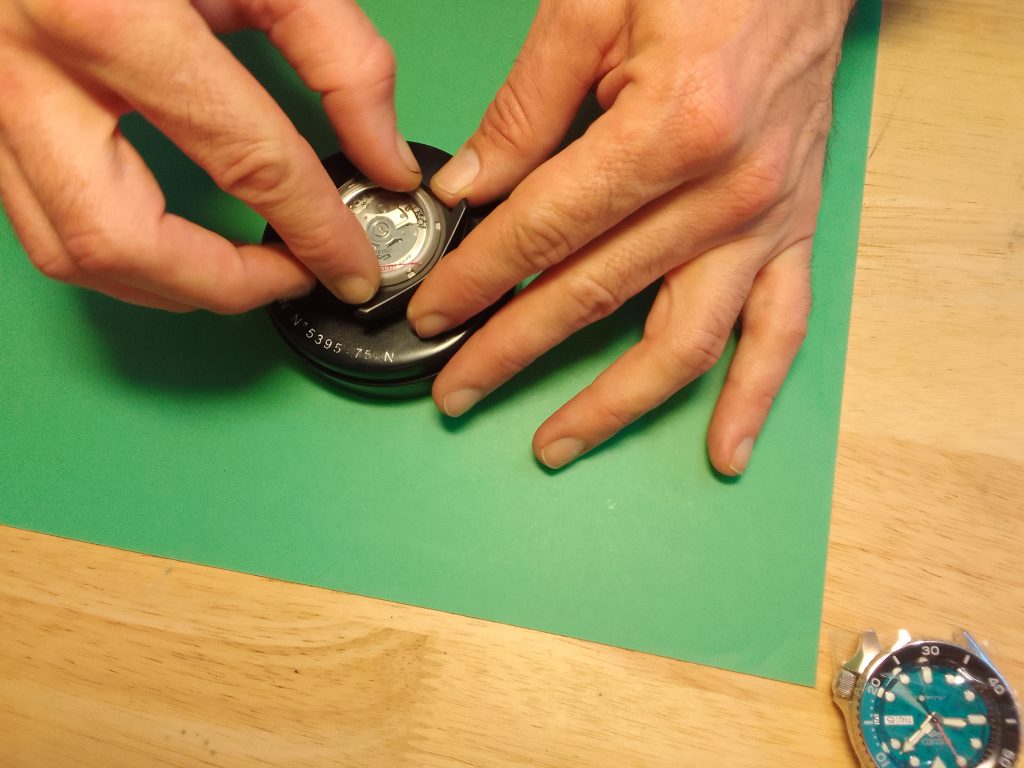
Removing the Case Back
Begin by taking off the case back. Configure your case back remover with appropriately sized dies. Secure your watch in the case vice and employ the wingnut to fasten the case firmly into the case vice/holder.
Take a firm grip of the case vice, or the watch case with one hand. With the other hand, you can now turn the case back remover anti-clockwise to open the case back. Once you have broken the seal, you no longer need to use the case back remover. You can use your finger to turn the case back. This reduces the the risk of a slip with the case back tool leaving scratches on the case.
Tool Variation – You may have a two-pin, three-pin, or bench case back remover. Whichever you have, be sure to lock the tool onto the case back to ensure you don’t slip. Placing the watch in a case holder for awkward (very tight) case backs may be required. Slipping will put some unsightly scratches in the case back.
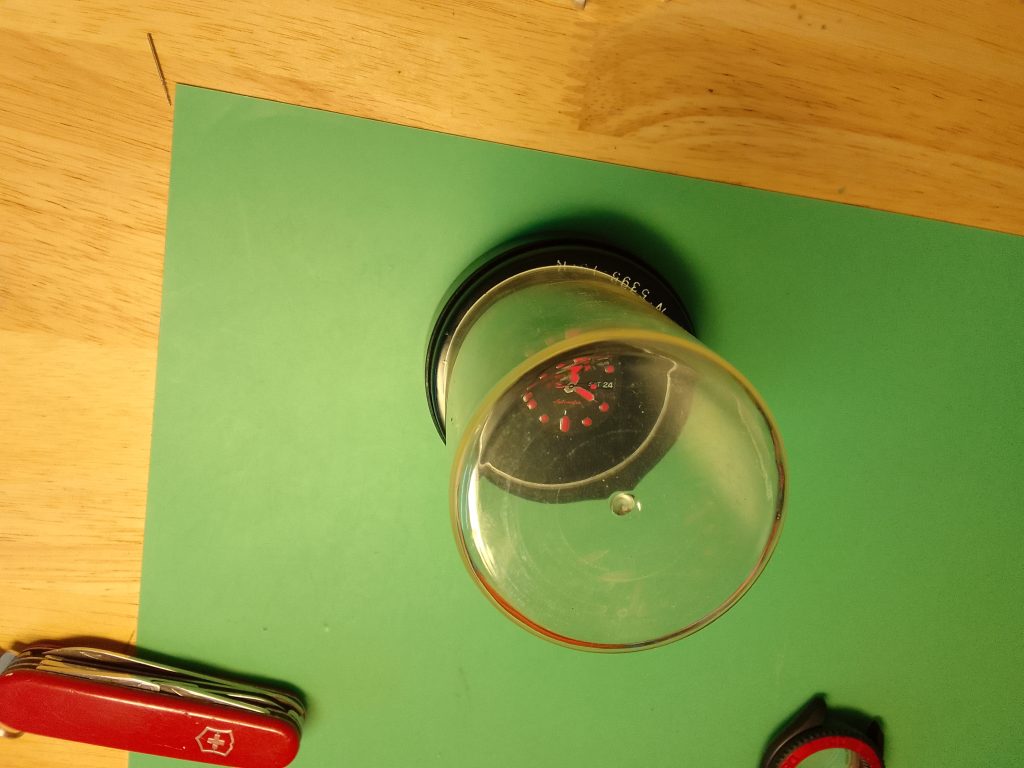
Rubber Ball Method
Useful for all but great for beginners building custom watches for fun!
Finally the rubber ball should be mentioned – this is a neat little case back opening trick with a cheap rubber ball. You can pay more for a professional grade “rubber ball” by Bergeon. The ball works with friction. If you choose the ball option it is important to keep the ball clean as you can still mark the case back. The case back opens anti-clockwise. The Rubber Ball is a versatile tool which can limit the need for lots of case back opening dyes initially.
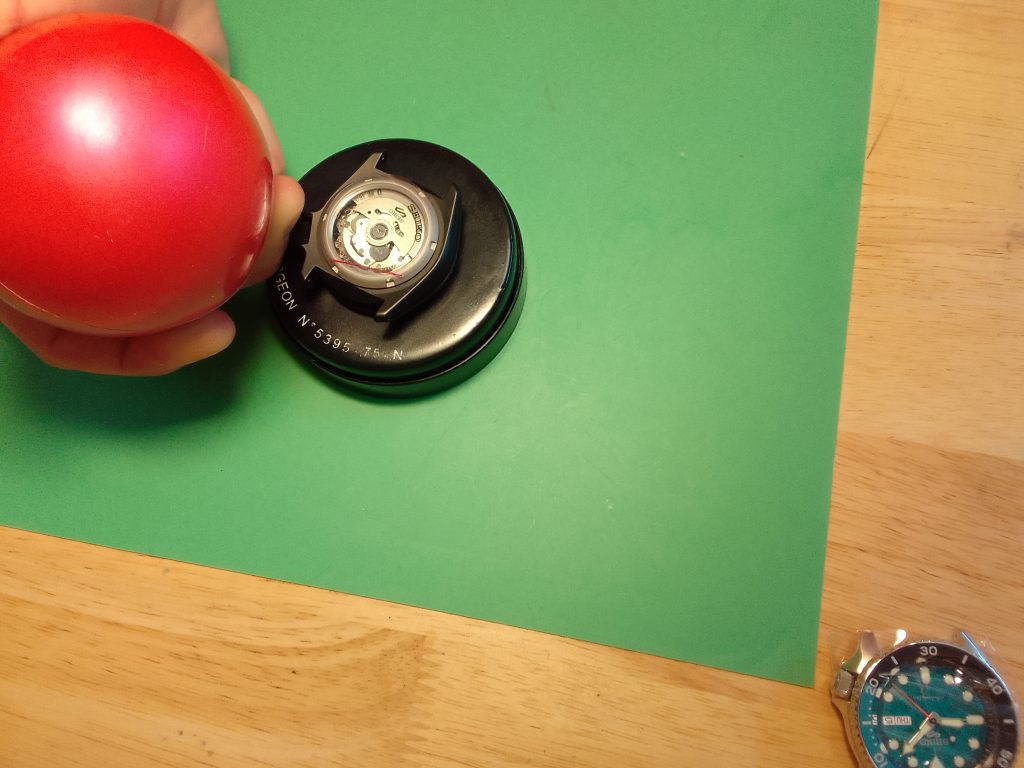
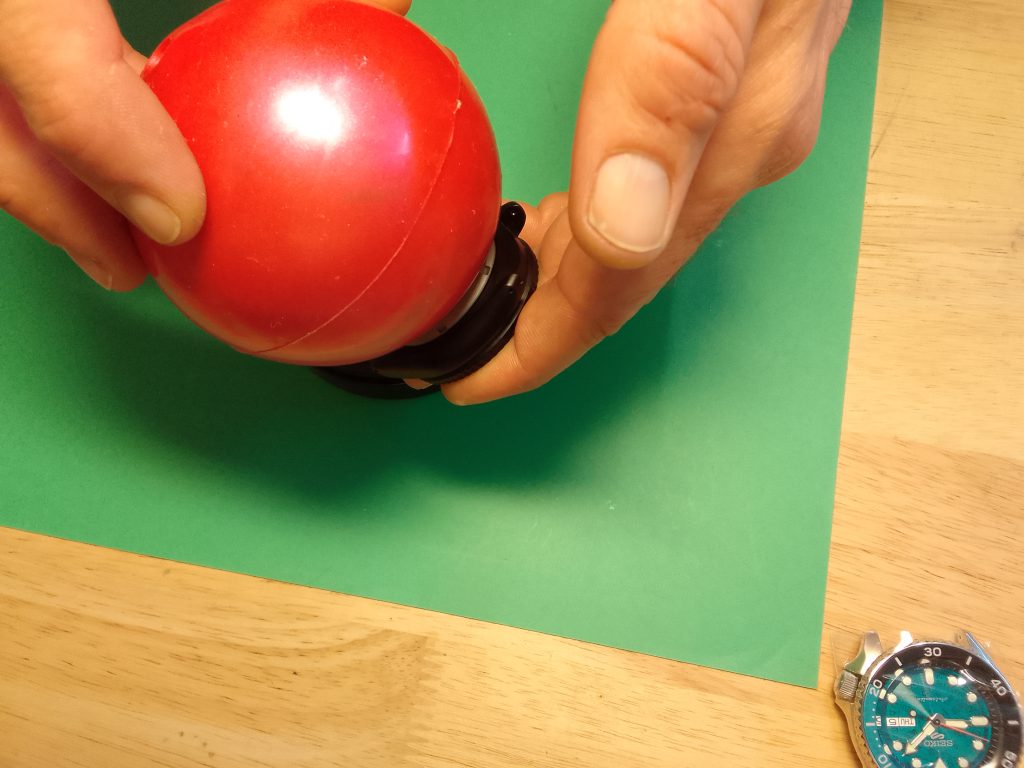
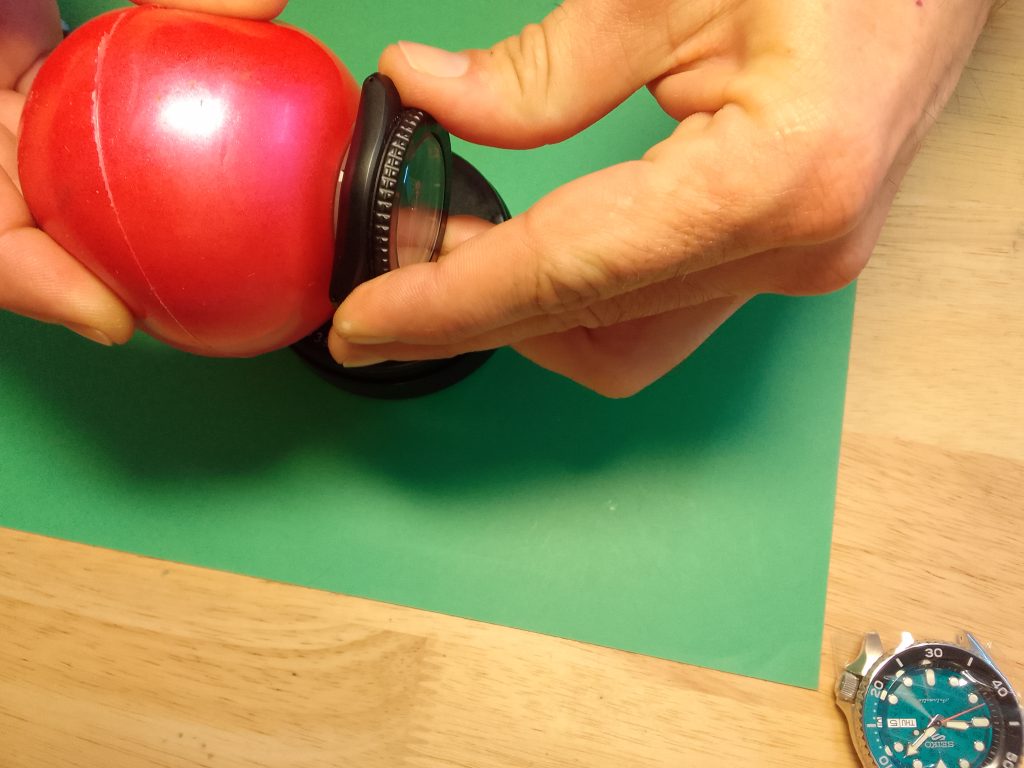
The rubber ball method is displayed in the photos. Aspiring modders may need to use a case vice or take a more firm grip than is displayed in the photos. Once the seal is broken the rest of the rotation can be made with a couple of fingers or a piece of pegwood. The case back can now be lifted away.
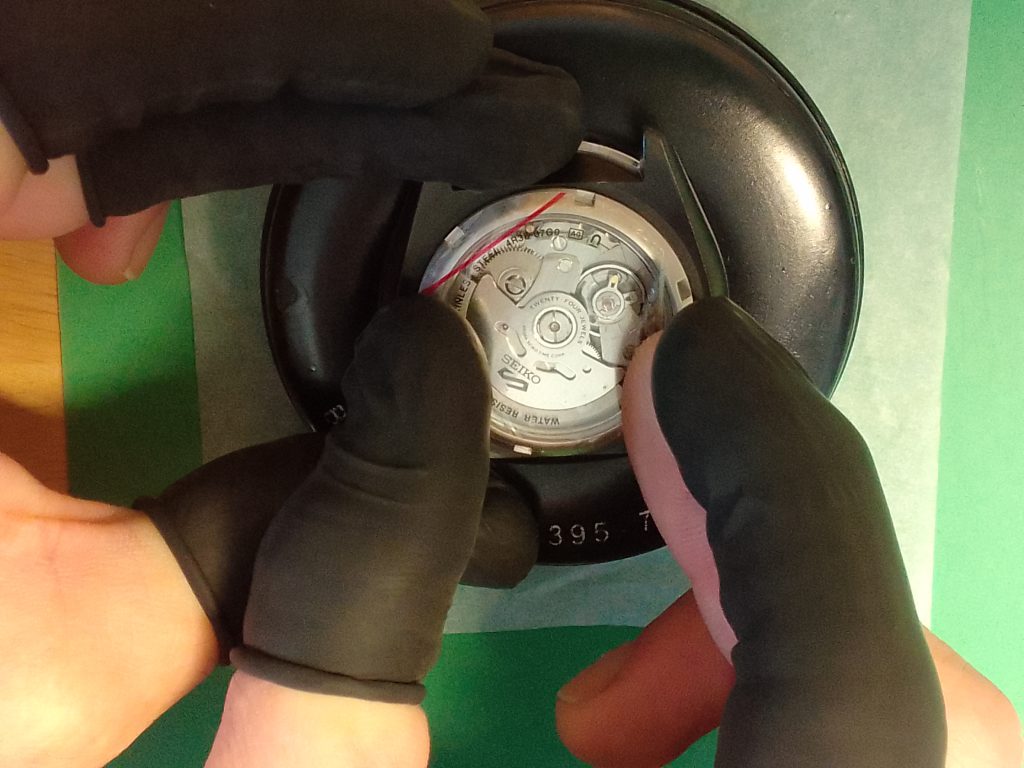
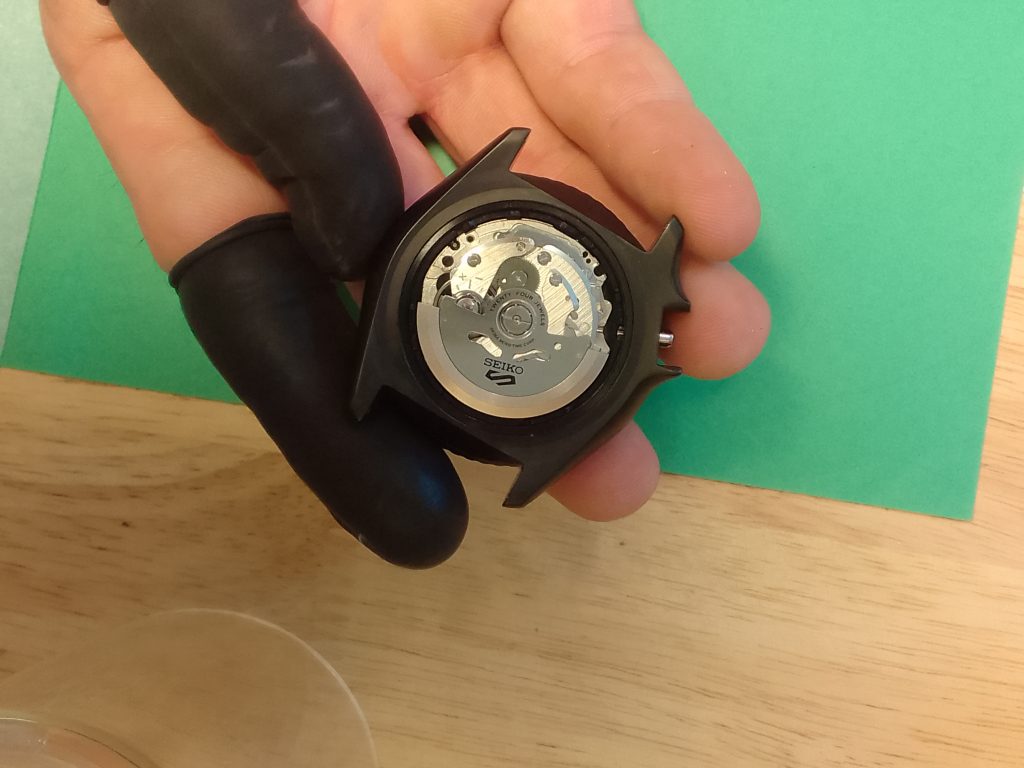
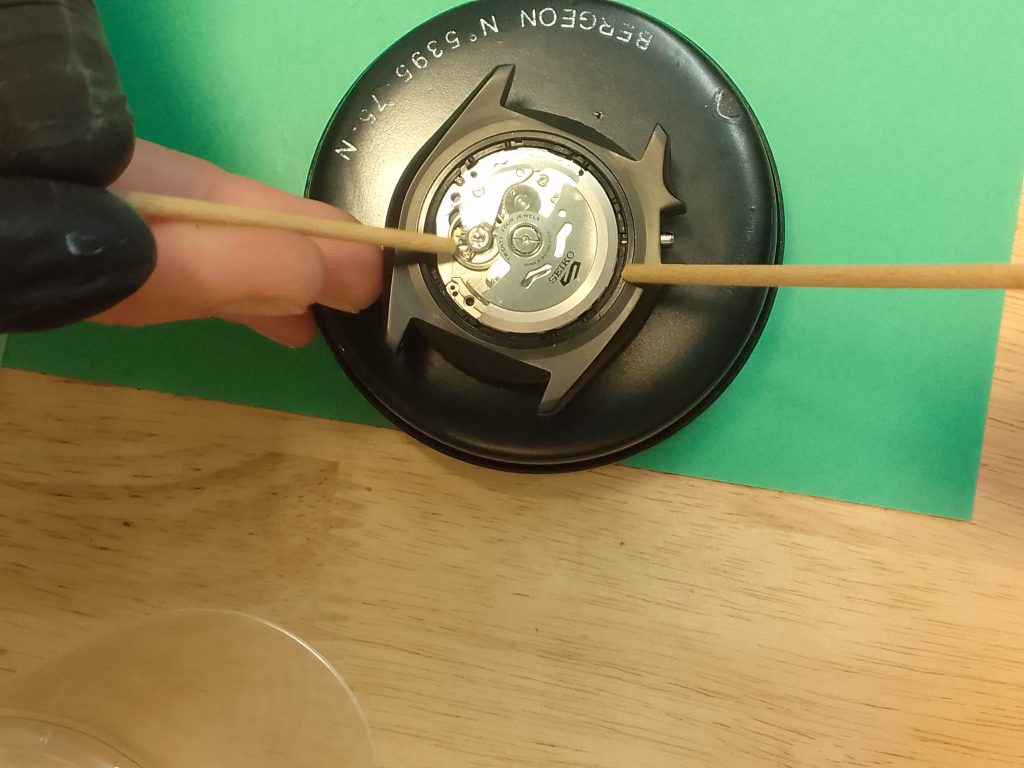
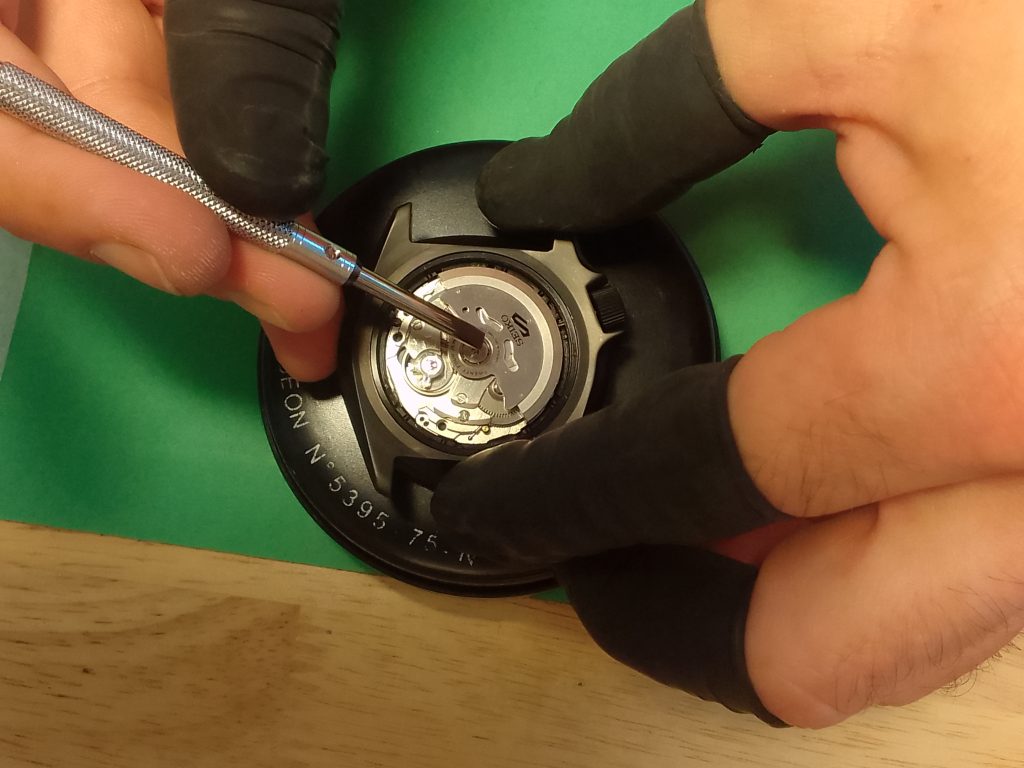
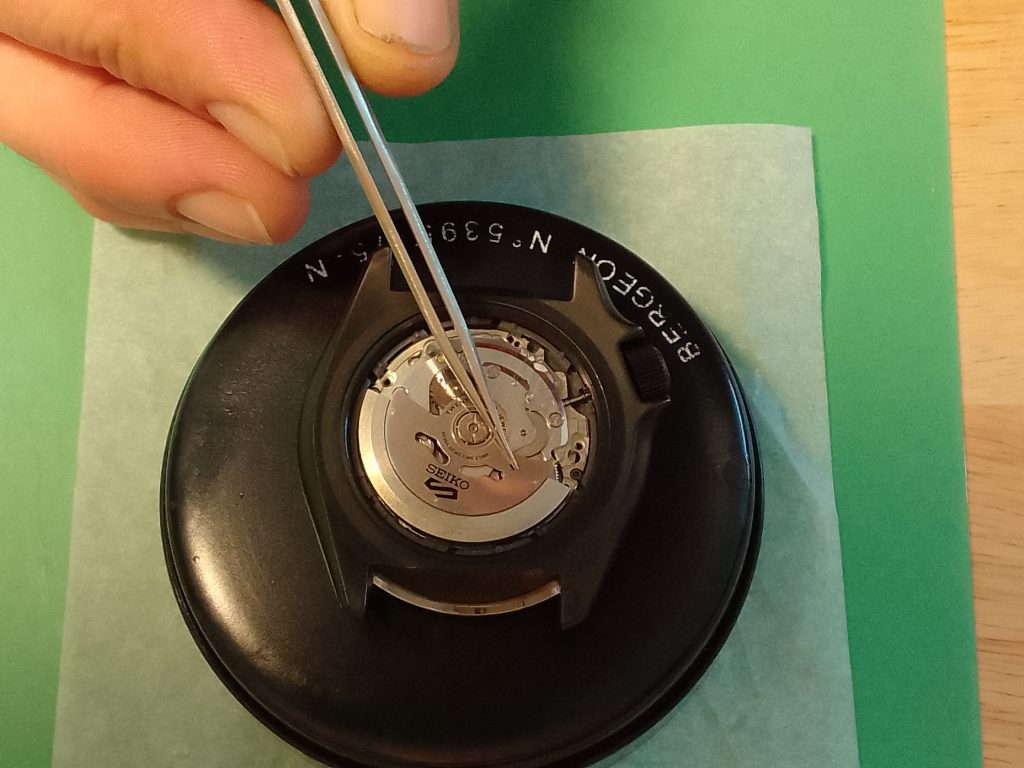
Removing the Rotor
Although not necessary, if you are using a universal movement holder, you may want to remove the rotor. You will need the brown 3mm screwdriver to remove the oscillating weight, also known as the rotor. Place the watch on a case cushion. Hold the watch case in your free hand and use the screwdriver to remove the rotor. The rotor has a thread, like a nut. This is located directly in the center of the movement, with a space for your screwdriver on either side. Turn the screwdriver counterclockwise to unscrew the rotor.
While you are unscrewing the rotor, you will notice it is making its way up the thread towards you. You will know when you have turned the screwdriver enough times as the rotor drops to the weighted side when you remove your screwdriver from the center of the rotor.
Your tweezers can now be used to remove the rotor and store it in a clean, dust-proof container.
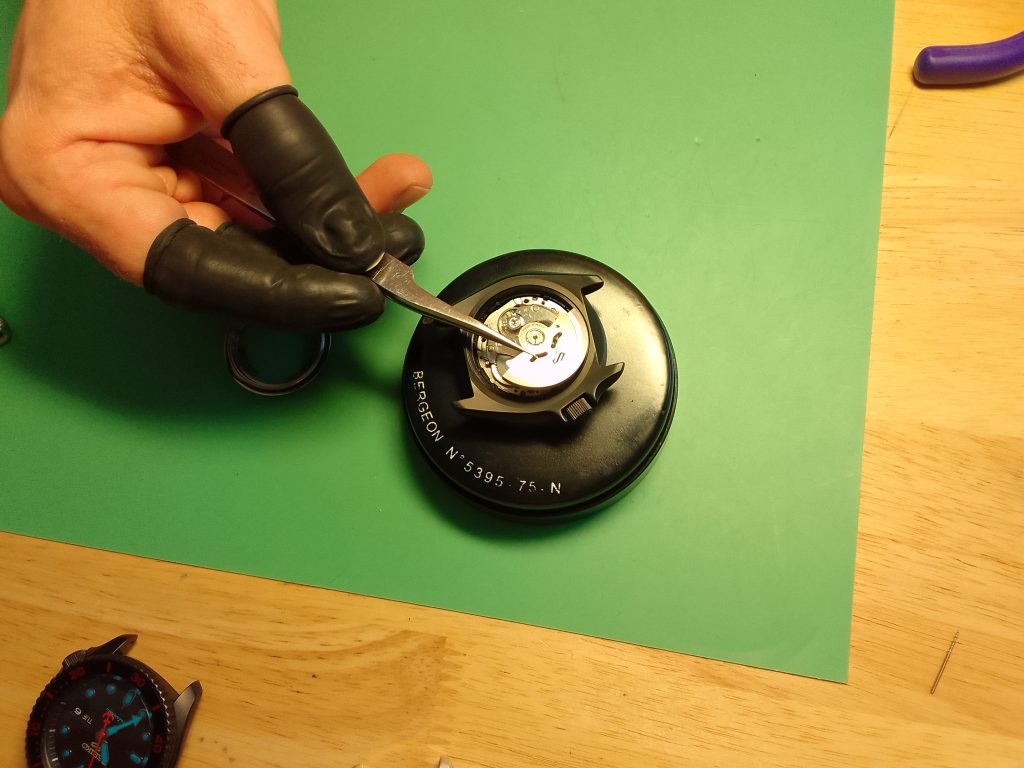
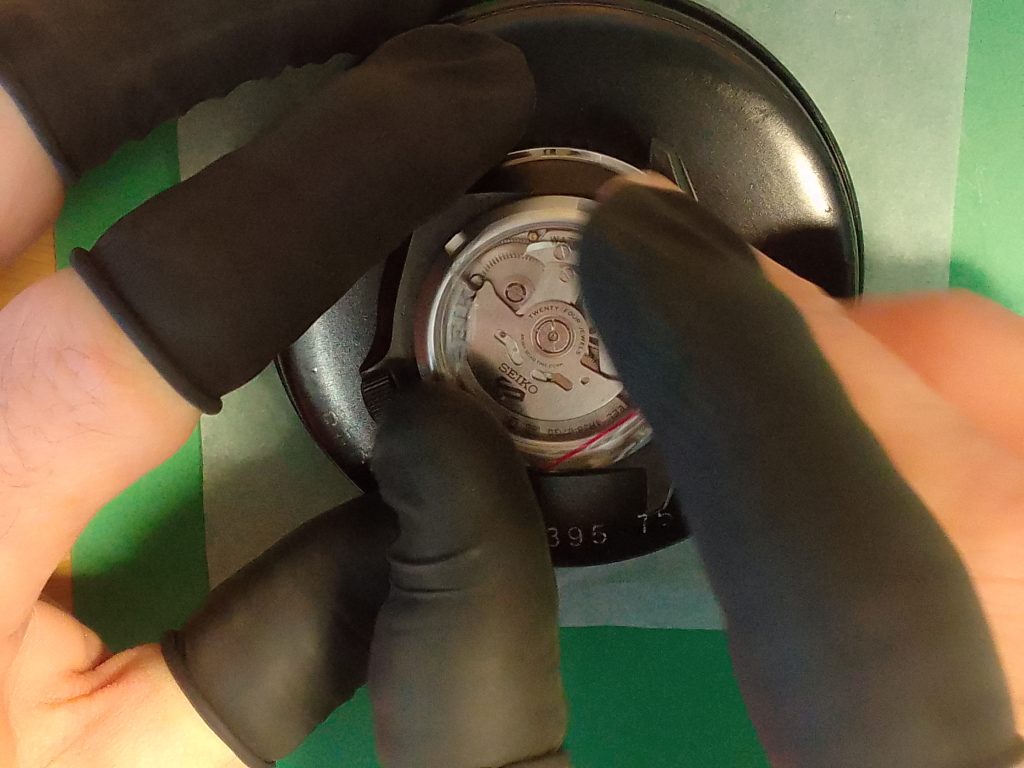
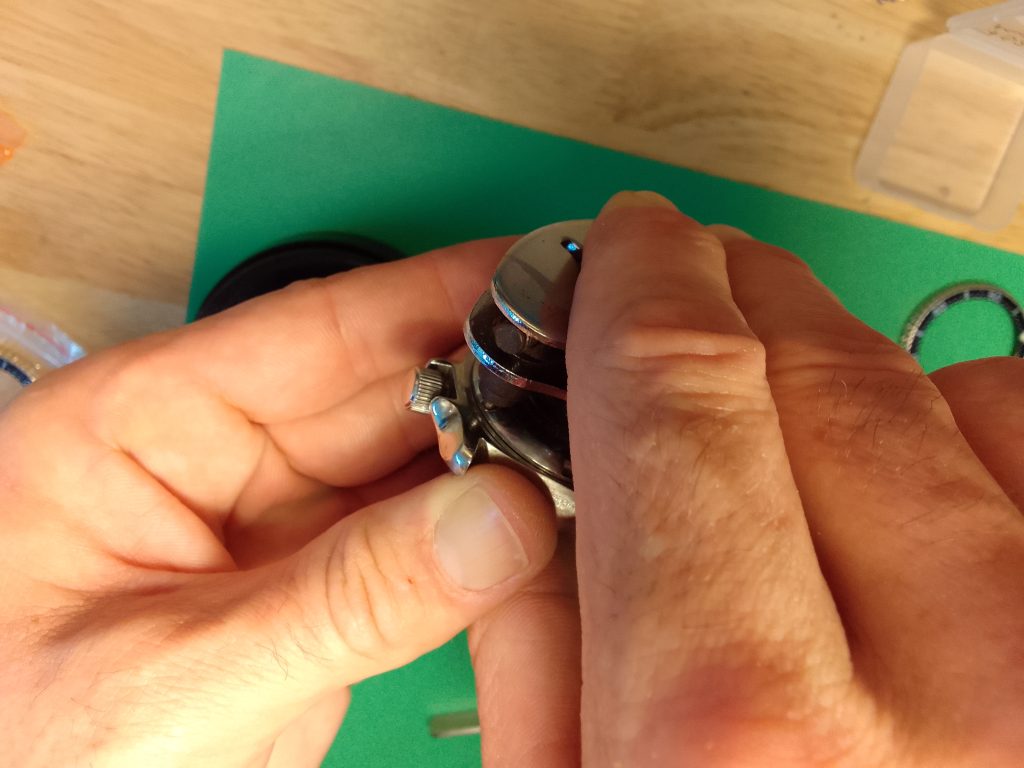
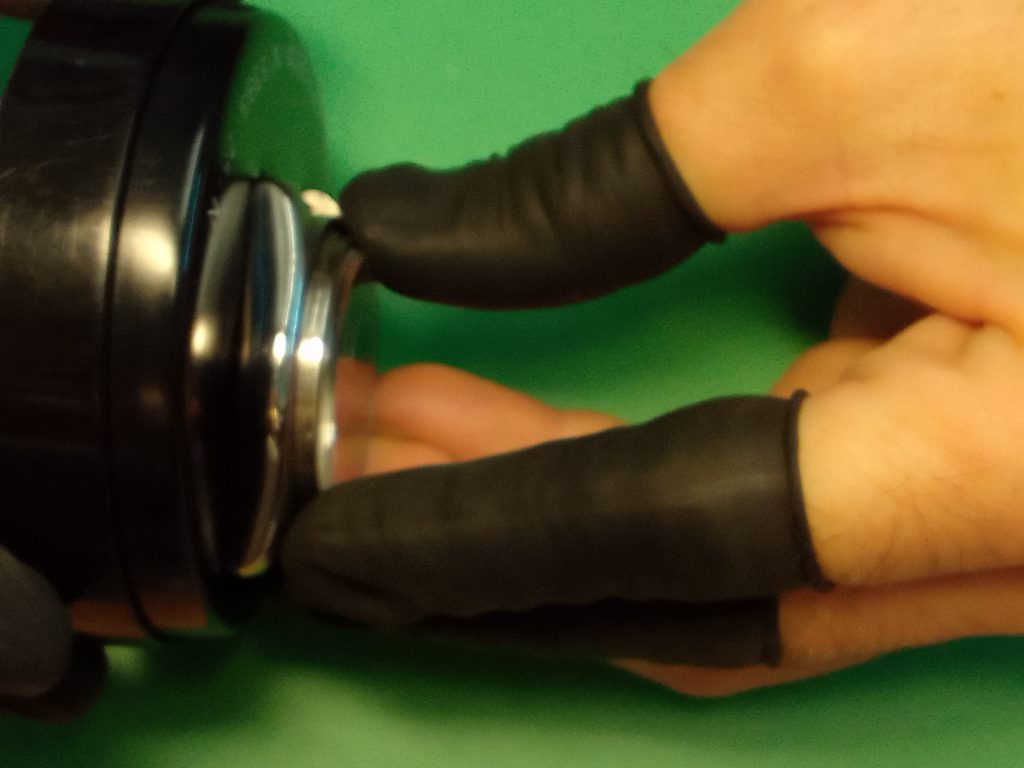
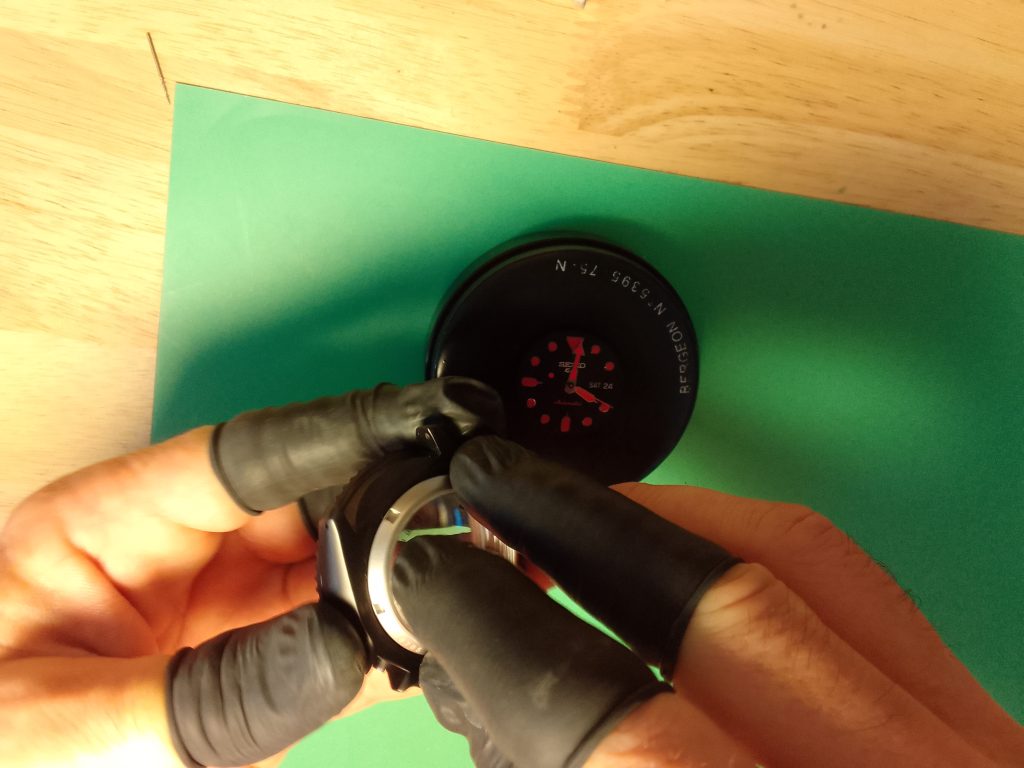
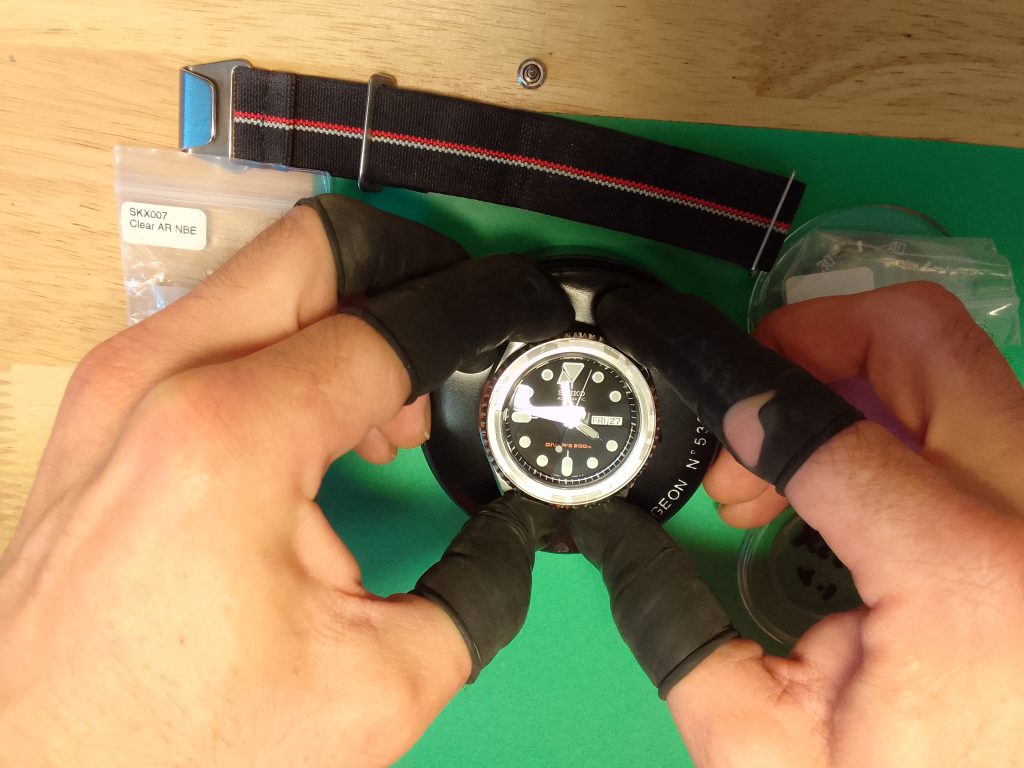
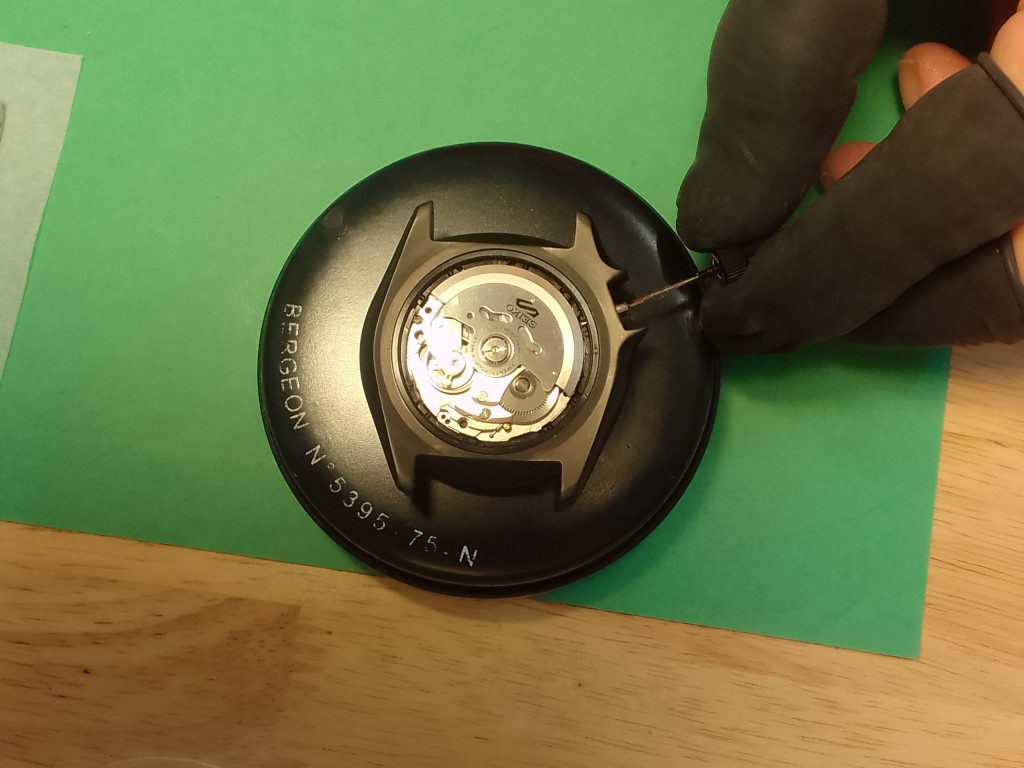
Removing the Crown and Stem
At this point, you will want to remove the watch from the case holder as you need to have access to remove the crown and stem. Put the watch on a watchmaker’s cushion for this part of the process.
First, unscrew the crown if you are modding an SKX so you can pull it out when you have released the keyless locking mechanism. If you are modding a 5KX, your crown is already in the correct position.
Using your tweezers or red screwdriver, push down on the setting lever. The setting lever is also the release key that will need to stay suppressed until you have pulled the crown out a little. A couple of millimeters should do it. If you can rest a finger on the case with your hand, which you are using the screwdriver with, it may help to steady the case.
You can then lay down the screwdriver and remove the crown, and as both of your hands are now free, you can steady the case with your spare hand while you are doing this. The other option is to use tweezers if you wish.
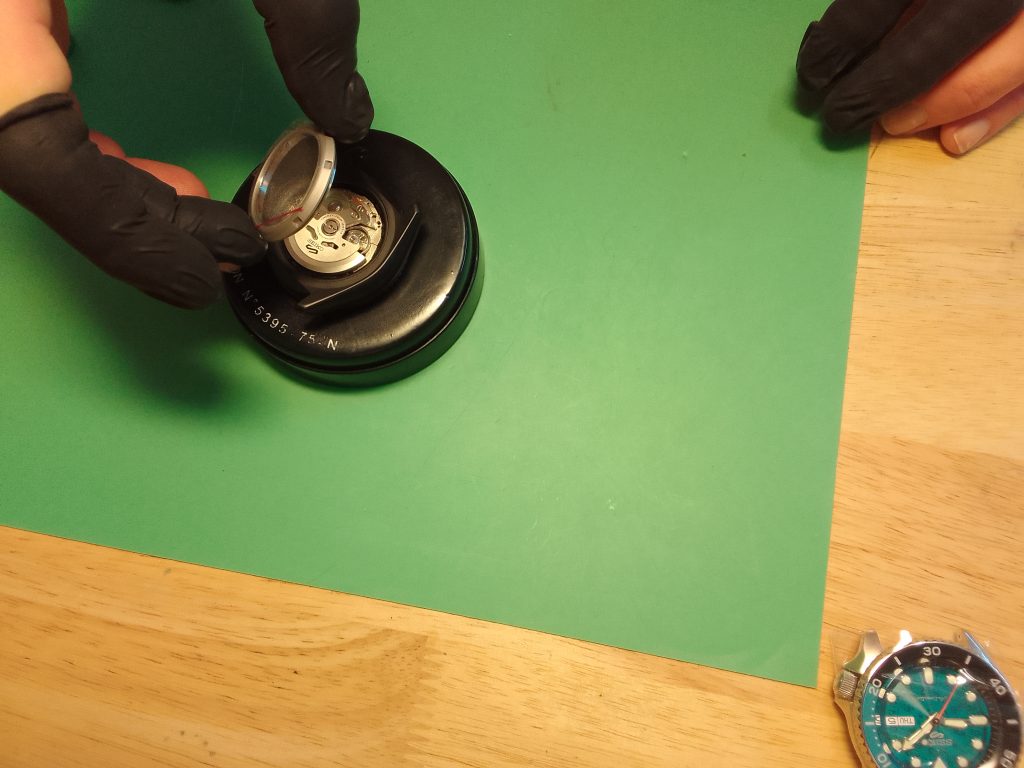
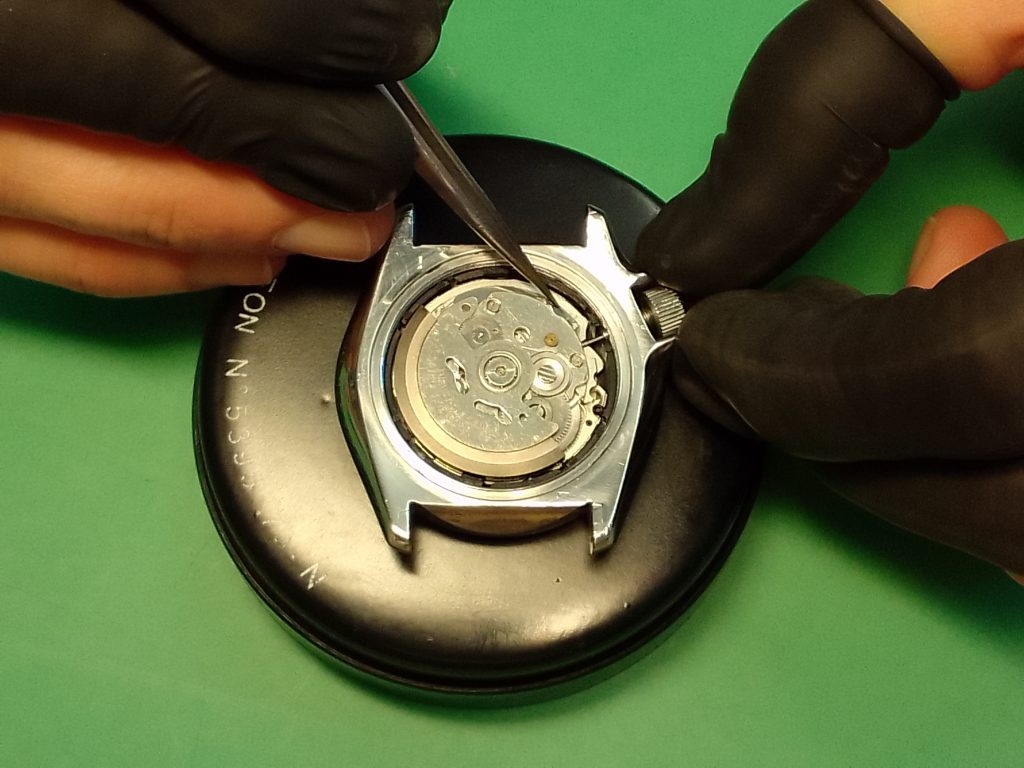
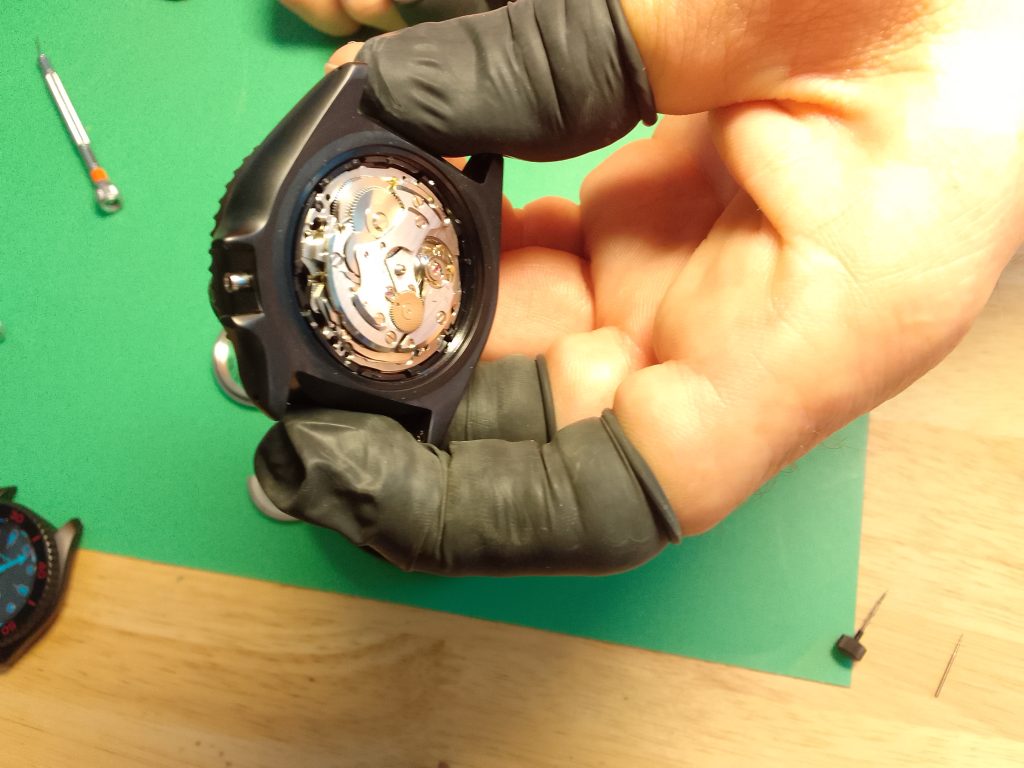
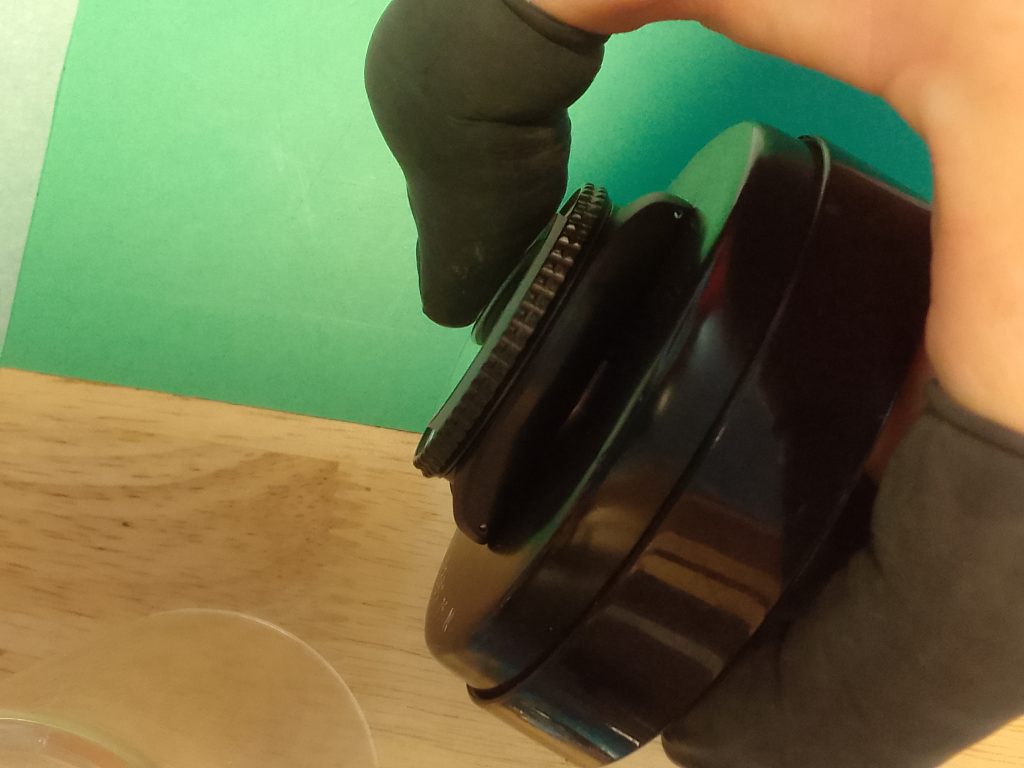
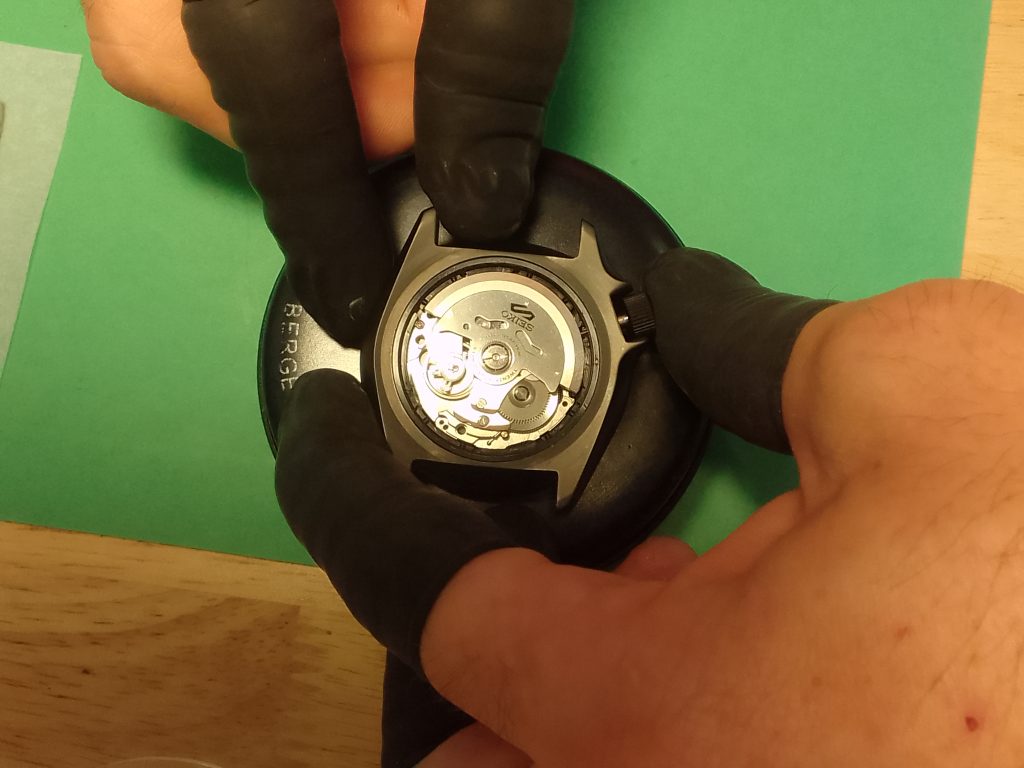
Removing the Movement
The movement in both the SKX and 5KX is held in under pressure and some precision engineering from Seiko.
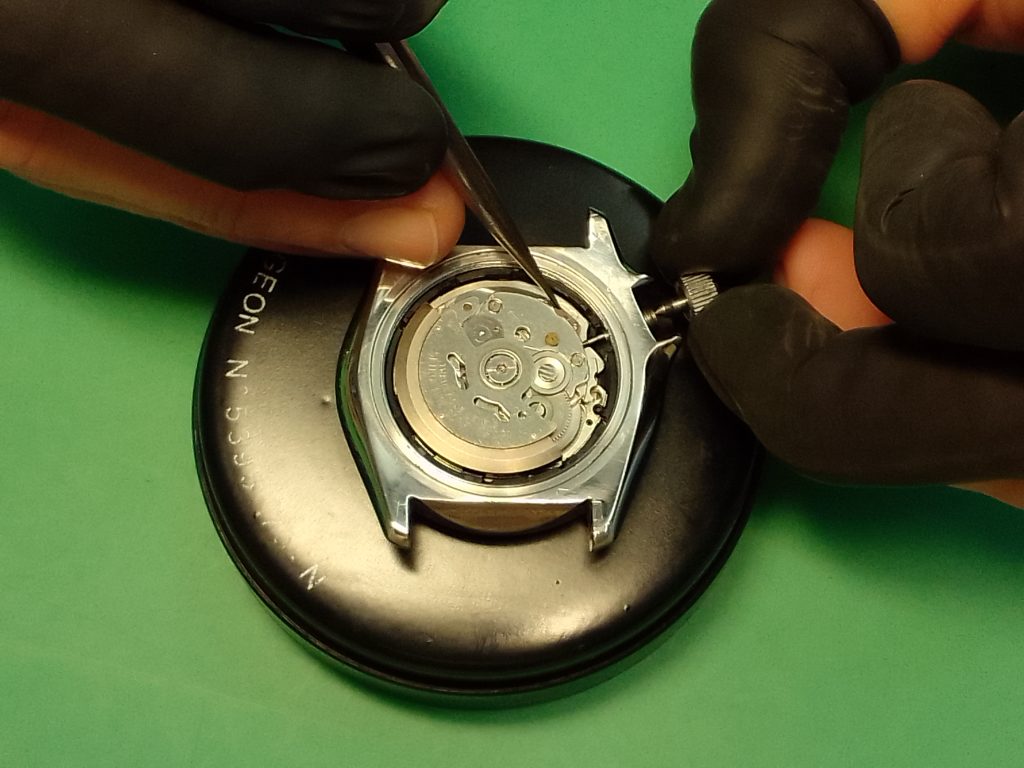
You may need to give the movement a little lift to persuade it to come out. This process is best started with the case on a watchmaker’s cushion, using preferably pegwood but tweezers or a screwdriver, whatever you are comfortable with. Place your chosen tool a millimeter or so into the hole in the movement where you pulled the stem from.
Lever the tool gently on the side of the case, and the movement will work its way out slowly. Don’t just give it one good bash as you may send your movement, dial, and hands flying.
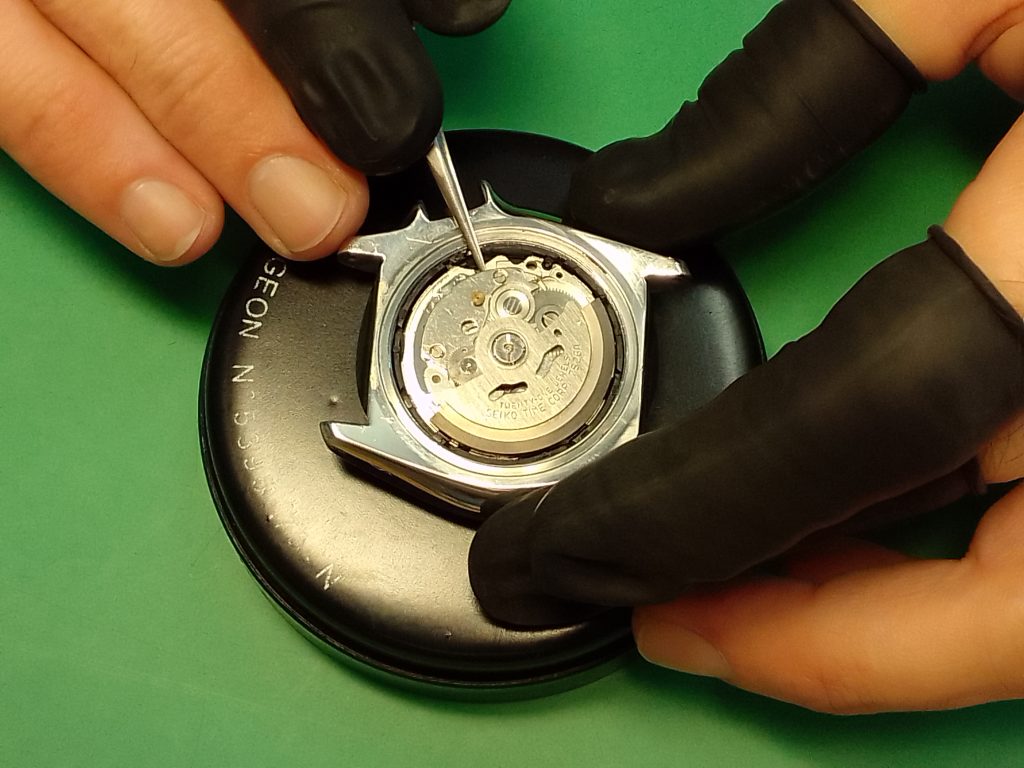
Once the movement has been sufficiently re-positioned, you can pick up your watch and cushion. With the watch in one hand and the cushion in the other, take the cushion from underneath, flip it 180 degrees, and gently place it on the back of the watch. While still holding both the watch and cushion, turn them over. Place the cushion on the table while still holding the watch, just touching it so that the movement cannot fall out. If you lift the case a little, the movement should remain on the cushion.
If the movement does not come away when you lift the case, you can hold the case a few millimeters above the cushion and give the crystal a gentle tap on the crystal with your free index finger.
If this is still unsuccessful, you will need to turn the watch back over, place it on the cushion, and manipulate the movement a little more so it will come free when you follow the process. Hitting it harder is not best practice. That said, it is your watch!
The movement should now be separate from the case on the watchmaker’s cushion. Cover the dial as soon as you can to keep the dust from settling.
It is recommended you place the case back on the case when you set this aside. This this will stop any dust from getting inside. If the dial, movement and hands are going to be uncased for any length of time, it is probably best to store these in an airtight container.
Casing SKX & 5KX
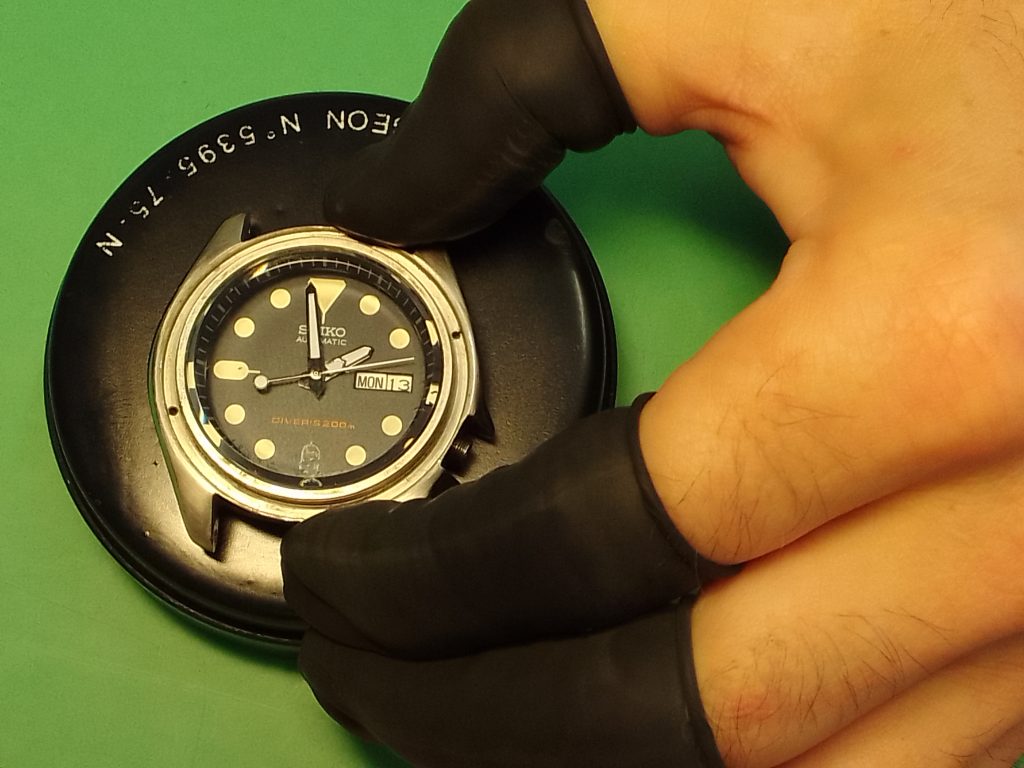
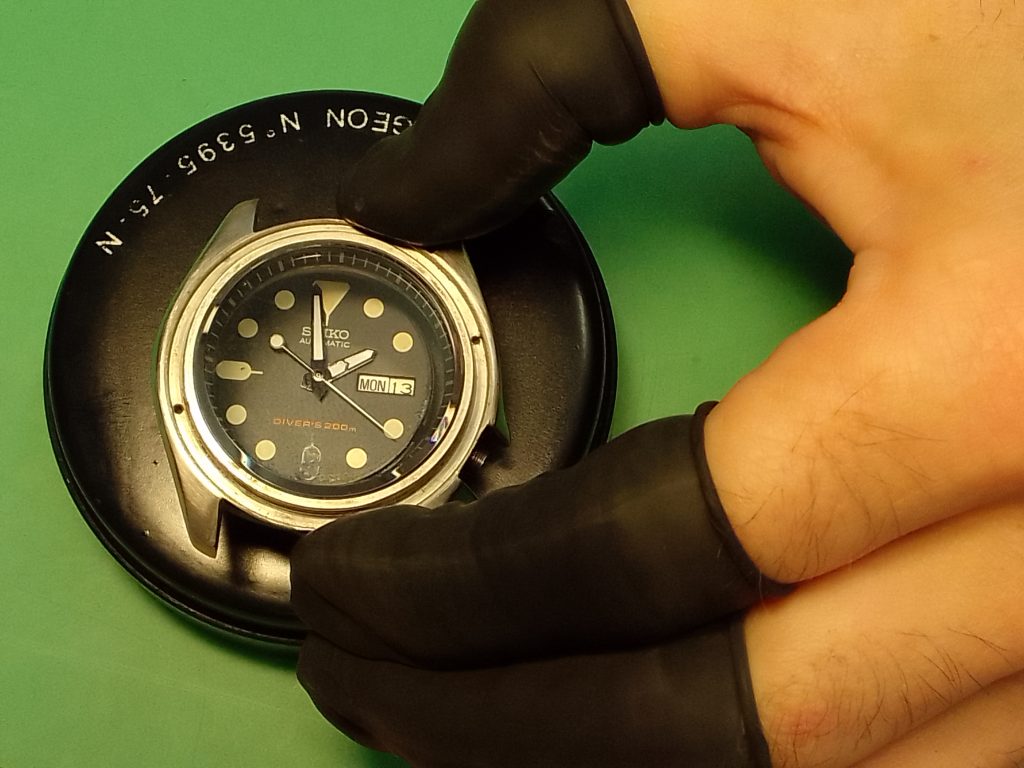
First of all, you will want your case to be dust-free. You can use an air puffer to remove any dust that has got inside. It is equally important to look over the dial and hands, using the air puffer again to remove any dust on the dial. Rodico can also be useful to remove stubborn particles that won’t move with the air.
Your movement, dial, and hands will need to be ready assembled on a cushion. Place the watch case over the movement, dial and hands guiding the case as it approaches the dial. You should be able to guide the case onto the movement. There is a tube for the crown to pass though in the case which may foul the dial during this step. If you lead with a slight angle where the tube is located as the first part to ‘impact’, you should bypass any problem here.
Check for alignment while the case is being laid over the dial. When the case is correctly positioned on the dial, hands, and movement, you can apply very light pressure, and the movement holder should begin to grip.
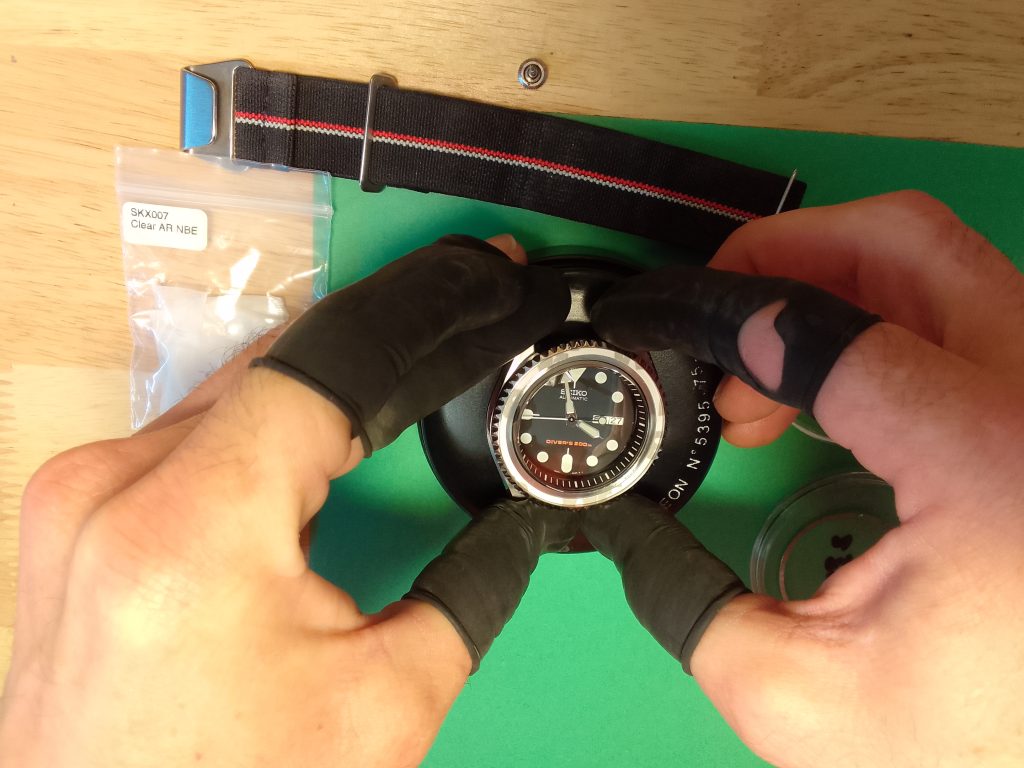
At this point, you will want to turn the watch and cushion over using both hands again, one for each. This is the opposite of what you did before when un-casing. Once the watch is dial down, remove the cushion and return this to the workbench, and place the watch dial down on top of the case cushion.
The next part is pressing the watch movement down into the watch case. You will want to align the recess in the movement holder for the crown and stem to the collet on the case. This can be done with a suitable tool of your choosing. Remember using steel or metal tools can leave marks, so perhaps try some pegwood.
Again, once you are satisfied that your movement, dial, and hands are in their final position, if your chapter ring is aligned correctly, your dial should have aligned to the chapter ring pretty well. There are micro-adjustments that can be made by applying a little pressure to the movement in the direction you want it to go. This is limited in this position, and you may want to take the movement out and start again. If this problem persists you may want to consider addressing the alignment of the chapter ring.
You can now insert the stem into the movement. Simply send it through the hole of the crown tube in the case and carefully into the movement. The stem should lock into position. If this doesn’t lock straight in, you may find a little twist of the crown and stem allows the setting lever to engage and lock the crown in place.
Pull the crown out to the second operating position to check if it is correctly installed by moving the hands. If you wish, once you are past the time when the date complication is changing, you can also check the date adjustment from the first operational position.
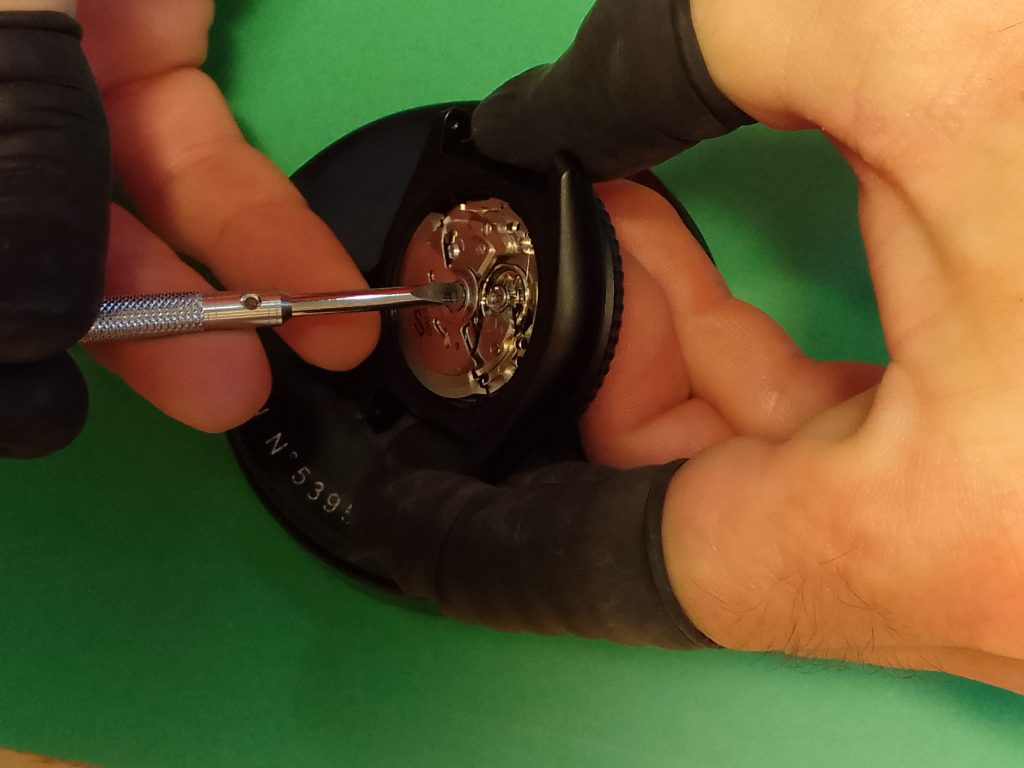
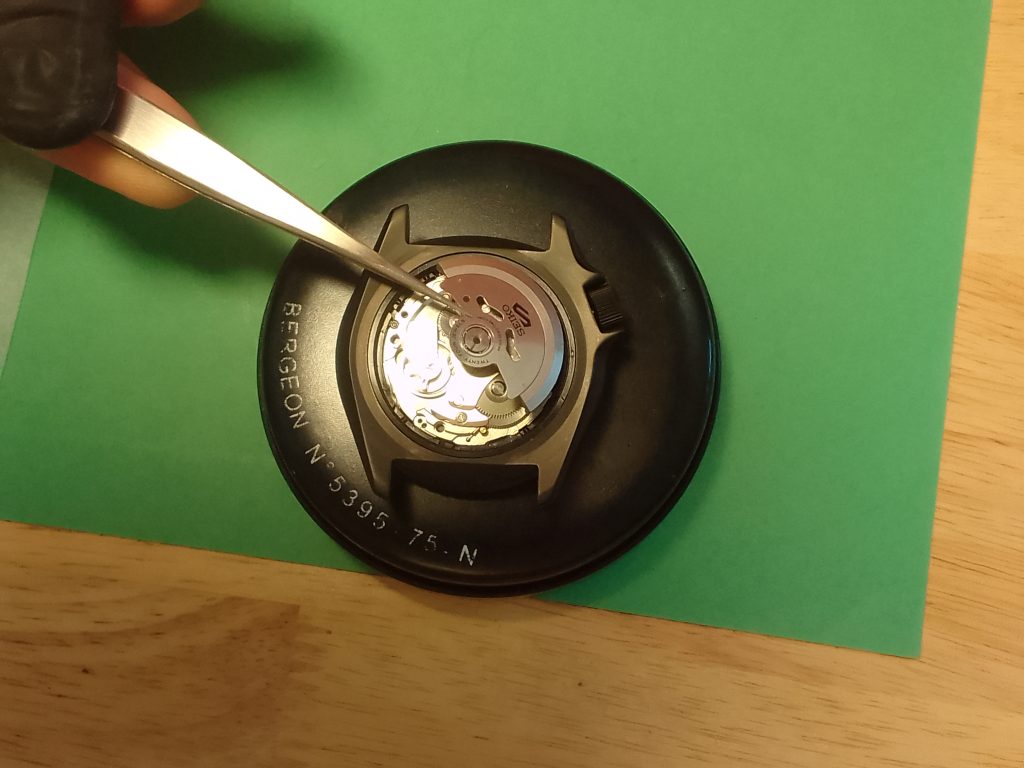
Attaching the Rotor
If the rotor has been removed it can now be replaced, using the tweezers. Place the rotor onto the movement, aligning the rotary connection of the rotor to the central point on the movement.
There is a threaded bar on the barrel and train wheel bridge or centre of the movement to accept the rotor. The rotor is screwed on like a nut to the centre of the movement. So when you have aligned it correctly, you can use your 3.00mm screwdriver to tighten the rotor onto the thread.
You can now check that the rotor spins nicely.
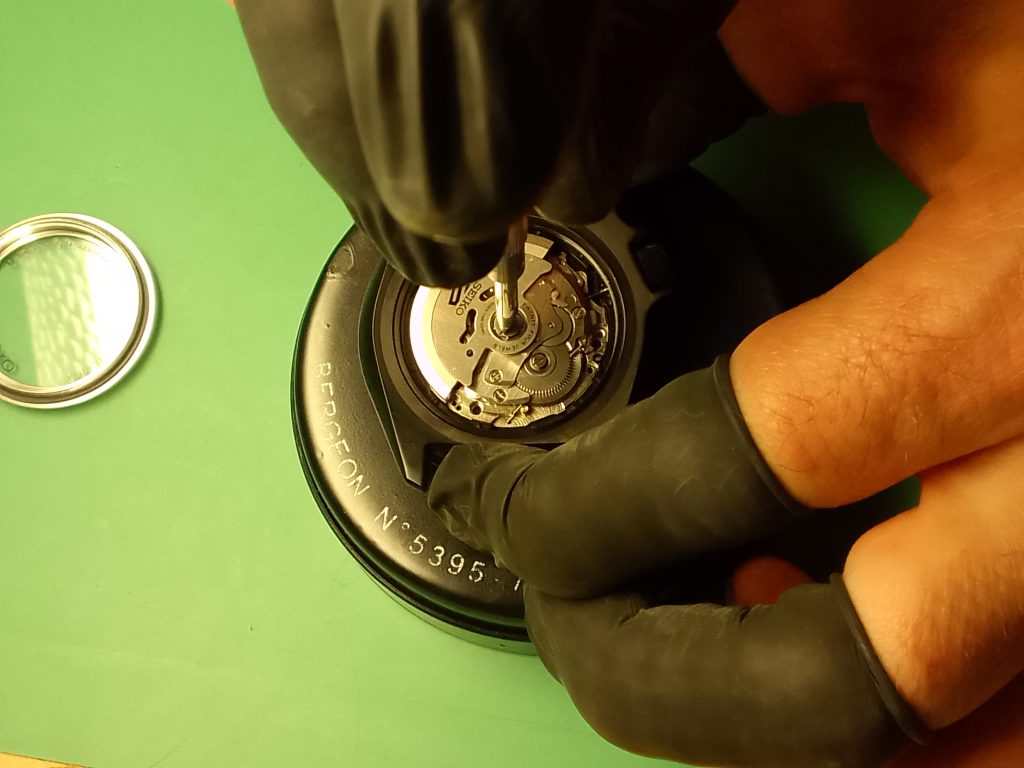
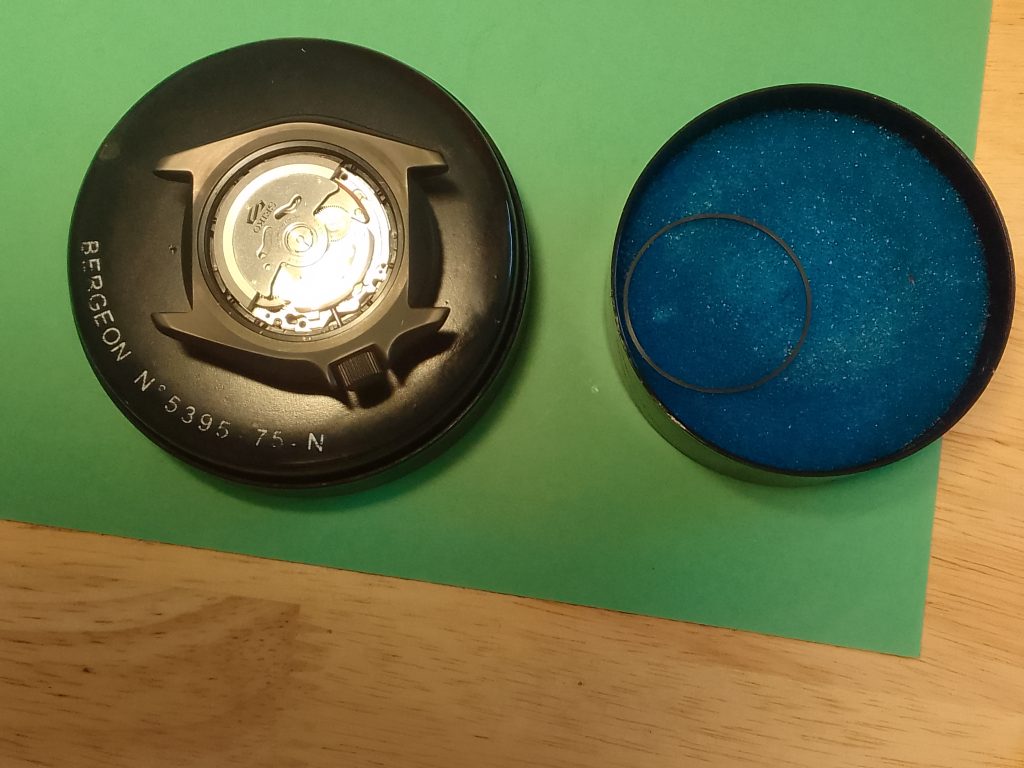
Gasket
The final stage before sealing the case is fitting a gasket. if you have a greasing pot, grease your gasket and place it into position using the tweezers. If not, you can use a sponge to evenly grease your gasket.
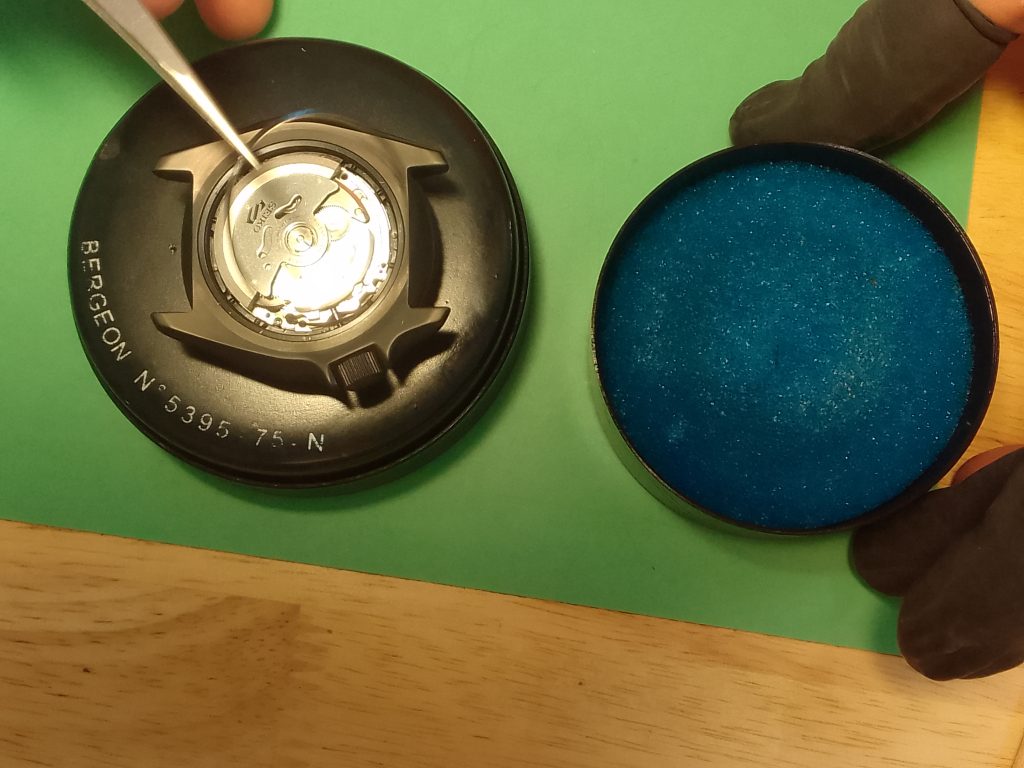
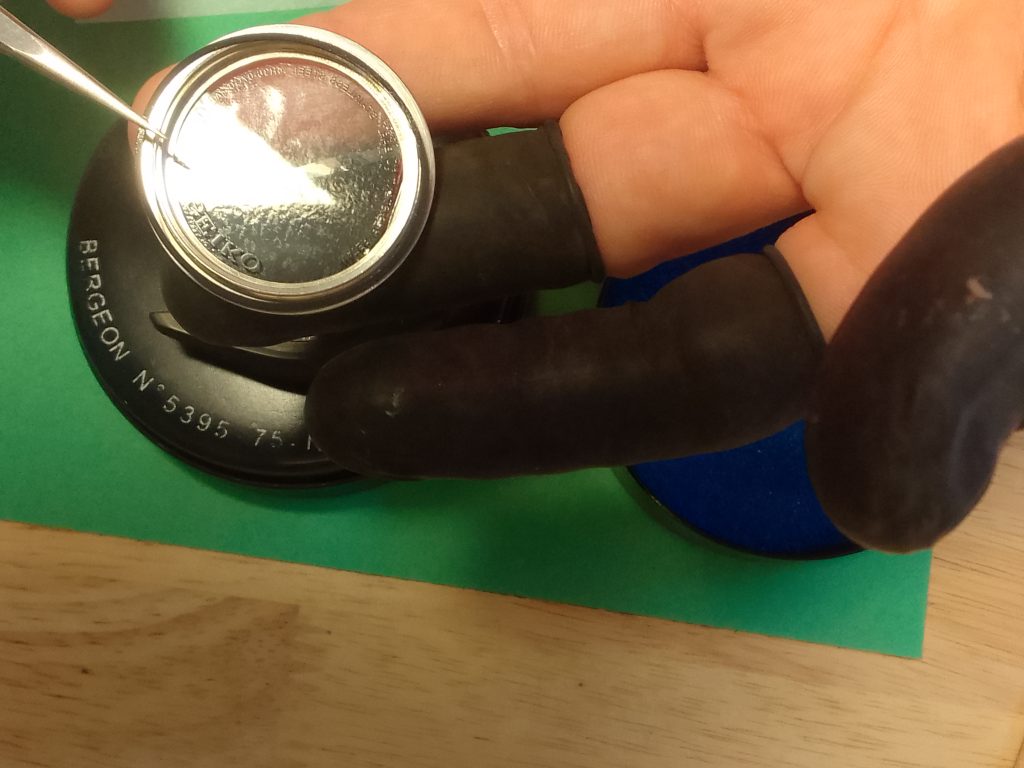
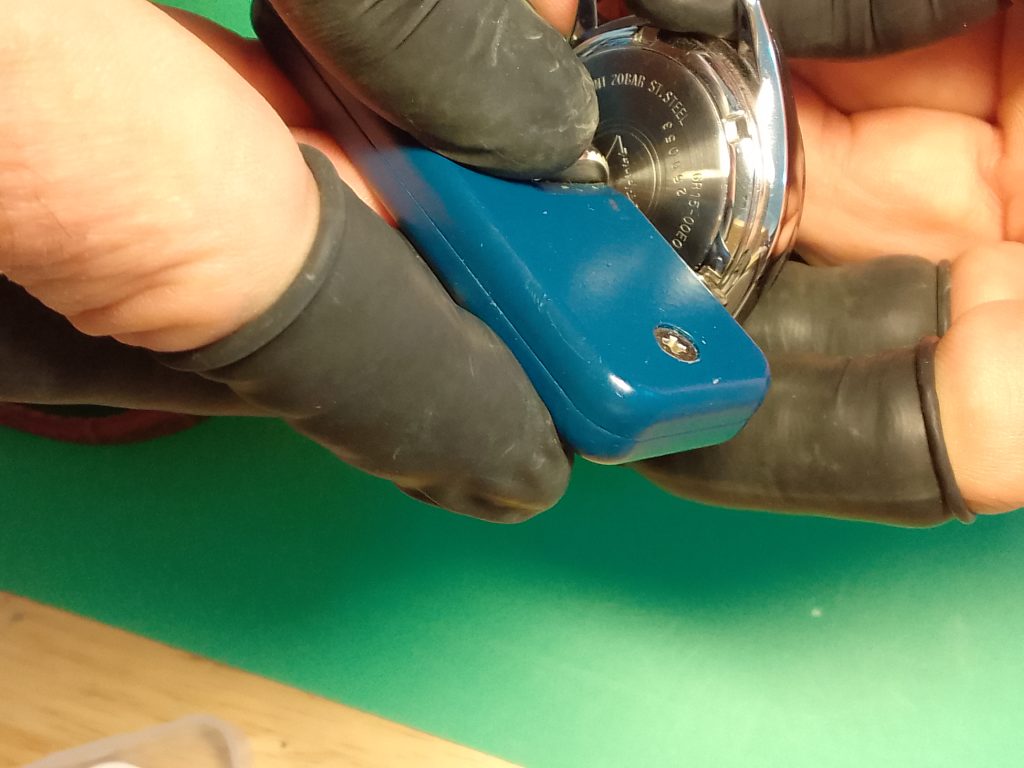
Check the movement for dust. It maybe worth a puff with the air duster. Place the case back into position. This can be turned with a finger and thumb until it is tight. Then a case back tool can be employed to create the water tight seal. You may want the watch in the case holder to do the final tweak. Remember to set your case back tool so that it fits tight to the recesses in the case back.


Doing the case back up finger tight reduces the risk of damage to the case back with the tool.
If you’ve found this guide helpful, be sure to comment below and explore our collection of other informative guides at seikomodder.com. We offer a wealth of resources to assist you in your modding journey. We’re here to support your passion for watch modification.
Useful Information
Sizes:
- Diameter: 42.5mm
- Thickness: 13.4mm
- Lug-to-lug: 46mm
- Between the lugs: 22mm
- Internal Case Diameter (ID): 28.8mm
- Case back Gasket Sizes: 31.5mm 0.6mm to 0.8mm – Seiko SKX 5KX
OEM Part Numbers:
Crown: 70E11NSI / 1E70ASNWO
Case Back Gasket: 0C3060BOA
Procuring a Seiko 5KX
Seiko have lots of options in the 5KX range a link to the collection can be found here.
0 Comments