Bezel Mods SKX & 5KX. The bezels on both the SKX and 5KX serve as the rotating component located on the top on the outer edge of the crystal. These stock parts are crafted from polished stainless steel and feature Seiko’s distinctive grip running along the sides. The bezels of both models are interchangeable, allowing direct swapping between them. Moreover, these bezels, like many others, accommodate a separate insert that can be affixed with adhesive to further enhance the visual appeal of your timepiece. With an ever-expanding array of options, including new coatings, colours, and designs, your creative possibilities are virtually limitless, with new products constantly emerging to cater to your modding desires.
Bezel modifications offer the opportunity to pay tribute to other watch designs or to create entirely new and unique designs. These bezels can be coated in various finishes such as gold, rose gold, black, and blue, among others. The colour options are extensive, giving you the creative freedom to replicate the look of iconic timepieces with bi-metal finishes, opt for the classic stainless steel appearance, go for a sleek all-black design, and much more.


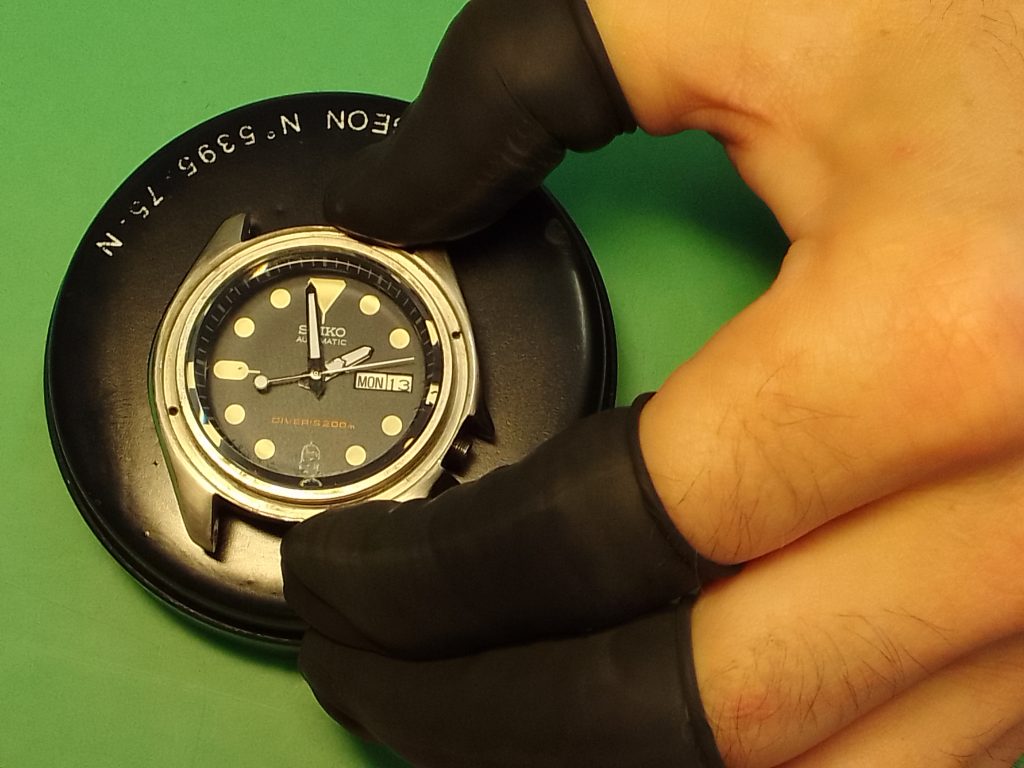
Swapping out the bezel is a relatively straightforward mod, as it can be replaced without the necessity of removing anything aside from the strap or bracelet. While it’s technically feasible to keep the strap or bracelet on, doing so might restrict the positions where you can effectively use your bezel remover to take off the bezel from the case. It’s generally recommended to initiate the process by detaching the watch strap or bracelet for best practices.
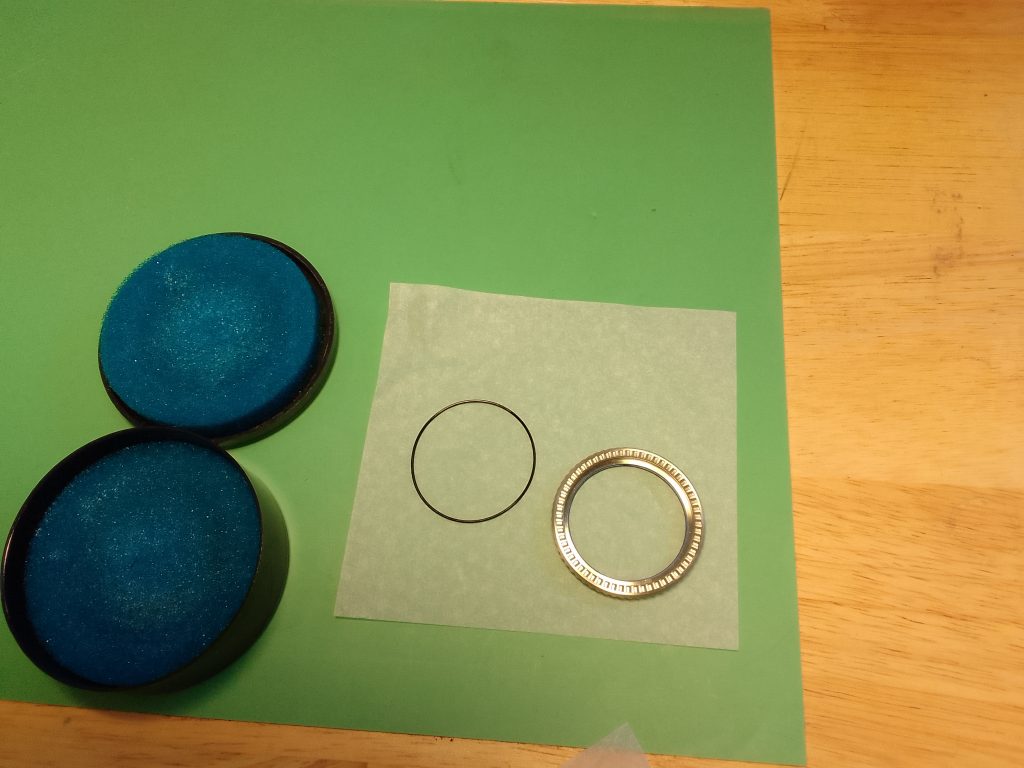
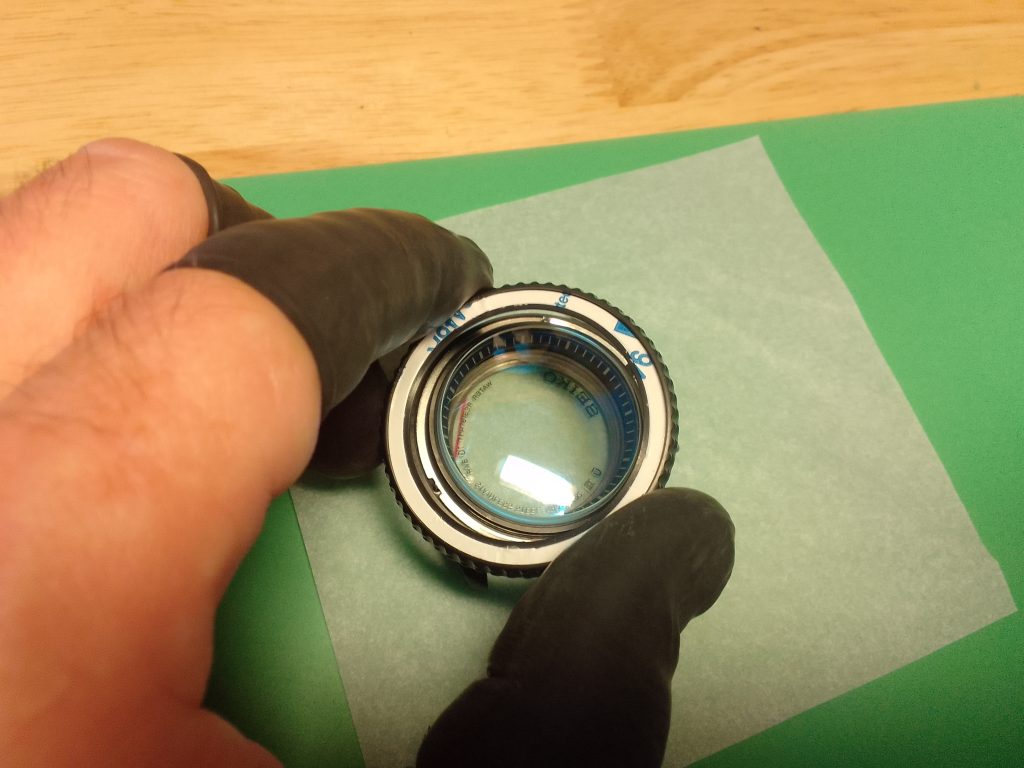
When examining the back of the detached bezel, you’ll observe the presence of an internal gasket, often referred to as a rubber o-ring. This gasket serves the dual purpose of ensuring a secure seal when the bezel is reinstalled and minimizing wear and friction between the steel case and bezel. It’s important to note that this seal does not impact the watch case’s water resistance.


Additionally, you’ll find several (sixty) recesses on the rear. These recesses interact with a spring mechanism that is placed on the watch case before installing the bezel. The spring has two feet, posts or pins on the rear which are used to lock the spring into position in the case. These feet are retained in two holes located close to the two and eight o’clock position on the case. This set-up stops the spring rotating when installed on your Seiko SKX.

The spring mechanism, which interacts with the bezel, is sliced from the steel ring. This is bent up the other way from the pins which fit to the case. Like the pins there are two springs. These are the parts that interact with the bezel and create the clicking that you hear when you rotate it.
Removing a Bezel – Bezel Mods SKX & 5KX
Tools and Consumables
- Small knife, bezel remover or bezel pliers
- Low-tack tape & gaffer tape
Protecting the Case
Taking off the bezel of an SKX or 5KX is a relatively straight forward task that primarily requires a bezel remover, small knife or bezel pliers. While it is feasible to remove the bezel without detaching the strap or bracelet, it is advisable to do so. It is recommended to employ a combination of low-tack tape with gaffer tape on top to protect against potential damage. Leveraging against the lugs or the side of the case can result in unsightly marks, which you would want to avoid on your prized timepiece.


Removing the Bezel with a Blade
Hold the watch case in one hand and the bezel removal tool in the other. Exercise caution as these tools have sharp edges. If you are right-handed, the case should be held in your left hand. If you are left-handed, hold the watch in your right hand. Between the lugs, insert the blade of the bezel removal tool along the line where the bezel meets the case.
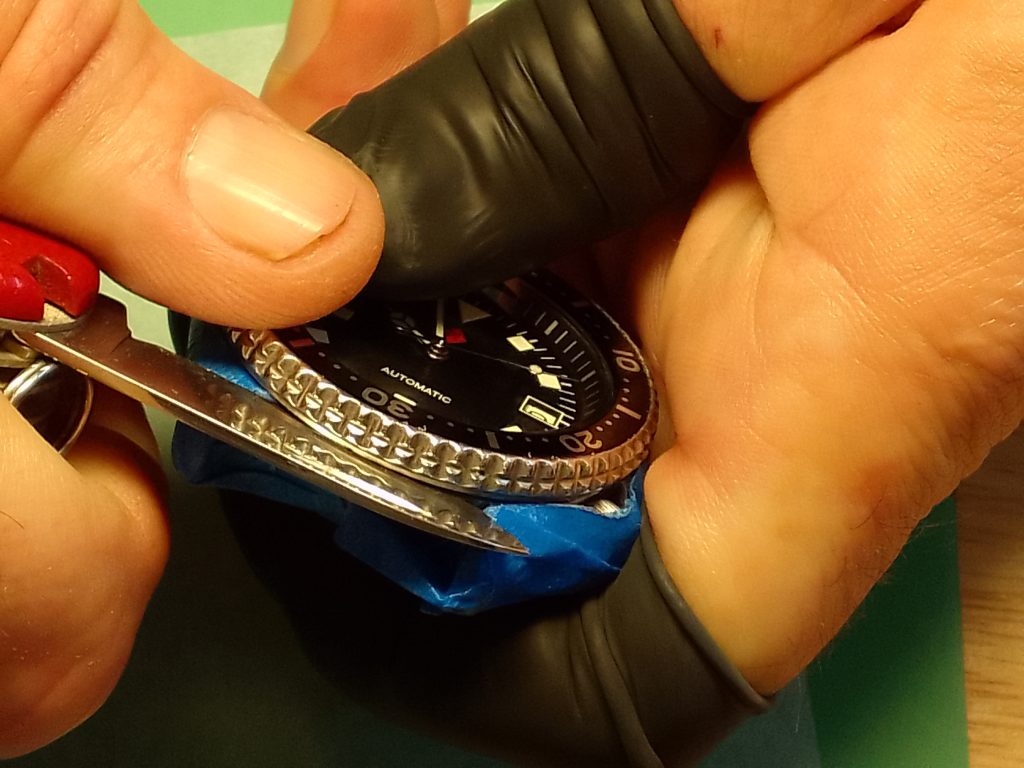


If you work this in slowly with a firm pressure you will be able to twist the blade a little and the bezel will work its way up. Try not to force it. Work around the bezel slowly as it can bend with the knife or bezel removal tool if forced. Once removed, the spring is now exposed and can be removed with some tweezers.


When you remove your bezel, you might discover a build up of dirt and debris underneath. If your bezel has recently become stiff, this is likely the root of the issue. A thorough cleaning of the spring, bezel, and case can restore smooth operation, eliminating the need for excessive effort when the bezel is stiff.
If the original bezel is to be used again, be sure to examine the gasket. If it’s too dry, it will benefit from a thin layer of silicone grease. Not too much, if it’s excessively greasy it will tend to accumulate debris and stiffen more rapidly. A replacement gasket may be a good option at this point. Once you’ve addressed these issues, you can proceed with the bezel installation.
Fitting a Bezel – Mods SKX & 5KX
Tools and Consumables
- Press
- Tweezers
- Grease or Greasing Pot
- Sponge
- Pegwood
Fitting a bezel back onto your SKX or 5KX is relatively easy, and we will walk you through the process of replacing a gasket, fitting the spring, and pressing the insert onto the watch case.
Gasket – Greasing
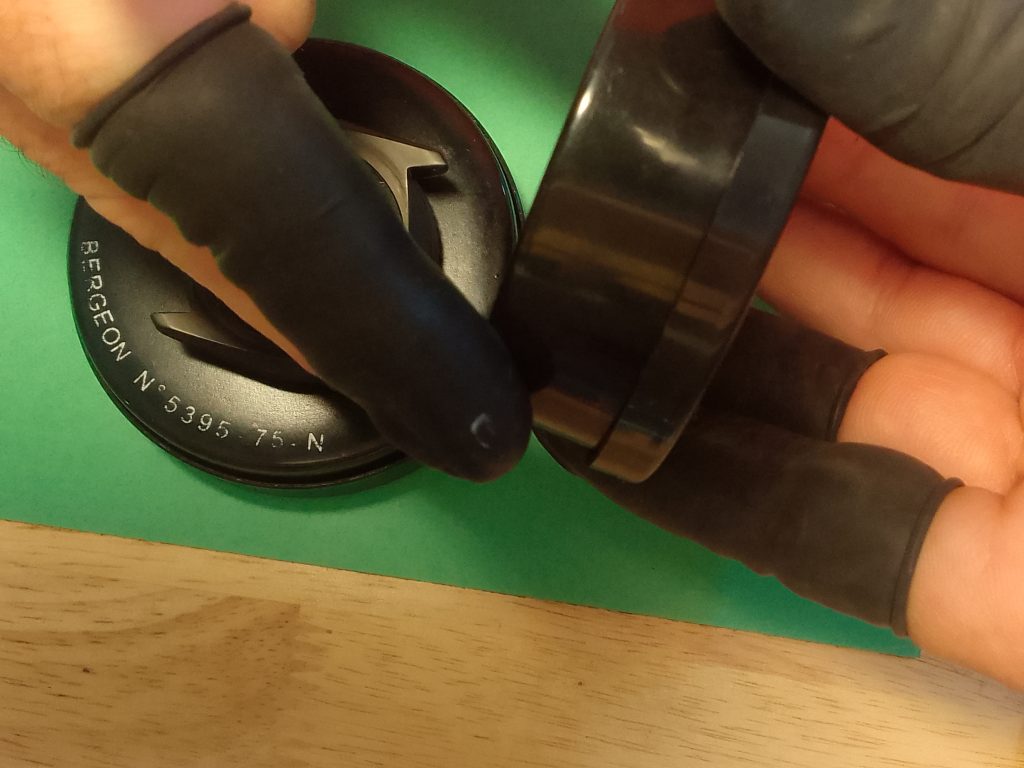
You will need to apply some silicone grease to the gasket either with a grease pot or with a sponge. Using either of these will apply a suitable amount of grease to the gasket. Thick and gloopy grease is not the desired application.

Fitting the Gasket to the Bezel
After the gasket has been greased, using the tweezers, the gasket can be placed on the rear of the bezel, like so.

Using some pegwood, or soft plastic, you can begin to press the gasket into the recess. You can also use your fingers, but gloves or finger cots would be advisable. Dispose of these cots after this task to avoid the grease spreading.


You will need to work your way all the way around using two tools to help position this. It is important to get this right, or it will foul your installation. The outcomes can be wonky bezels, bezels that won’t turn, and the gasket being forced out through the gap between the insert and crystal. All of these outcomes may damage the gasket. In addition, removing and re-fitting the bezel time and time again risks warping the steel bezel.
Spring – Click
When fitting the spring, be sure to locate the 90-degree pins that need to fit into the holes on the case. These pins point down towards the case and go into the holes at two and eight o’clock on the case. Make sure the spring is pressed down into the recess using some pegwood or a screwdriver. Bear in mind that when using steel or other metal tools, if you slip, you may scratch something. Seikomodder.com aims for you to leave no trace.


Installing the Bezel – Mods SKX & 5KX
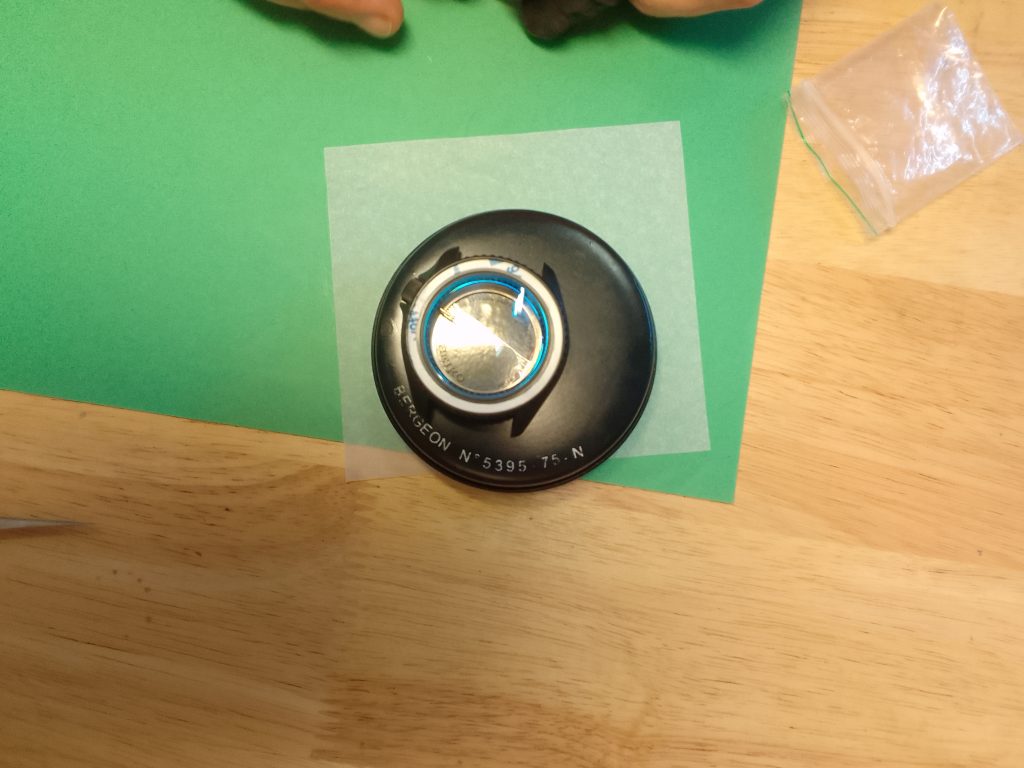
Finally, once the gasket and spring are installed, you will be able to place the bezel square to the top of the case. This can then be pressed into position using a press. The press will require a 42mm die attached to the top (plunge part of the press) and anywhere from 38 – 42mm die on the bottom plate.
Using low-tack tape (3M) and an old anti-static cloth will protect the case from any damage while pressing the bezel into position.


There should be a satisfying click when you have installed it correctly. Be sure to check the operation. If the operation is a little loose, you may want to consider a thicker gasket. If it is too tight, you may want to get a thinner gasket. Verniers (calipers) can be used to determine the size of gasket. The bezel will need to be removed if there is a need to change the gasket to create a better operation. Be sure that you remember to grease the new gasket. Gasket sizes and thickness can be found in the ‘Useful Information’ provided at the end of this guide to bezel mods – SKX & 5KX.
If you’ve found this guide helpful, be sure to explore our collection of other informative guides at seikomodder.com. We offer a wealth of resources to assist you in your modding journey. We’re here to support your passion for watch modification.
Useful Information – Bezel Mods SKX & 5KX
Gasket Size / O-Ring:
- Thickness – 0.5mm/0.6mm x 34.5mm
- Thickness – 0.7mm to 0.8mm may be required if the bezel action is a little loose.
- Seiko Part Number 0G345BA11 or OG345BA11
Replacement OEM Bezel:
- Sold as a pair with the insert.
- Seiko Part Number: 8601-469B. (Pepsi).
Bezel Click Spring:
- OEM part number: 8133-2879.
Bezel Insert Size:
- 38mm (OD), 31.5mm (ID)
Procuring a Seiko 5KX
Seiko have lots of options in the 5KX range a link to the collection can be found here.
0 Comments