Are you considering building your own Custom Vintage GMT Homage? Constructing your own custom homage can be a breeze with seikomodder.com. We have put together step-by-step guides to assembling your own unique GMT diver using pre-configured cases. This is particularly beneficial for newcomers, as it necessitates only a limited selection of tools, and these custom watches can make great gifts. If you’d like to learn more about the steps in this seikomodder.com Custom Vintage GMT Homage guide, follow the links for further details. A review of the products used in this guide follows step by step instructions.
If you are used to modifying Seiko watches there will be a few differences to note with the production of this custom watch.
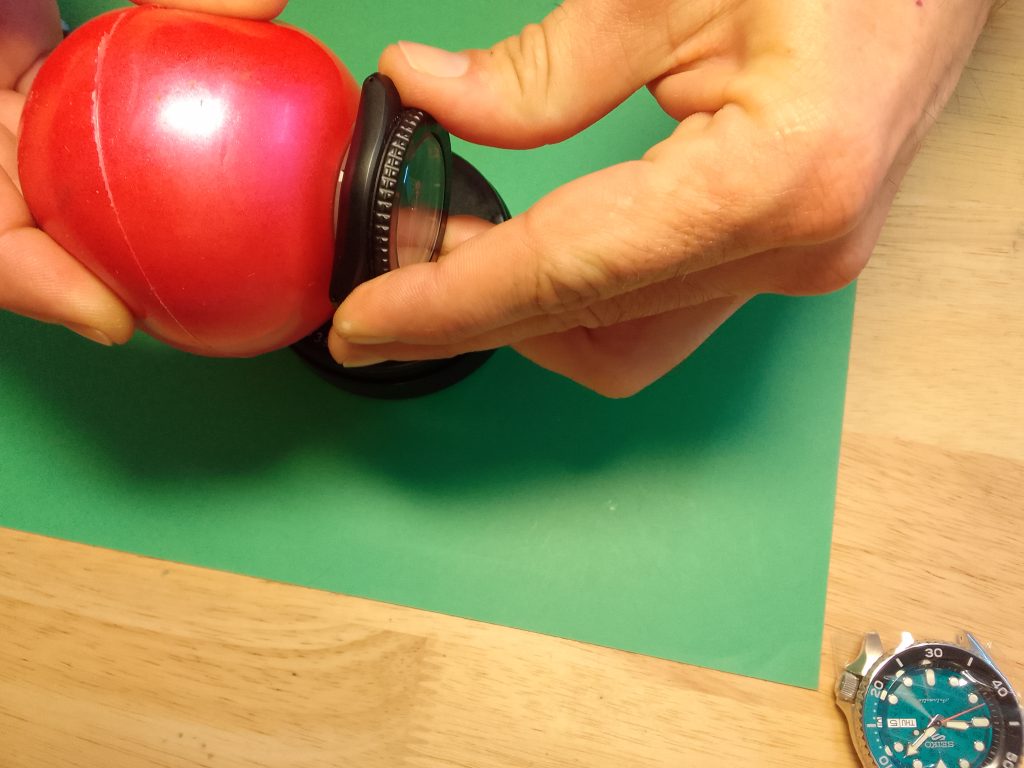
- Case back is sealed with a special key – a rubber ball is useful.
- Additional movement holder/spacer required for 3mm Seiko movement spacer
How to Guide – The Custom Vintage GMT Homage
Tools and Consumables
- Springbar Tool
- Hand Press
- Pliers
- Tweezers
- Screwdrivers
- Case Cushion
- Movement Holder
- Air Duster
- Case Back Tool – Rubber Ball
Optional Tools and Consumables
- Bracelet Vice
- Hammer
- Rodico
- Watchmaker’s Paper
- Storage Containers
- Loctite
- Calipers/Verniers/Ruler
- Rotary Tool or Files
- Air Duster
Preparation is important, cleaning the work area and laying the components out on your workspace ready is a good idea. These case’s come ready assembled with the bracelet fitted. So, the first thing to remove is the bracelet.
Remove the Bracelet – Custom Vintage GMT Homage
Turn over your Custom Vintage GMT Homage to have a view of the rear of the case. This is where you can access the pins which retain the bracelet to the lugs. You will see there are two gaps in the rear of the bracelet end links between the lugs of the watch case. Insert the tool on the springbar, close to the case and pull the spring bar away from the case. You may need to pull or push the end link gently with your other hand that is steadying the watch. This will reduce the risk of the spring bar re-engaging with the hole which it has just been removed from, while you remove the springbar from the other side. Once the end link is free from the watch you can remove the pin. Seikomodder.com suggests doing this because, when the watch is turned over, not only the pins, but also the end links may fall and roll off the bench.

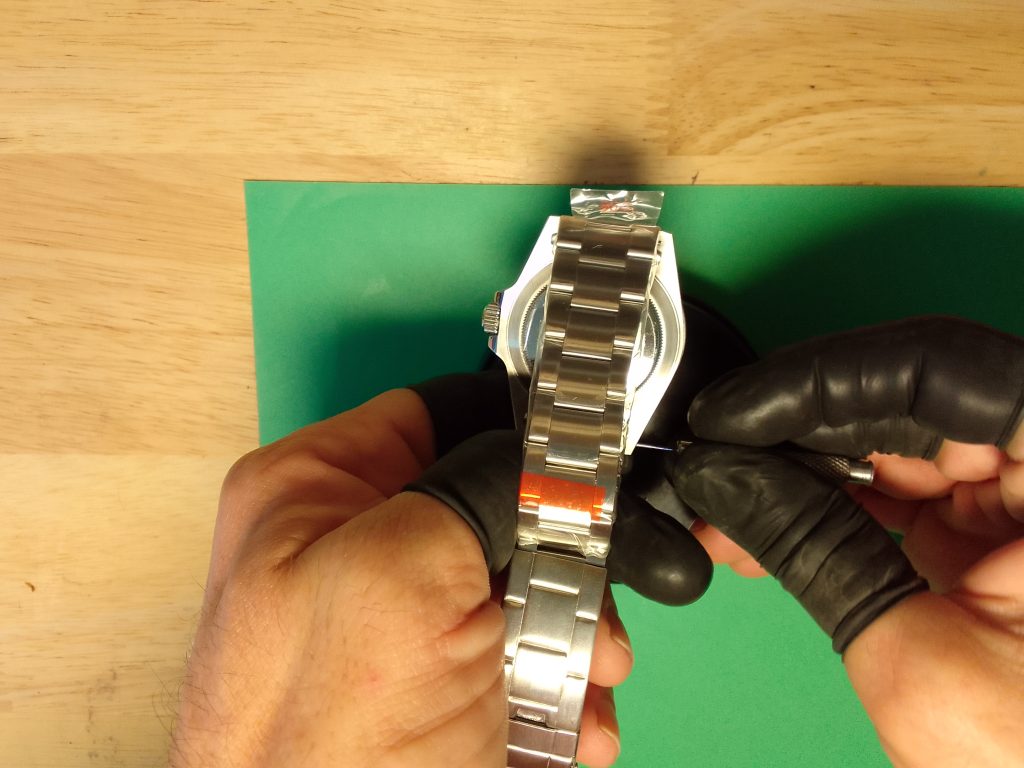
This is repeated again to remove the other springbar retaining the bracelet. If you struggle with this method of removing the bracelet, you may wish to use the springbar tool. Once the bracelet is separated from the watch, store the pins somewhere safe and set the case and bracelet aside.


Attaching the Dial – Custom Vintage GMT Homage
The dial for this Custom Vintage GMT Homage was fitted with a number of extra dial feet. It may be necessary to remove excess dial feet if there are more than required. More information on this can be found in the guide here.
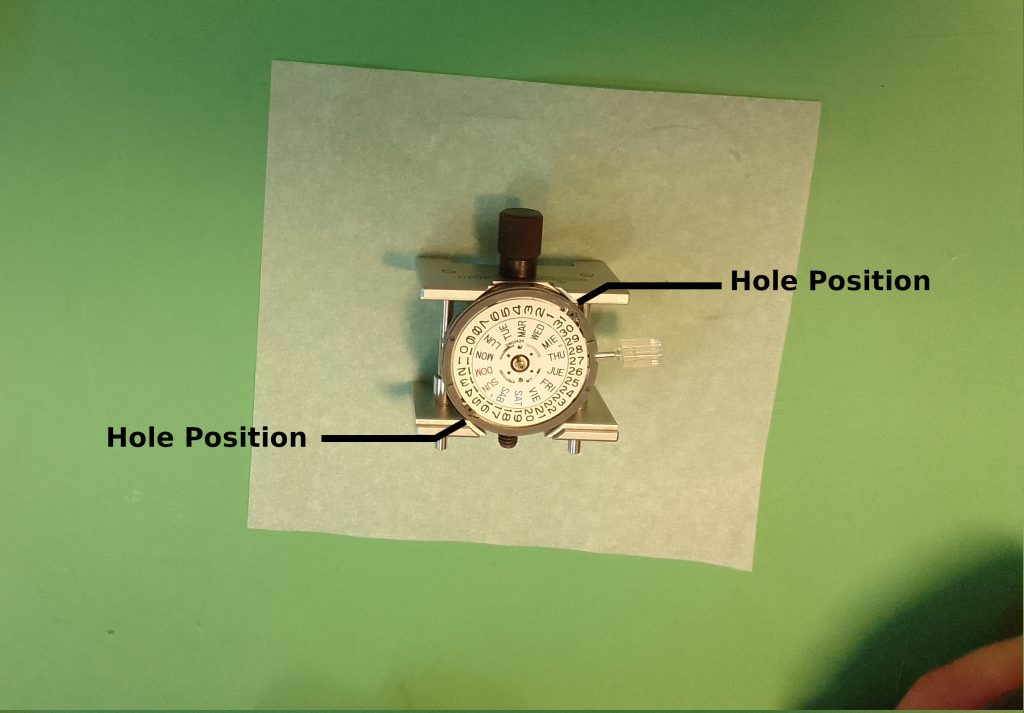
To apply your new dial to a three o’clock crown case
Retain the dial feet at 1:45 & 7:45 which is opposite (approximate times).

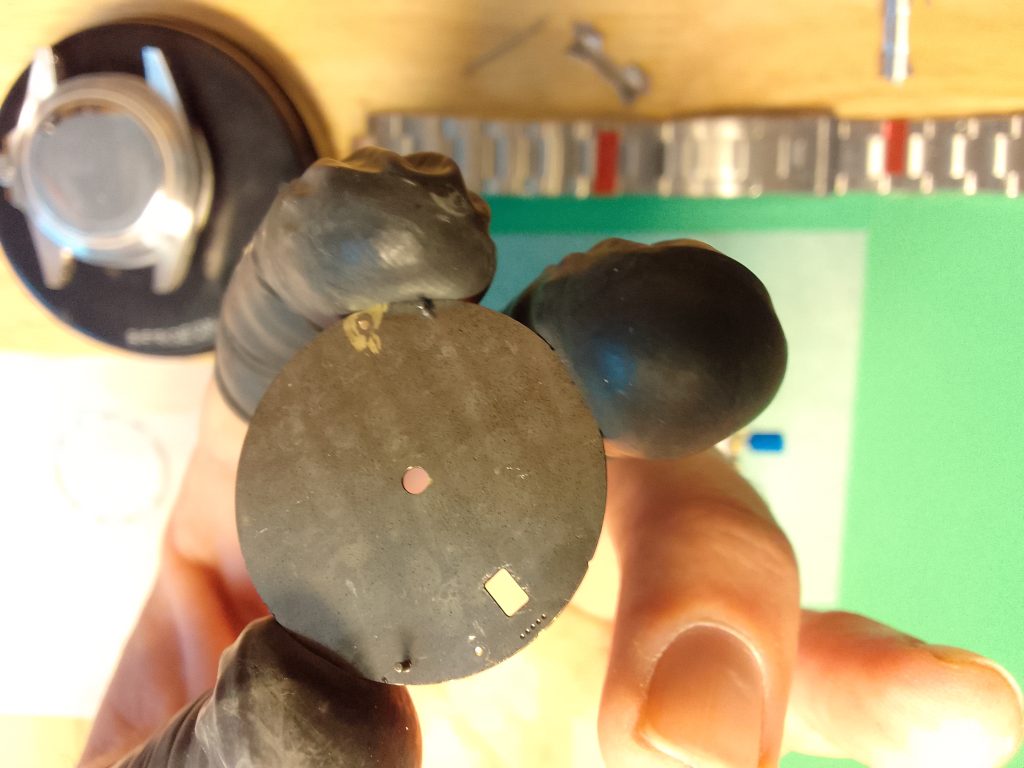
For this Custom GMT watch you will likely need to make the hole in the centre of the dial a little bigger to accept the twenty-four hour hand which has a hole size of 2mm. This will require a small round file or a brace. The original hole in the dial will need to be made around 1mm bigger. The process can be done in a movement holder. Insert the file through the hole and gently twist the file. It will begin to remove some material, it is best to do a little bit from each side of the dial. ‘Slow is Pro’, so don’t try to take out chunks, let the file do the work. You will want to remove the fine brass with the air duster during the process, and once you are satisfied with the size of the hole.
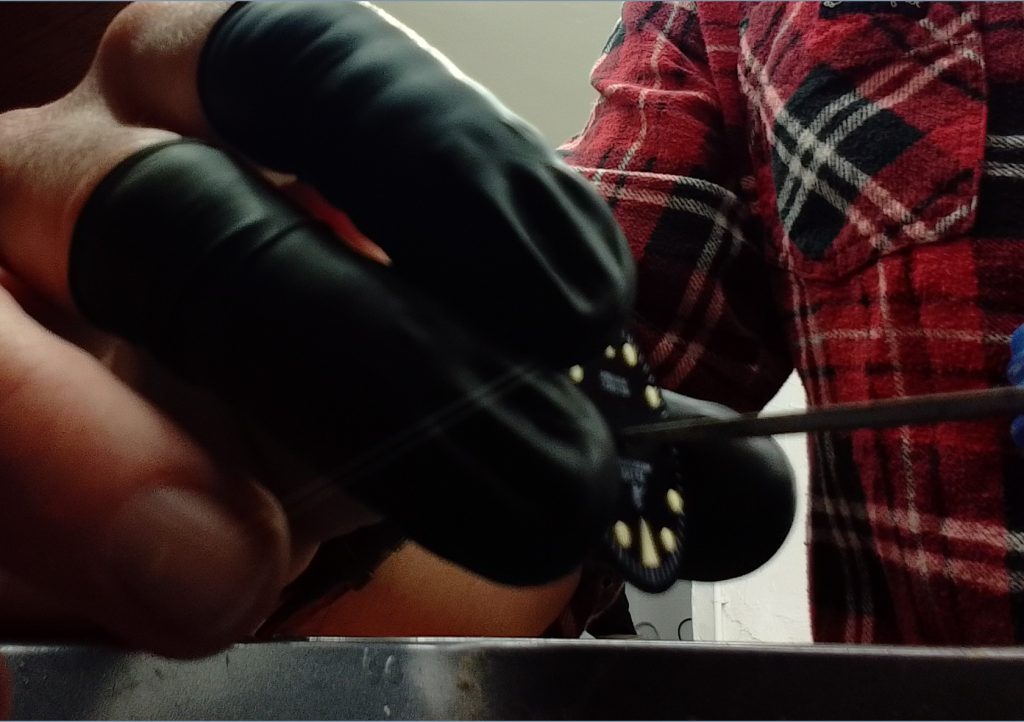

The movement will need to be placed in a movement holder. There is one more thing to do before the dial can be fitted. The NH34 (GMT) movement is supplied with a little washer, this should be placed over the pinion on the centre of the movement. Now, using the tweezers the homage dial can then be aligned with the crown at the three o’clock position and the centre hole of the dial with the pinion. Using tweezers to hold the dial by a dial foot is ideal for positioning. With a gentle shake the dial should find the holes in the black or grey movement holder. The dial can be pressed into position when you are happy the dial feet are located in the holes of the movement spacer.


Change the Date
This Custom Vintage GMT Homage features a NH34 movement, this includes a date complication as well as the twenty-four hour hand. Before the hands can be fitted to the watch the date will need to be changed on the movement. Stop winding the crown as soon as the date clicks over to the next day. This will increase your chances of the date changing at midnight precisely, or within a few minutes. There are movement operating instructions located here at seikomodder.com.
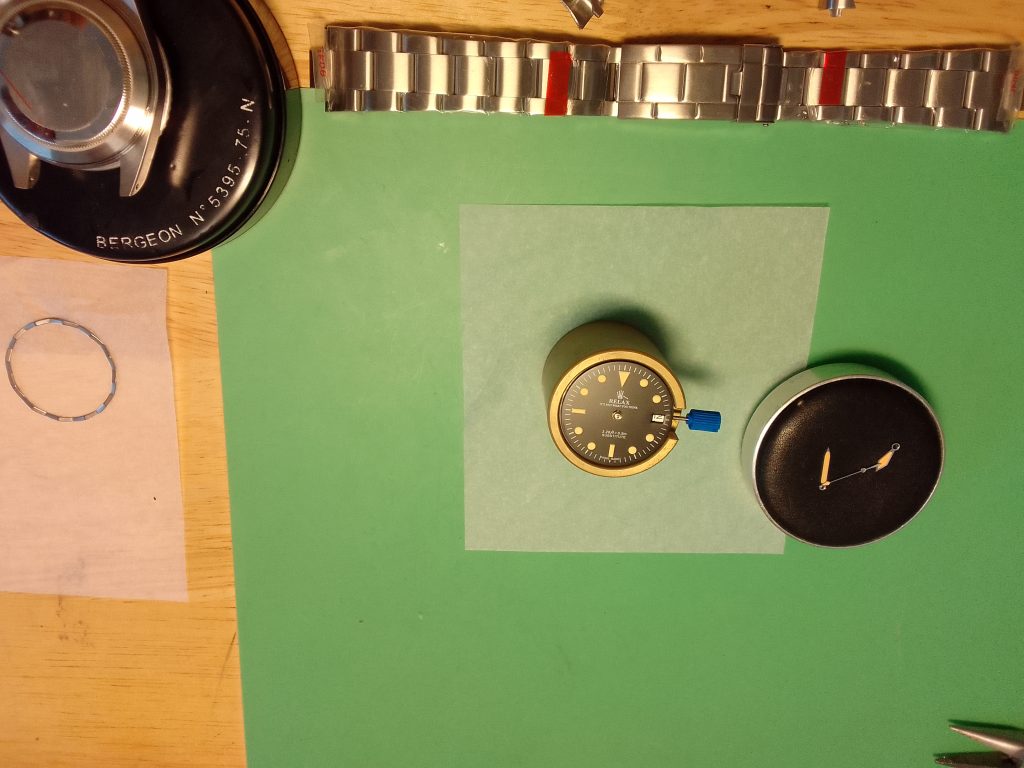
Twenty-Four Hour Hand
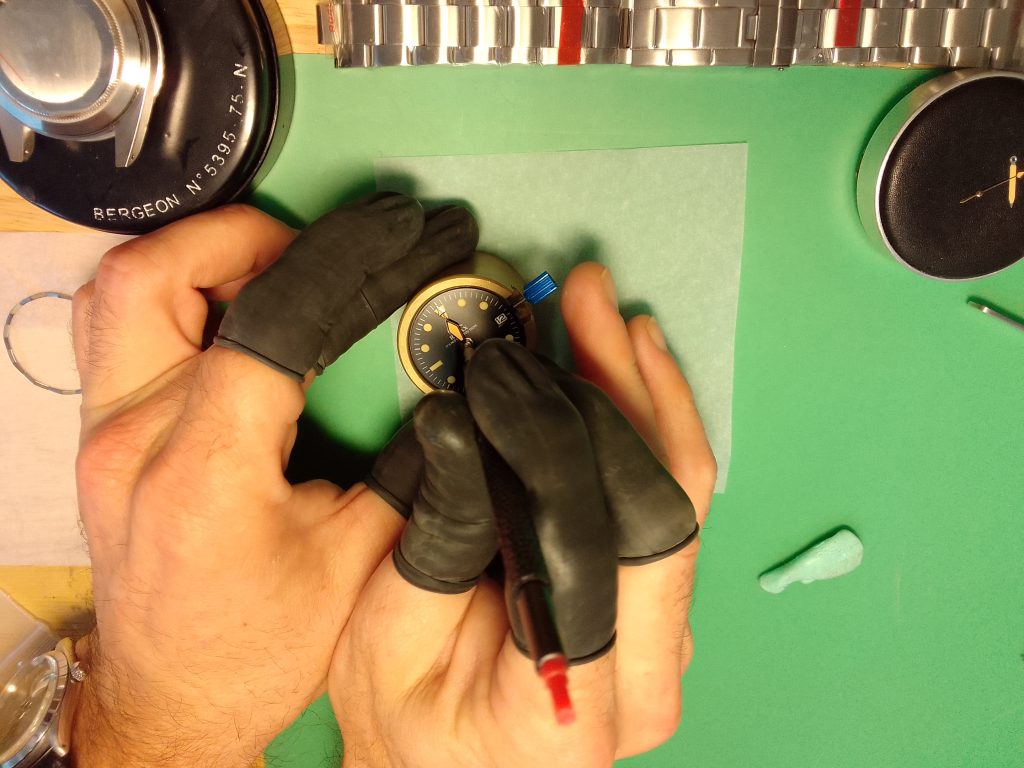
Placing the hands is done with tweezers. This movement has a twenty-four hour function, so we start with the twenty-four hour hand first. The direction of the hand should be pointing to twelve o’clock. Once the hand is located on the pinion in the centre of the dial, the tweezers can be removed. Micro adjustments can be made by gently ‘nudging’ the hand with a hand press to get the perfect alignment.
Once the positioning in correct, the hand will need to be pressed down into position on the pinion. This is done with the hand press – before you do, you may want to clean you hand press in some Rodico. Finally, when the hand is pressed into position, assess the side profile to check that the hand is seated parallel to the dial. This will limit the hands fouling after installation.


The same process is is repeated for the hour and minute hand although you will likely need a different hand press or dye in your hand press.



Second Hand
The last hand may be the one that gives you the most trouble. There is a tip using Rodico on the end of a press. Read more about that here. The process is the same as the other hands, take the hand in the tweezers and position this over the pinion. You may need to use Rodico to lift the hand and then take it in hand with the tweezers.
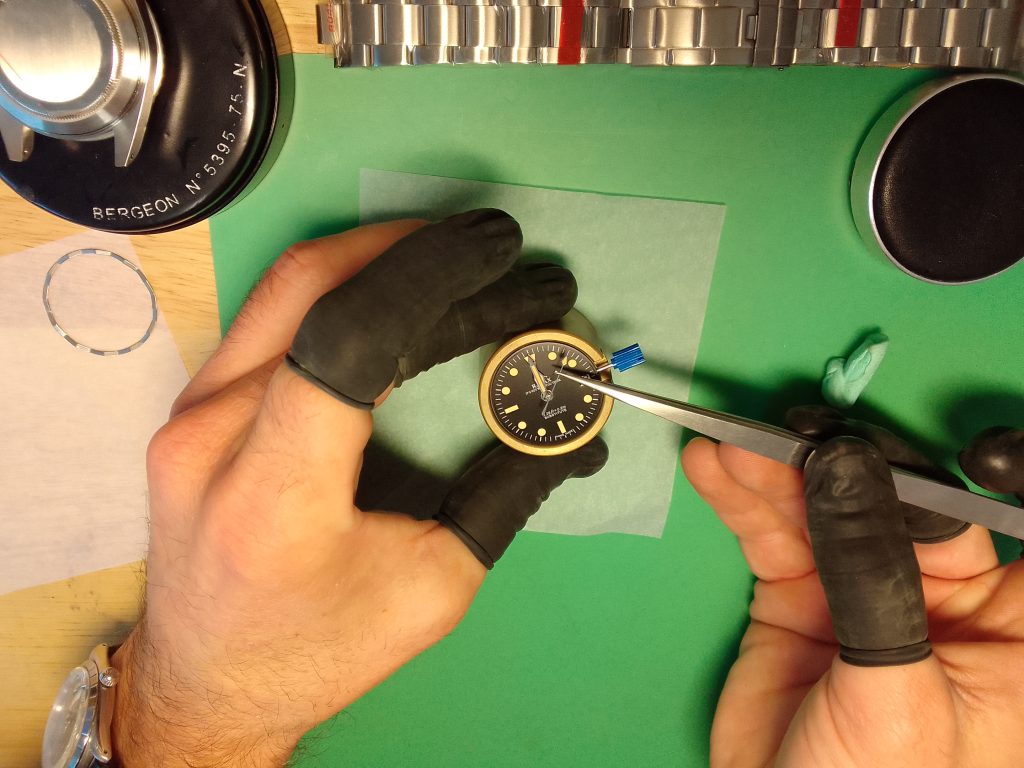
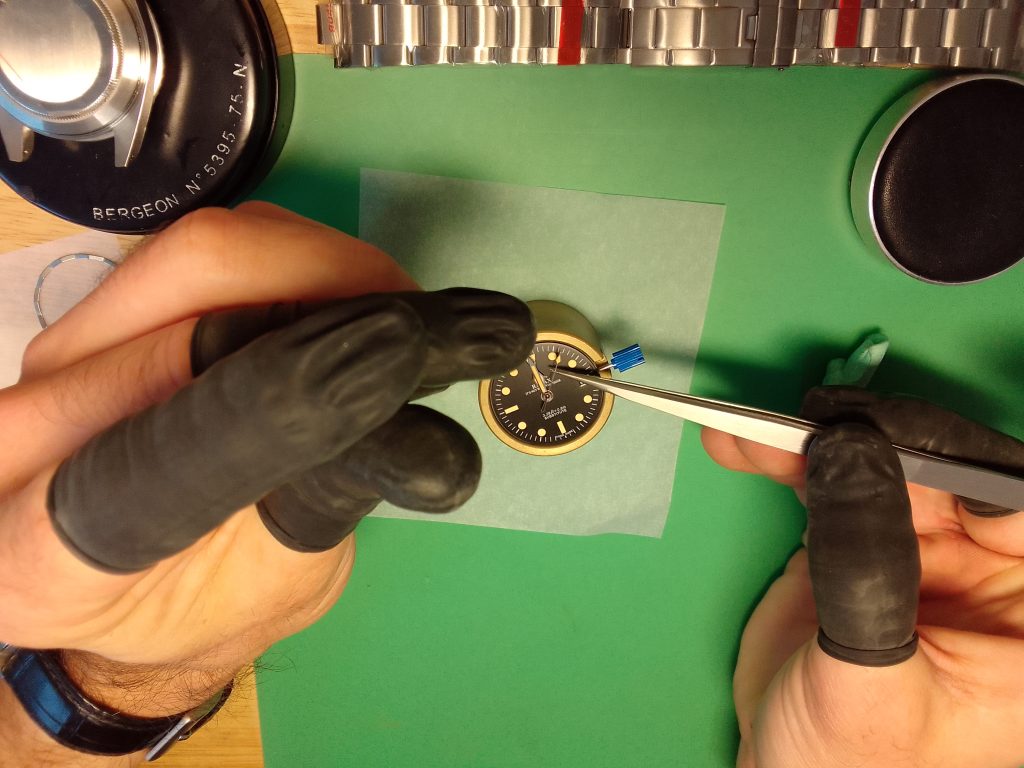

Once the second hand is aligned to the pinion this can be pressed into position. Once this is successfully attached you can check the alignment for the final time. Be sure that the hand has not missed the pinion. it will become apparent pretty quickly.
Casing the Movement, Dial and Hands
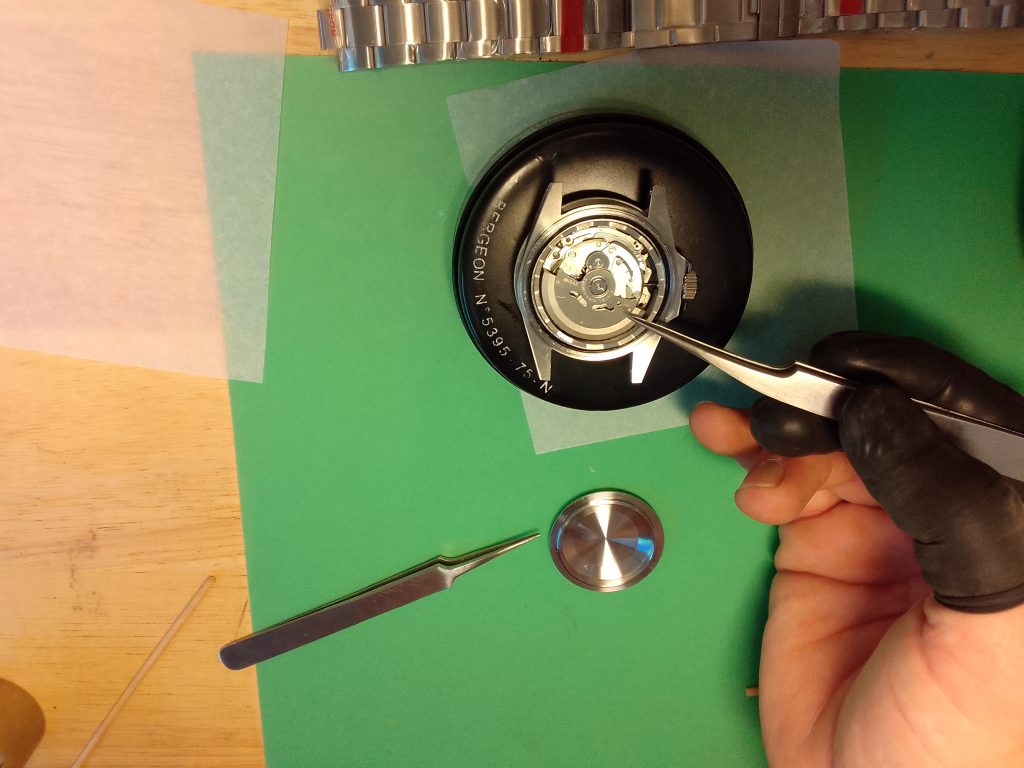
To begin the casing process, the temporary stem and crown will need to be removed. This is best done dial down in a movement holder. Press the setting lever with tweezers and pull out the crown.


Next, the movement, dial and hands can be placed on a case cushion and given a dust off to remove and particles of dust that may have settled. Rodico will help remove any stubbon bits.

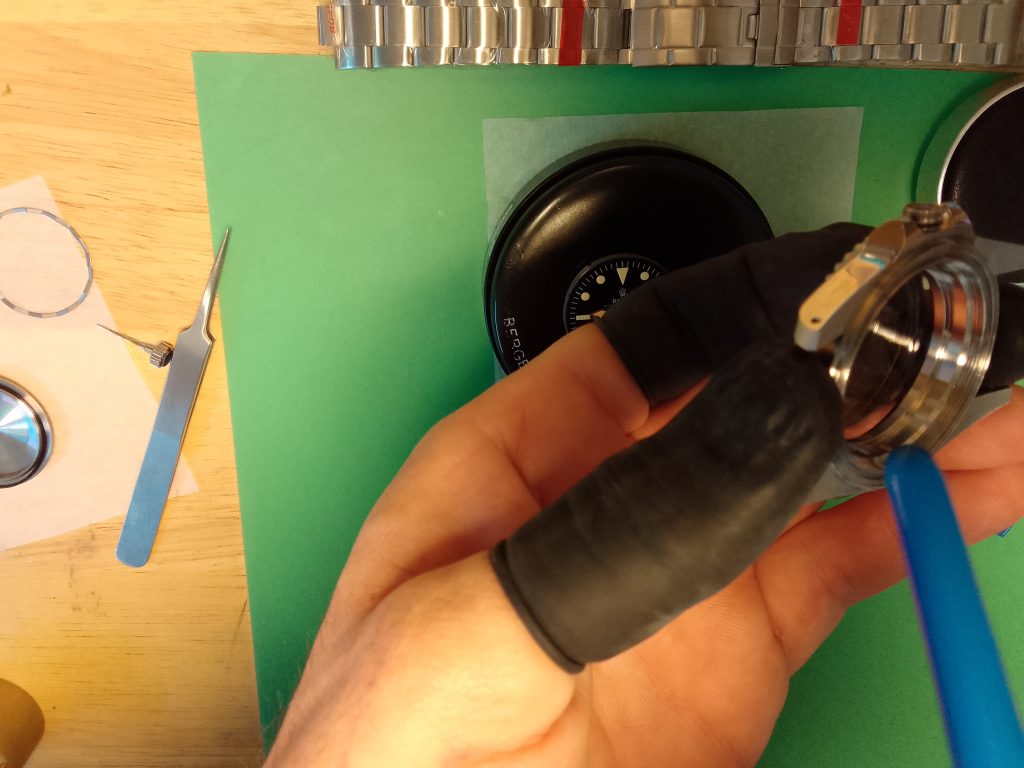


Fitting the Crown and Stem
The crown and stem can be joined easiest with your fingers and thumbs. Use pliers to create a firm bond after you have secured this ‘finger tight’.


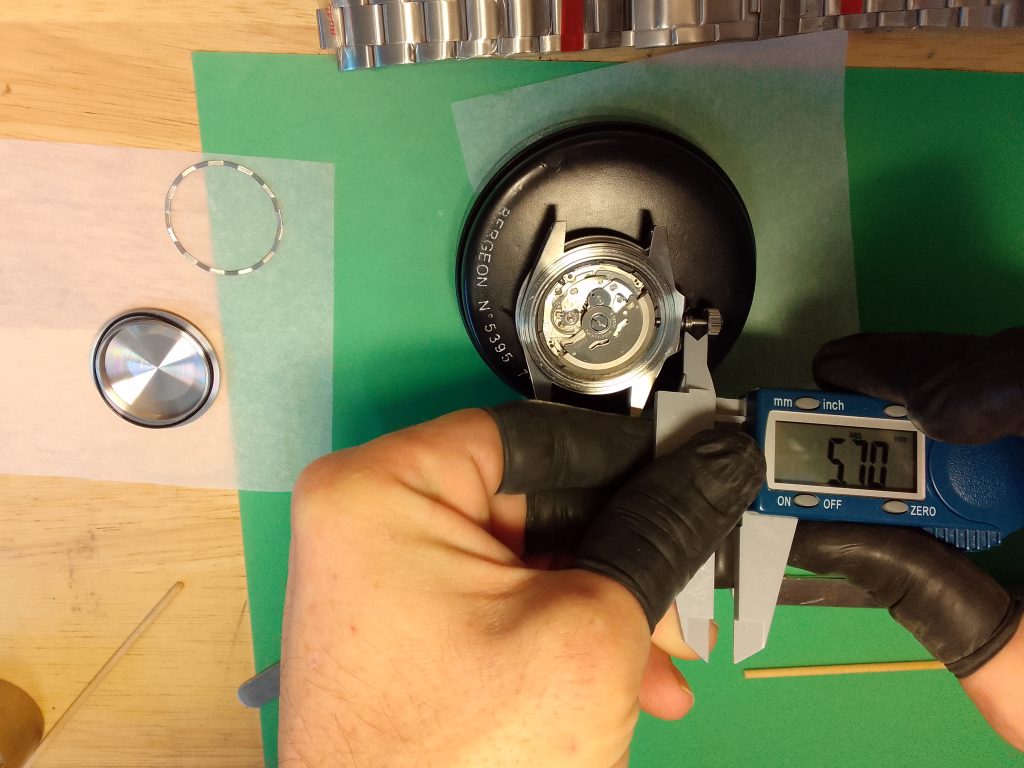
Insert the newly assembled crown and stem, it may require little turn to allow it to engage with the keyless works. Once engaged, take a measurement with the calipers, or other measuring tool, and remove the crown and stem. Unscrew the stem from the crown. The stem can then be cut at the desired length. It is best to give the end of the stem a “leading edge” so that it will engage nicely with the crown as you reattach it. It may require further installations of the stem into the movement to get the perfect length stem. You may wish to use loctite or another thread locking product.


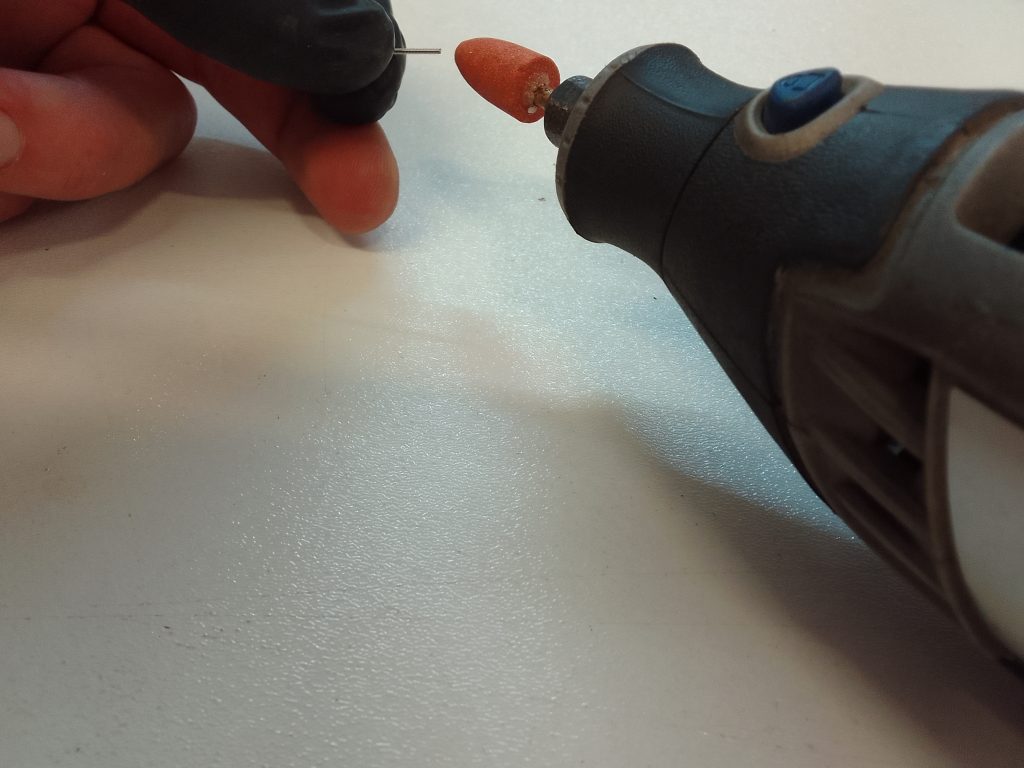
Fitting the Rotor
If you removed the rotor, you may wish to replace this now. It is the done in reverse of the removal. Checking the rotation to ensure the rotor is not fouling the pawl lever. You may feel a click as the rotor aligns.


Sealing the Case
There should be a gasket supplied with the case. This is an o-ring usually around 0.9mm to 1mm thick. You may wish to grease the gasket before installation. Lay this into position on the case with tweezers. Check that the gasket is aligned in the groove of the case. The case back can then be applied turned to engage the thread.
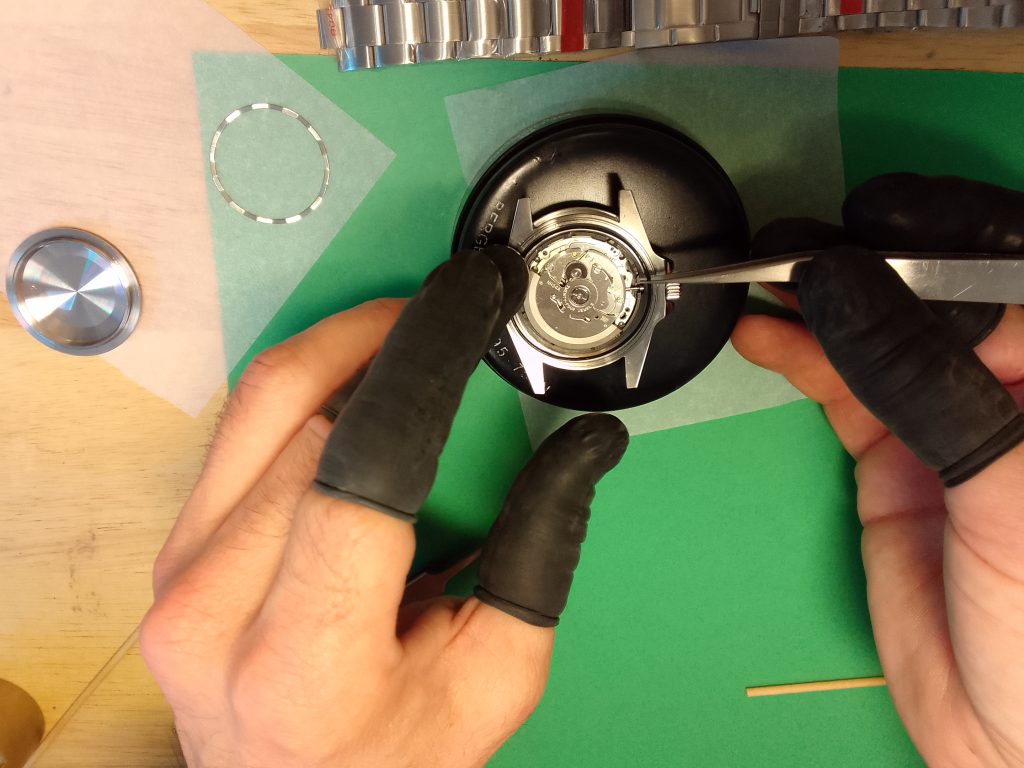

Once the case back is finger tight you will want to secure the case back with a case back tool, or a rubber ball. Seikomodder.com recommend a rubber ball for new Seiko modders as it is the cheapest, most versatile option. The specialist keys and bench mounted case back opener, or hand bar (as photographed below), are expensive if you do not intend to use the whole set. These keys can be purchased singularly but the hand bar is often at an additional cost.


Attaching the Bracelet
The two springbars that were removed can now be used to reattach the crown. Then end links will need to be attached before the springbar is inserted. This is easiest on a flat surface. This can done by hand, or with tweezers. A springbar tool will be require to pull the springbars back so the bracelet end link can lock into position between the lugs. It is the reverse of removing the bracelet, if you have got this far, this is the easy bit! The first side will be the easiest, the second will require you to hold the weight of the bracelet while the final resting position is achieved. Be sure to check that the springbars are fully engaged with the case.


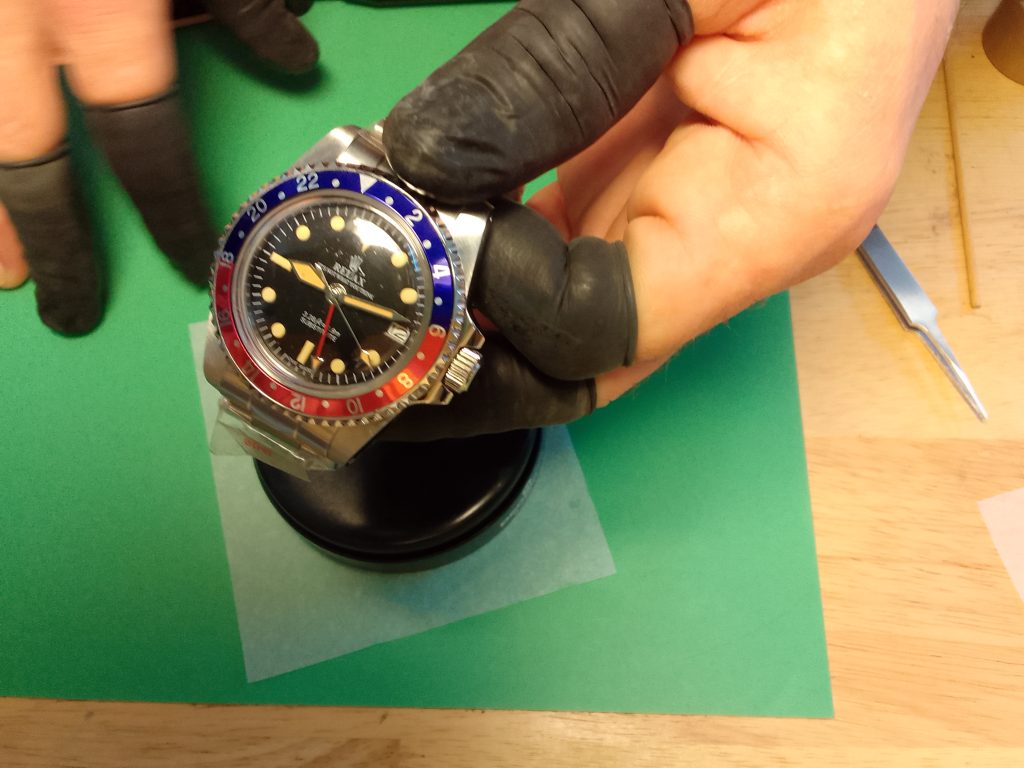
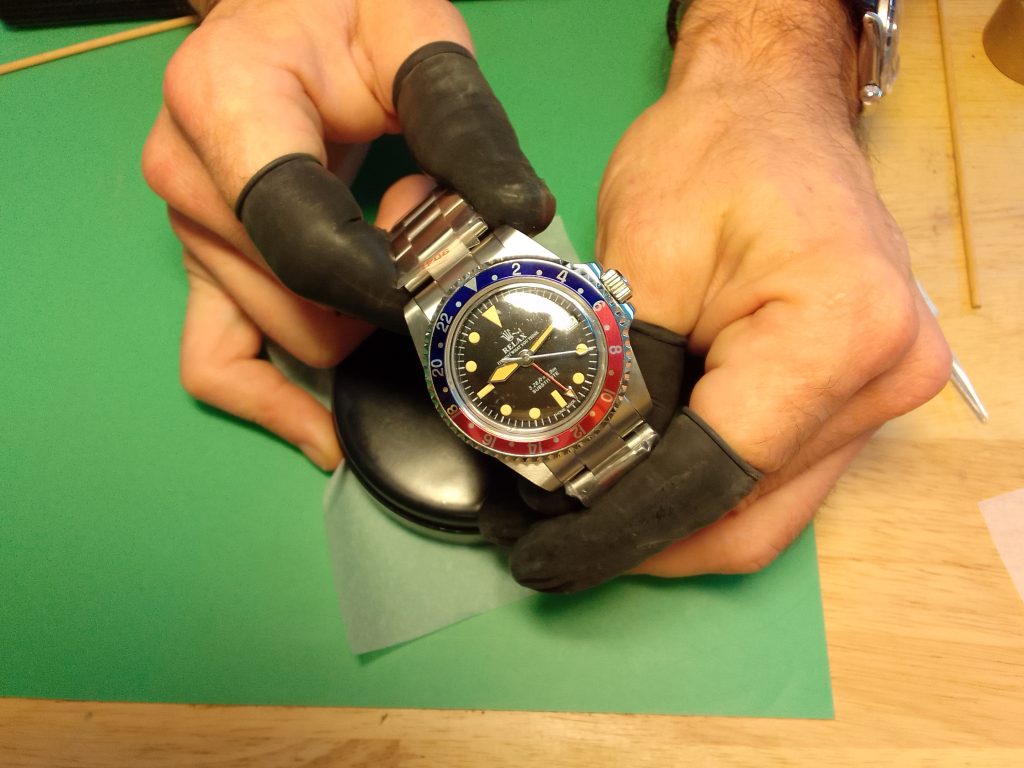


Case Specs
- Case material : 316L Stainless steel
- Case back : 316L Stainless steel & sapphire (exhibition)
- Case size : 39.5mm (43mm with crown)
- Lug to lug : 43.5mm
- Bezel : Stainless steel bezel
- Height : 13.3mm
- Insert: Size 36.5mm
- Glass : Sapphire crystal
- Water resistance : 100m
- Bracelet: 316L Stainless steel – Butterfly clasp with overlocking
- Required dial size: 28mm-28.5mm
Review
- Overall Rating: 3/5
While the overall production quality is decent for the price, there are some notable drawbacks that potential buyers should be aware of.
Pros:
- Excellent Case Quality: The watch case is of excellent quality, which is a fundamental aspect of any timepiece. A well-made case contributes to the watch’s overall durability and aesthetics.
- Good Case Back and Crown Thread: A well-constructed case back and crown thread are essential for the watch’s functionality and water resistance. It’s a positive aspect that these components feel good and well-made.
- Vintage Styling: The vintage styling of the watch, along with the acrylic crystal, adds character and charm to the timepiece. The fact that the crystal may mark over time is in line with the vintage aesthetic.
- Quality Dial and Hands: The dial and hands are of good quality, which is crucial for legibility and overall aesthetics. The exceptional 24-hour hand is a notable feature for a GMT watch.
Cons:
- Bracelet Finish: The bracelet’s finishing doesn’t appear to be as well-executed as other components. The next link being slightly long and looking out of place can affect the overall appearance and fit of the watch.
- Thin Clasp: The clasp being made of very thin steel may raise concerns about its long-term durability and resistance to deformation. The clasp is a critical component for securing the watch, and it should be robust.
In summary, the Custom Vintage GMT Homage watch has several positive aspects, including an excellent quality case, well-made case back and crown thread, vintage styling, and good quality dial and hands. However, there are some areas of improvement needed, such as the bracelet finish and the thin steel clasp, which could impact the overall durability and aesthetics of the watch. It’s important to consider these factors when evaluating the watch’s suitability for your needs and preferences.
Strap suggestion: Given the vintage aesthetics and character of the custom vintage GMT homage watch, it would be an excellent idea to consider swapping the existing bracelet for a leather or suede two-piece strap. This choice can enhance the watch’s overall appearance and evoke a classic, timeless feel. A well-selected leather or suede strap can complement the vintage styling, creating a harmonious and stylish combination that appeals to watch enthusiasts who appreciate a touch of elegance and nostalgia.
Leather and suede straps come in various colors and textures, allowing you to customize the look of the watch to your personal preferences. You can choose a distressed leather for a rugged, aged look or a smooth, dark leather for a more formal appearance. Suede, with its soft and velvety texture, can add a touch of luxury.
In addition to aesthetics, leather and suede straps can provide a comfortable and ergonomic wearing experience. They tend to conform to the wrist over time, offering a tailored fit.
Ultimately, the choice of strap material and style is a matter of personal taste, but considering a leather or suede two-piece strap for this vintage GMT homage watch would likely be a visually pleasing and fitting choice that complements the watch’s character.
Buy the same products
The products used in this guide can be found on the following links –
- Dial is no longer available
If you’ve found this guide helpful, be sure to explore our collection of other informative guides at seikomodder.com. We offer a wealth of resources to assist you in your modding journey. We’re here to support your passion for watch modification.